In this tutorial, we’ll create a refined, custom-designed ring starting with a size 7 base curve. We’ll add a radiant half-carat center stone, secure it in a uniquely crafted bezel, and sculpt a perfectly fitted shank. Each component will be tailored for balance and elegance, with special details added to the bezel for a final touch. After creating all elements, we’ll apply premium materials and render a striking image.
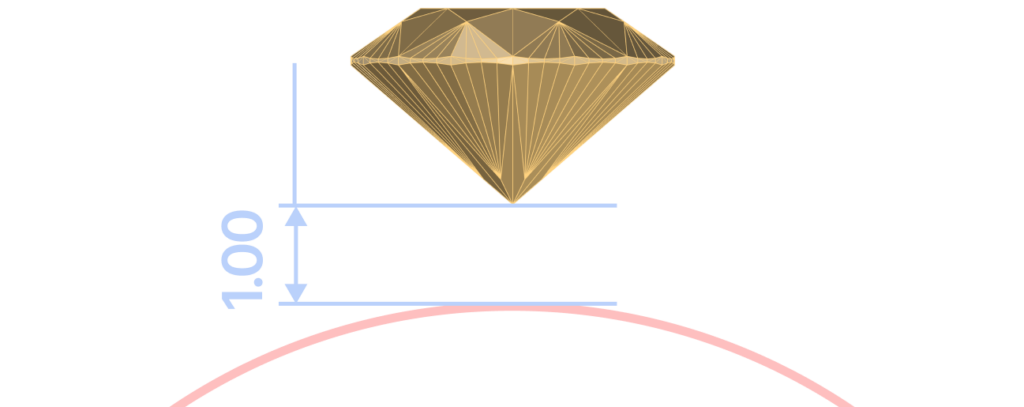
Define the Reference Curve and Create the Gemstone
Add a half-carat gemstone, position it on the curve, and adjust its height for optimal visibility.
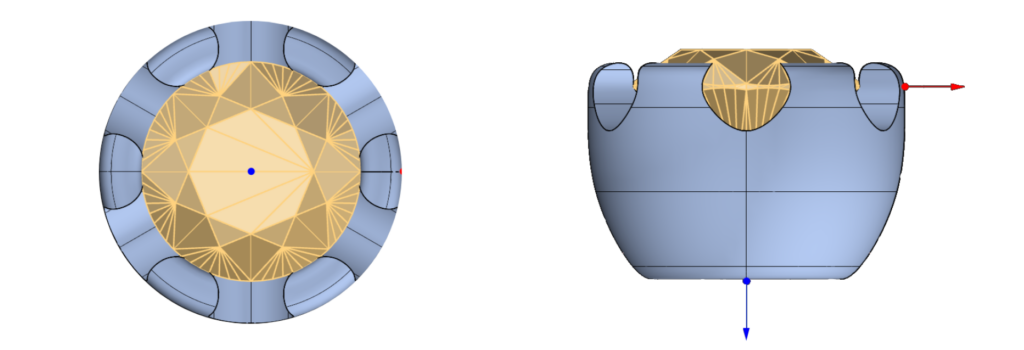
Design the Bezel Setting
Craft a secure bezel with model BE016, adjusting its width and girdle height for a flawless fit around the gem.
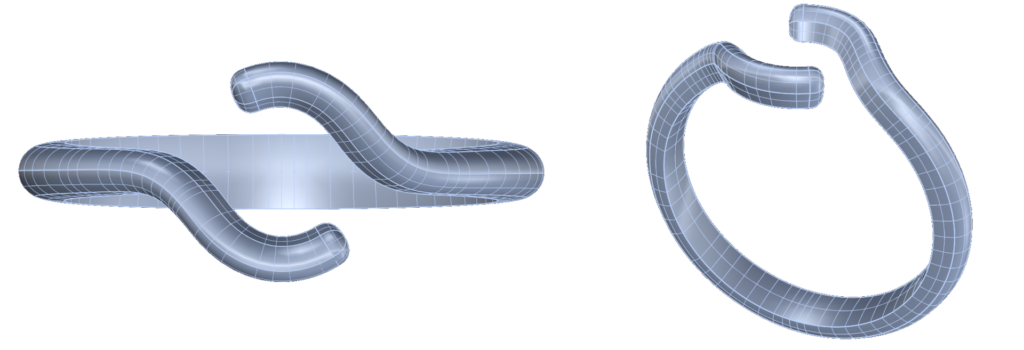
Construct the Shank
Use the Advanced shank model to shape the ring band, setting the opening to 13mm for comfort and adjusting all profiles for a seamless fit.
Add Bezel Details
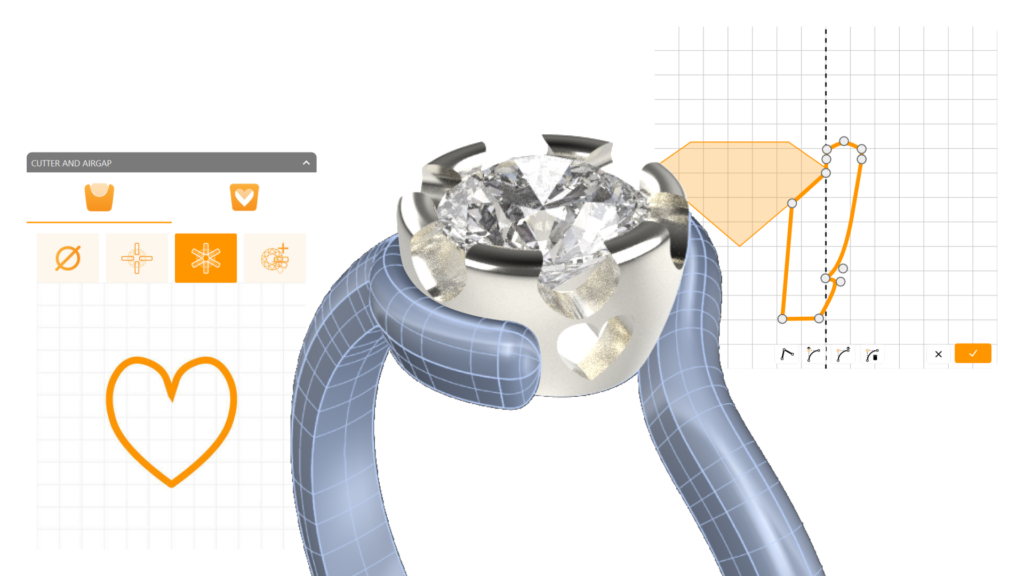
Apply a delicate heart-shaped detail to the bezel, with precise height and rotation settings, enhancing the overall style with a subtle, elegant touch.
Final Material Application and Rendering
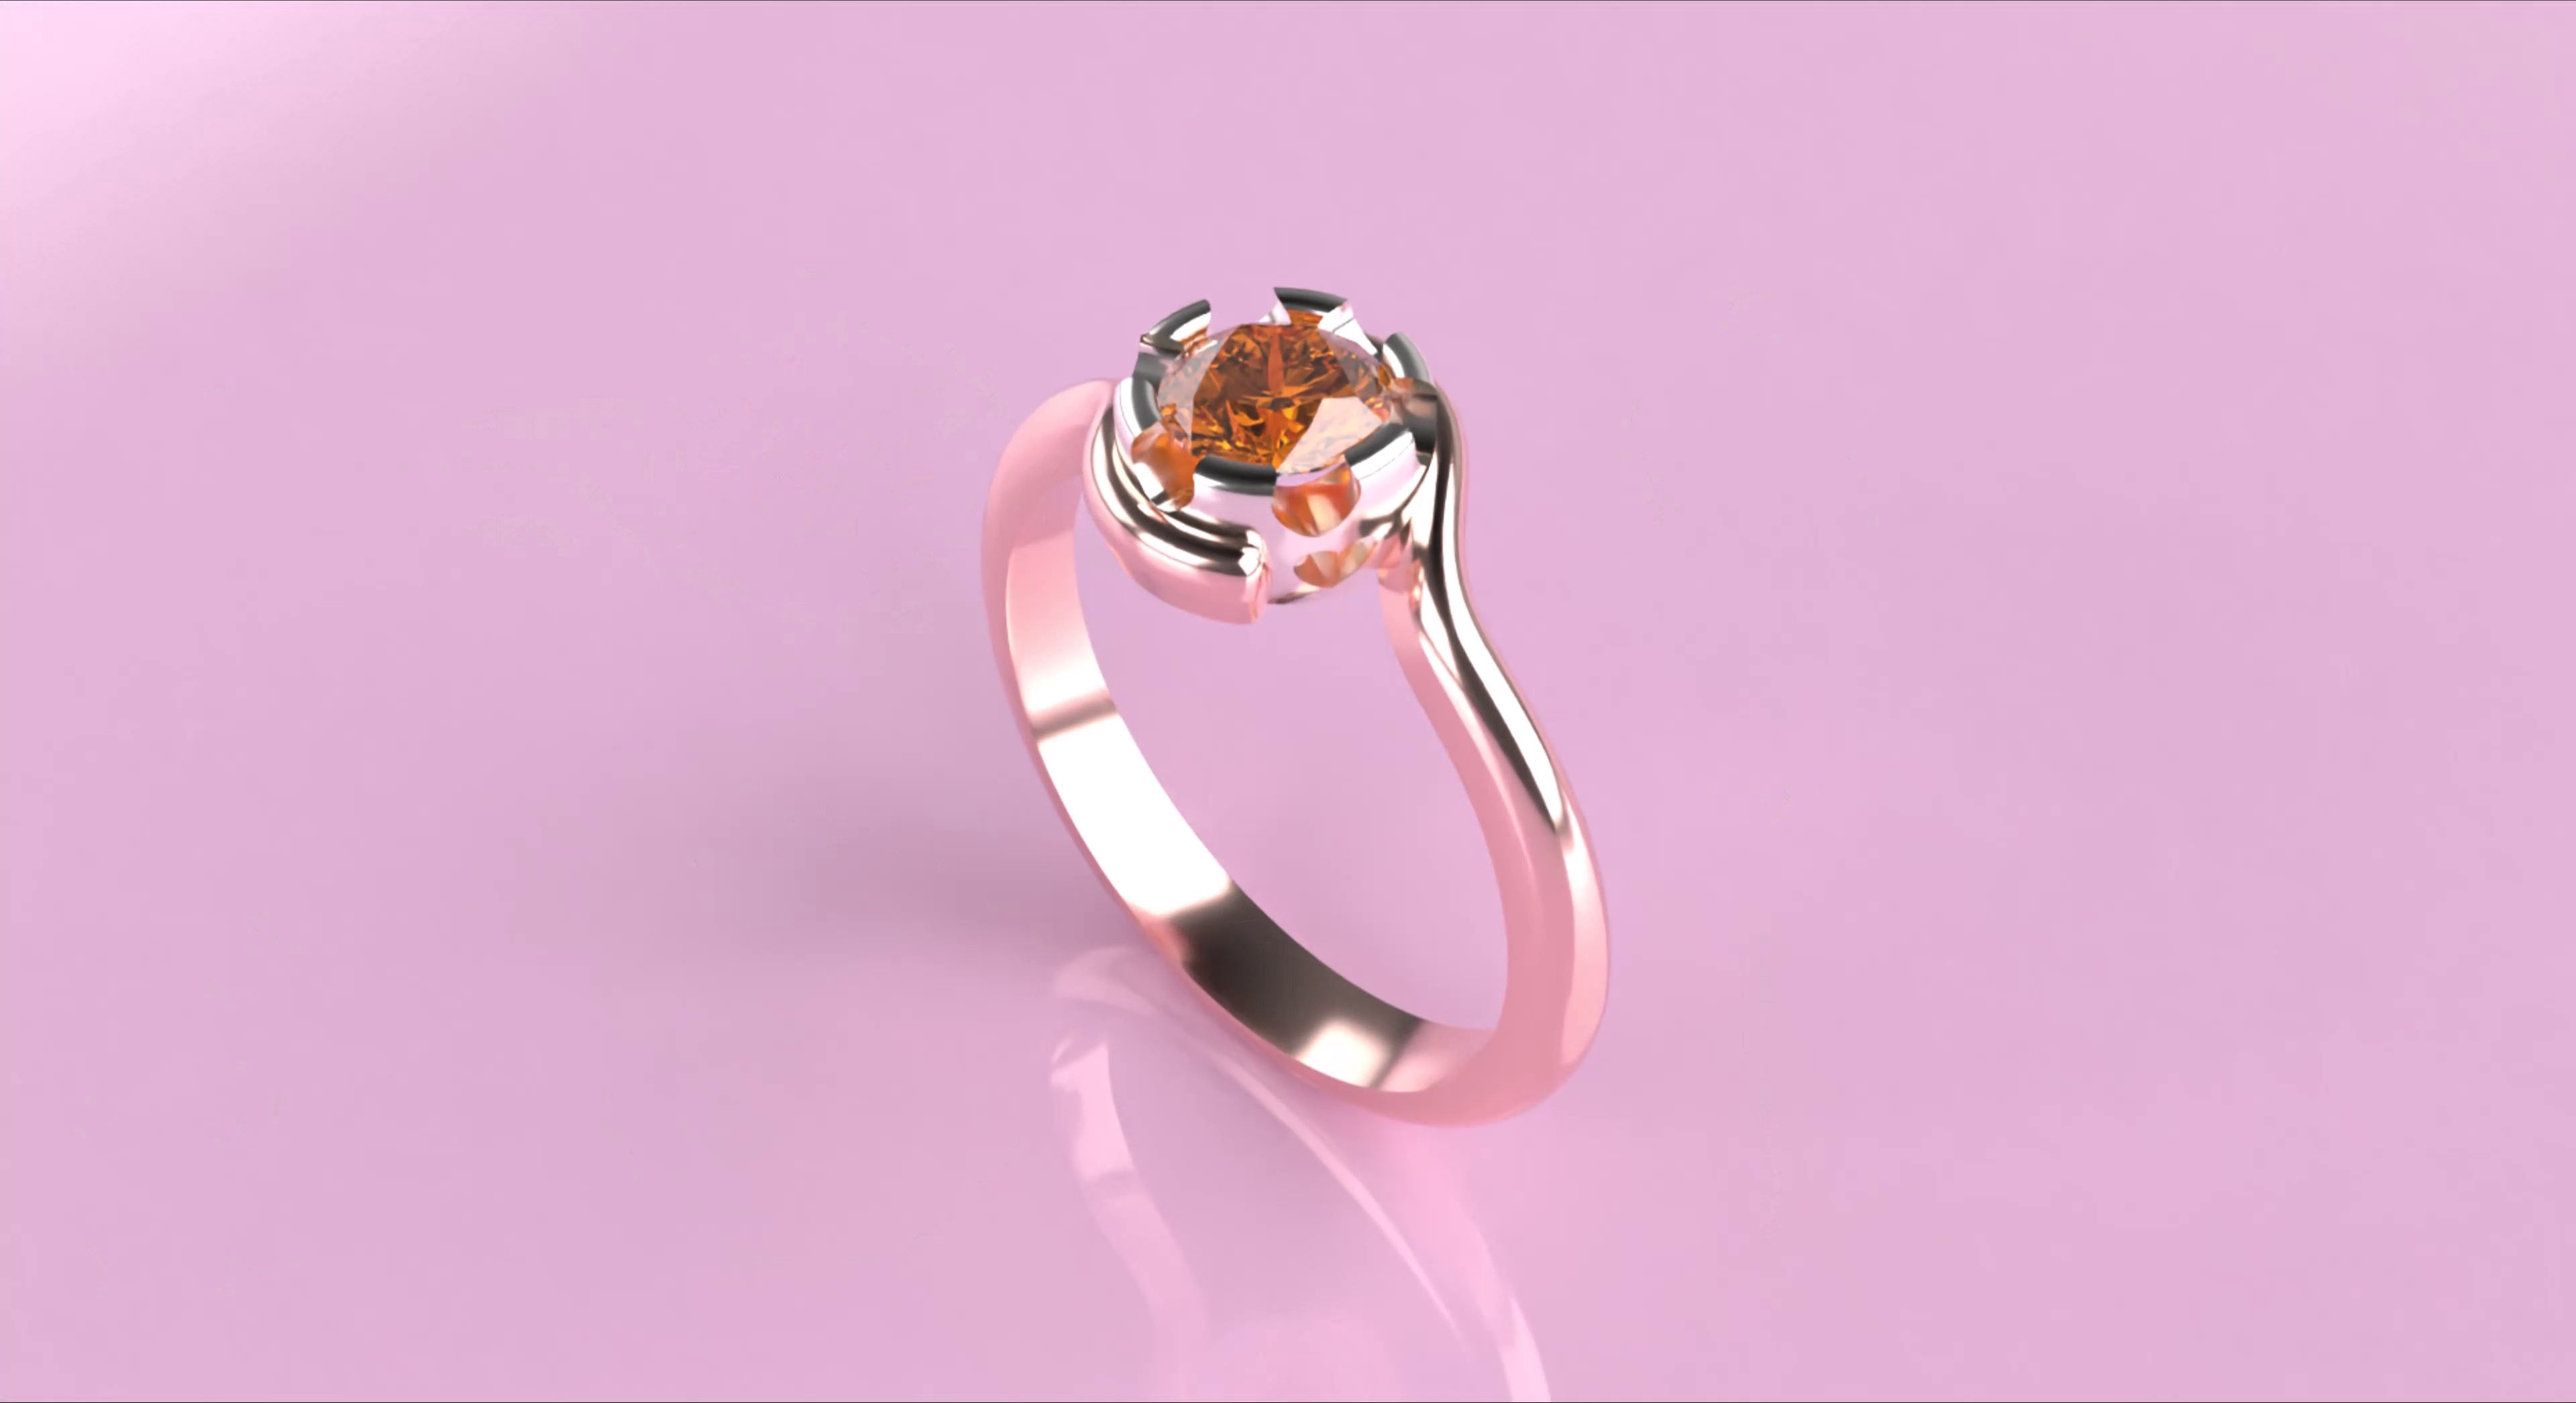
Finish your design with 18k Rose Gold for the shank, White Gold for the bezel, and a Citrine gemstone. Set a pink reflective ground for a high-impact final render.
Who Should Take This Course?
This course is ideal for jewelry designers, CAD modelers, and creatives who want to bring precision, beauty, and innovation to their designs. Whether you’re new to 3D modeling or an experienced designer, this course provides essential techniques to create jewelry that stands out.
What You’ll Need
You’ll only need RhinoArtisan installed. This course provides step-by-step guidance to build confidence, finesse, and a polished, professional piece.