This tutorial will guide you through creating a Halo Cathedral ring design, from shaping the shank to rendering it in stunning detail, all using RhinoArtisan. By the end, you’ll have a ring featuring a Cathedral Ring with a center gem in a beautiful halo setting, ready to share.
What You’ll Learn
Craft the Shank
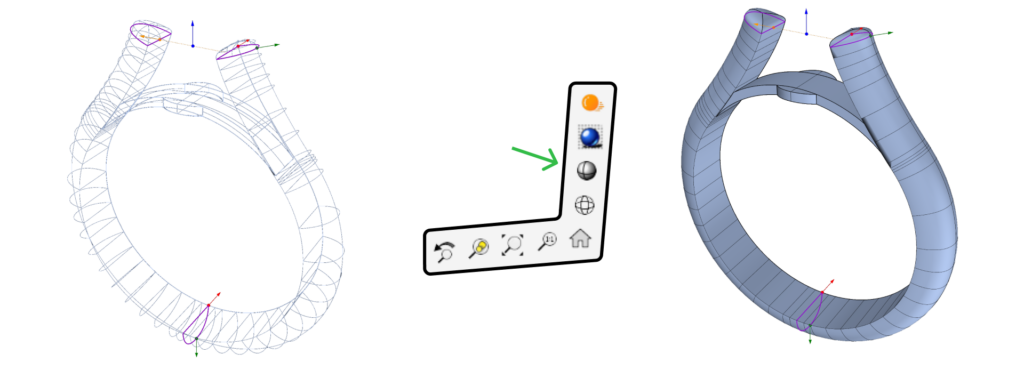
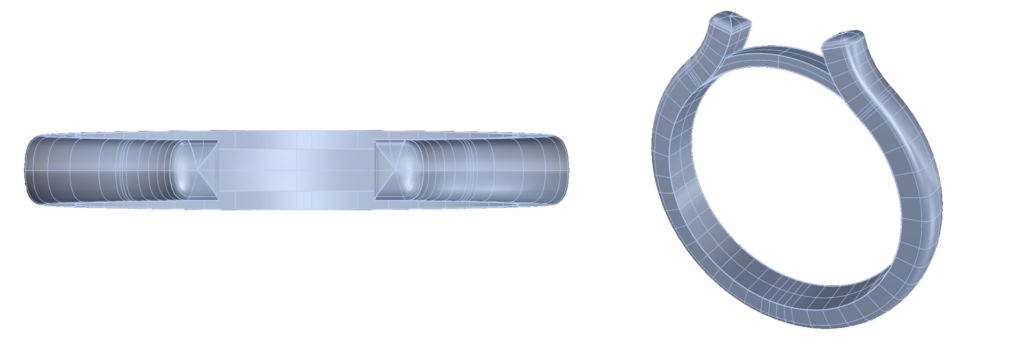
Begin with the shank, using the cathedral command to set the foundational shape. Switch to Shaded Display Mode for clear visibility, then adjust the ring’s profile to add your personal touch. Key measurements will include the top and bottom widths and heights for a balanced structure.

Adjust the Ring’s Profile
Refine the shank by adjusting parameters like width, height, and angles for a clean, precise look. Modify bridge elements to finalize the structure, setting key widths and diameters to create a cohesive design.

Add and Position the Gemstone
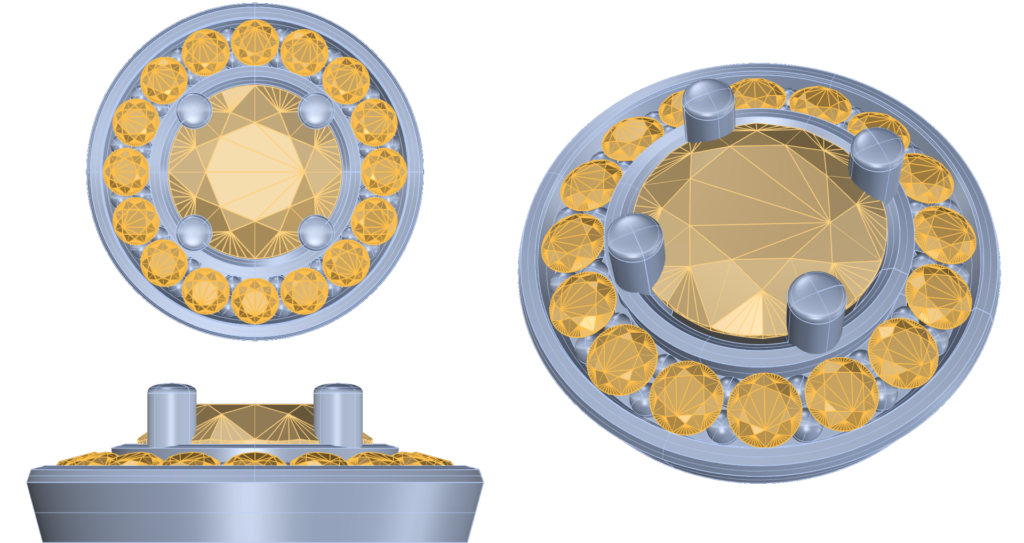
Next, place a 0.36ct round diamond at the center. Use the Gumball tool to adjust its position precisely, ensuring a harmonious setting within the shank.

Design the Halo Setting
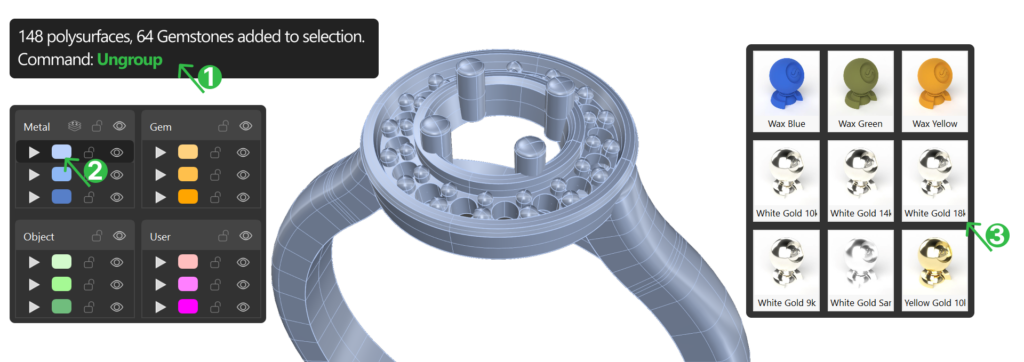
Add a halo to accentuate the center diamond. Modify gem size, spacing, and prong settings for a perfect fit, with settings for vertical alignment, inner height, and prong height. Customize the drill holes to enhance the setting’s detail and stability.

Render the Design
Once the structure is complete, set up a render with White Gold 18K and diamond textures. Adjust the perspective and angles, add reflections, and select high-quality settings for a professional-grade render that showcases every detail.

Tools Needed
With RhinoArtisan, you’ll be guided through each step, helping you master the tools and techniques with ease.