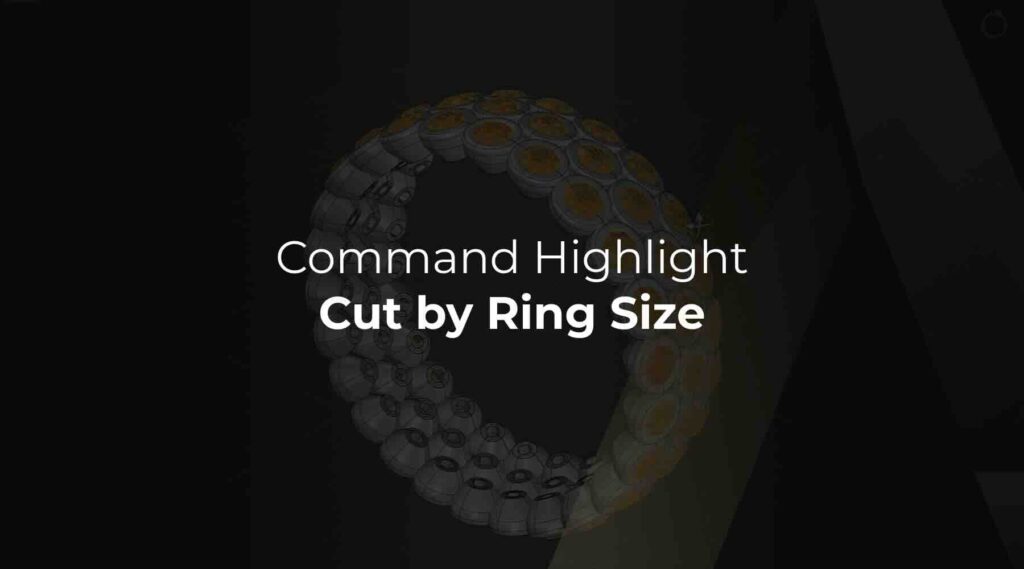
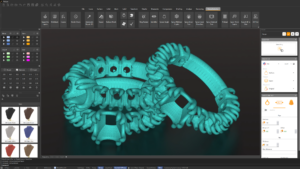
Today we’re going to explore RhinoArtisan’s “Cut by Ring Size” feature. We’ll do so by going through a 4-steps tutorial, using RhinoArtisan’s intuitive tools.
Watch the video or follow along, and at the end you’ll have a beautiful ring filled with diamonds all around, exactly cut to the ring size!
1st Step
The journey begins by placing a bezel on your ring model. We’re using a saved one in the Curator, but you can create one from the Diamonds tab in the Ribbon (up top).
Then, we’ll add a curve from Shanks ➝ Curve.

2nd Step
After that, we’ll use the arrows on the viewports (in the middle) to put the bezel on top of the ring.

3rd Step
In the Ribbon (on top of the viewports), under Transform, we’re going to use the Quick Array Polar to create a beautiful ring filled with diamonds.

4th Step
And finally, in the Outliner (on the right), under the Ring Size, you’ll see this icon:

Clicking it will adjust the bezels to fit the ring size.

If you take a look at the before and after, you can see that the stones are cut in the diameter of the ring!

Before

After
