RhinoArtisan Modeling
Lesson 6 of 13
Preparing the Central Setting
Sign in to access this lesson
This lesson is part of From RhinoArtisan to Keyshot: Jewelry Rendering Intermediate, which can come bundled with a RhinoArtisan Commercial license subject to current promotions. Log in with your customer account, or get in touch and we'll set you up.
Customers only
Solo para clientes
This lesson is part of From RhinoArtisan to Keyshot: Jewelry Rendering Intermediate, which can be included with a RhinoArtisan Commercial license subject to current promotions. If you've already purchased and don't see it in your account, get in touch.
Objective: Learn how to prepare a central setting by creating and projecting curves onto the ring shank, trimming the surface, and forming a solid using loft.
Preparing the Central Setting
Go to the Curve tab and use the Circle command.
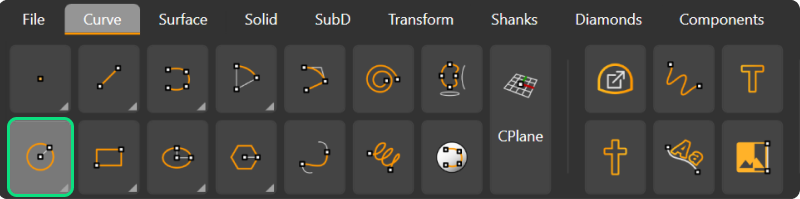
Set the center point to 0 in the command bar and press Enter.
Ensure that the option in the command bar is set to Diameter, and input 8 mm as the diameter.
Keep in mind that when it’s in diameter mode, the command bar shows radius in order to change the option to radius. This can lead to confusion. The options should appear as shown in the reference image.
Make sure you are in the Top view when you click to create the circle, ensuring the correct plane is used.
Creating the Second Circle
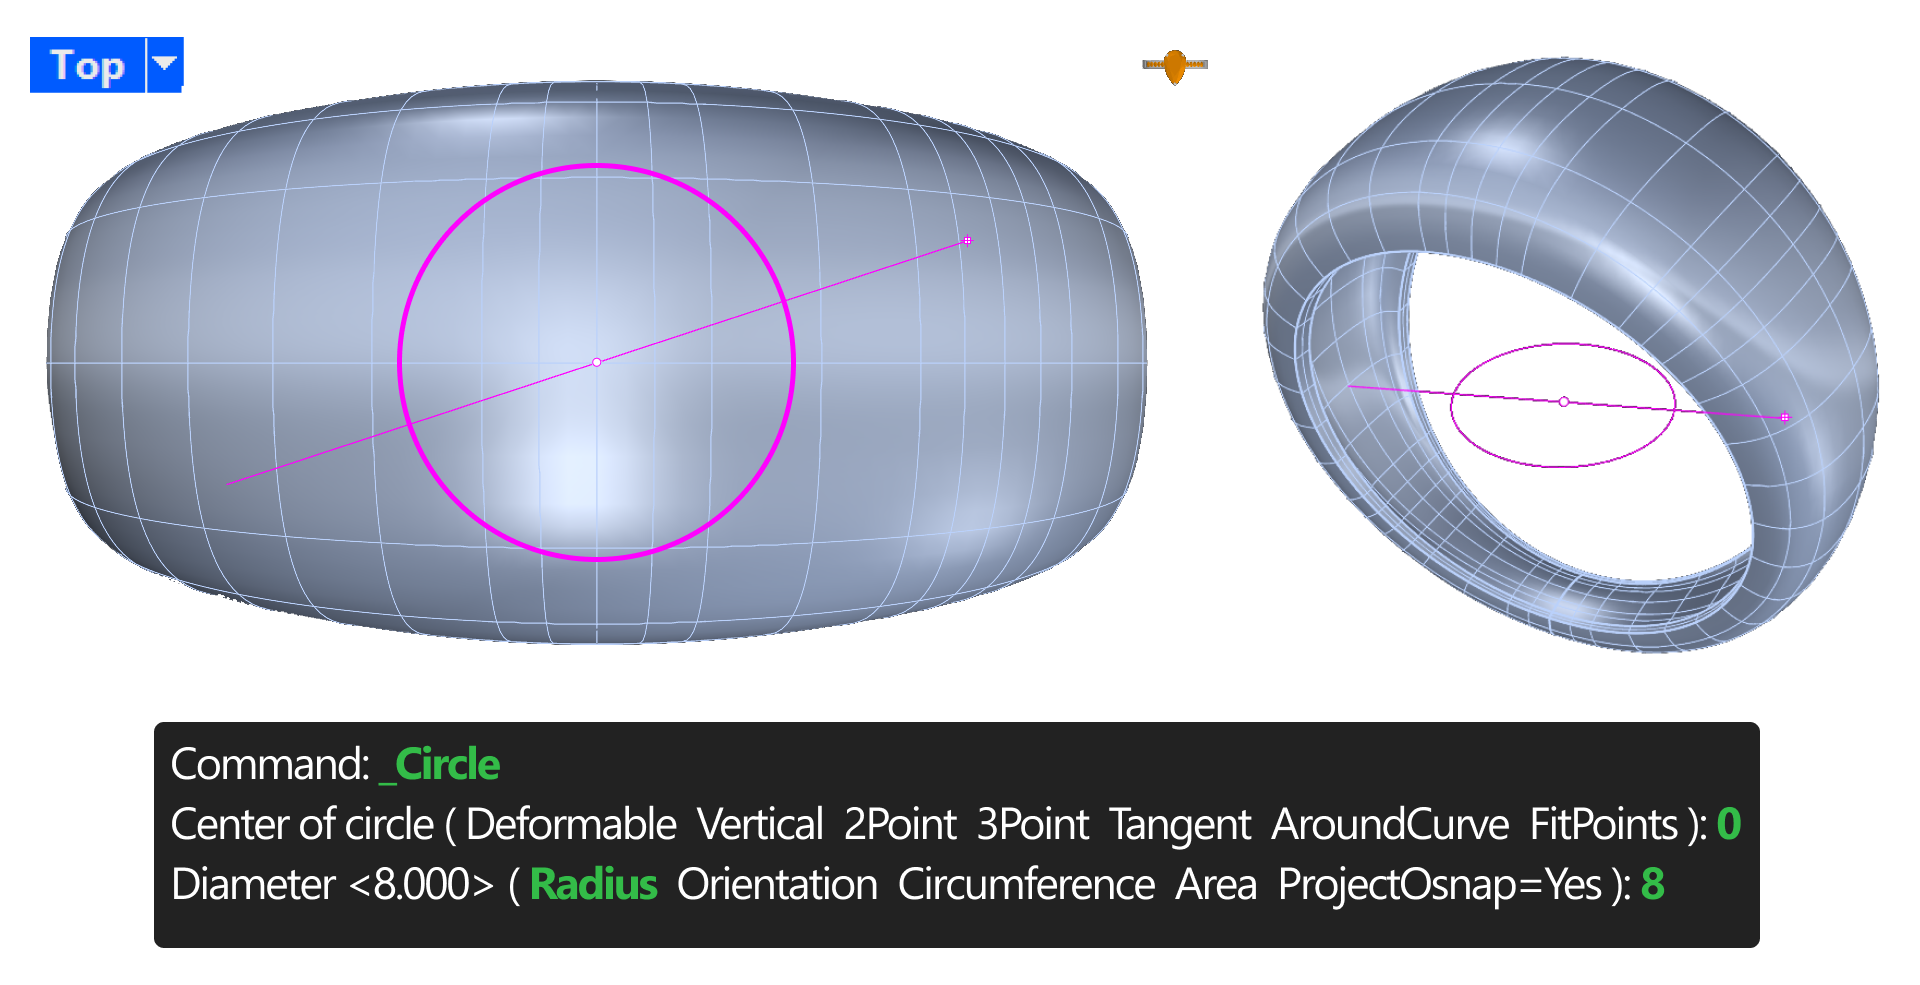
Create another circle with a diameter of 4 mm in the same way:
Select the Circle command again or right-click to repeat the last command.
Type 0 and press Enter.
Input 4 to set the diameter of the new circle, ensuring you are still in the Top view.
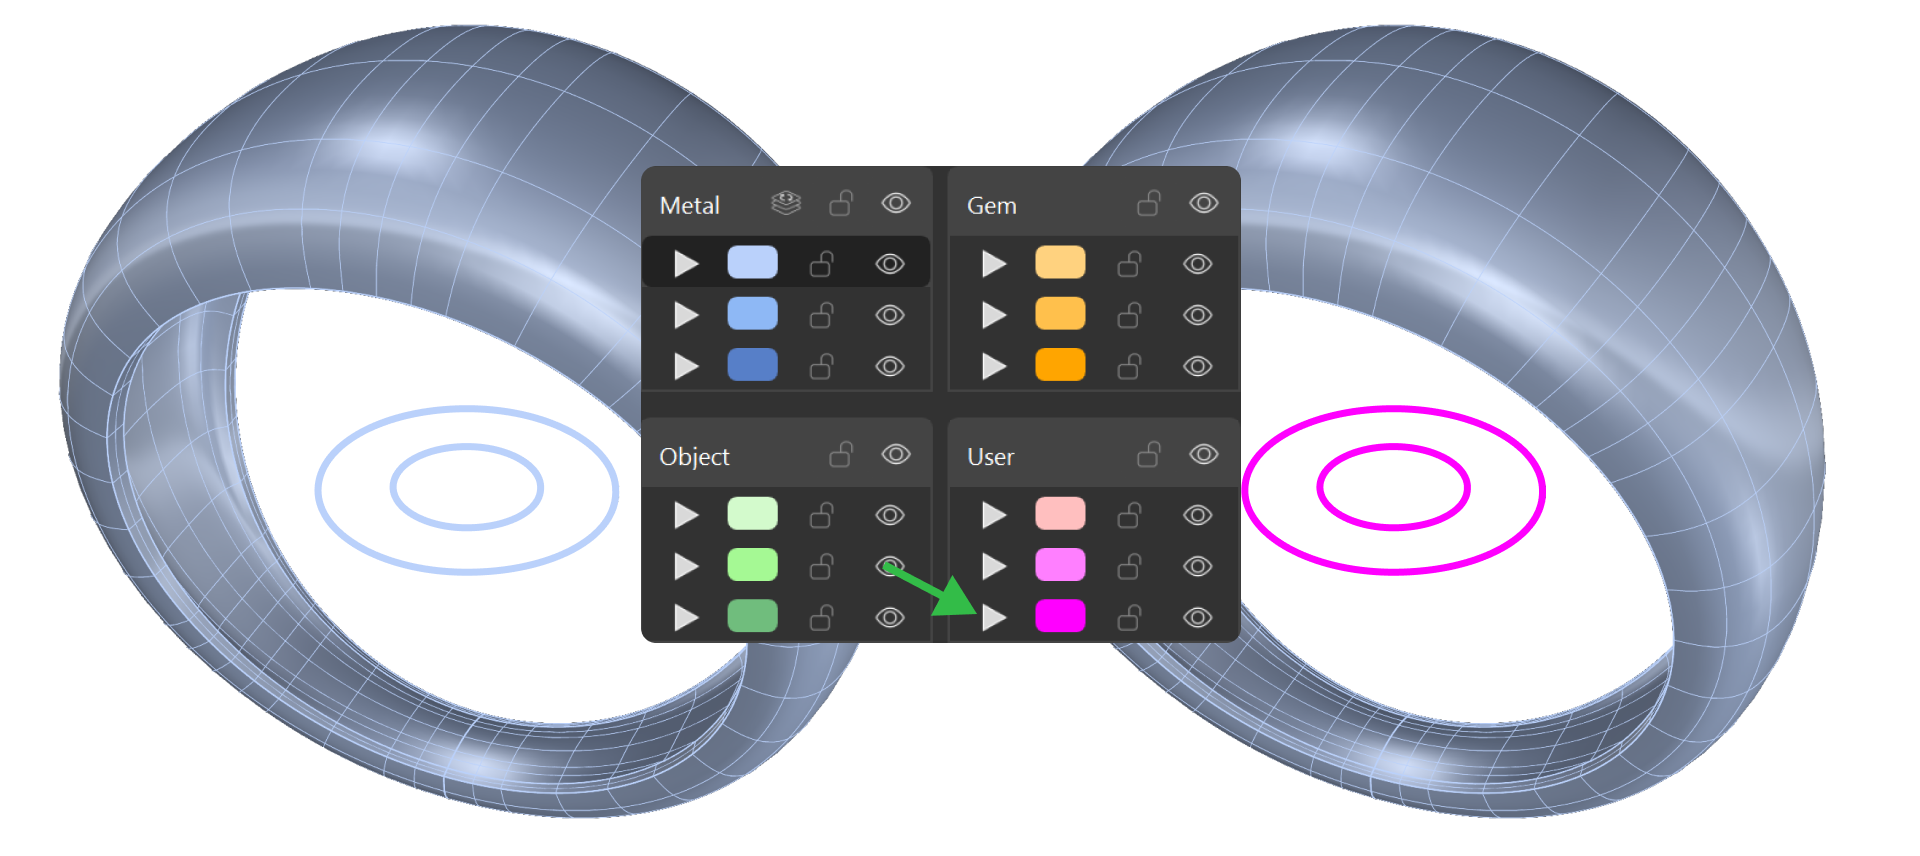
Organizing Curves by Layers
To differentiate the curves, select them and click on the layer arrow to assign them to one of the User layers.
Projecting the Curves
Select the curves and click on the Project command.

The command bar will prompt you to select a surface for projection. Select the ring shank and press Enter.
Once projected, some curves will not be needed.
To clearly view the projected curves, select the shank and type Hide in the command bar.
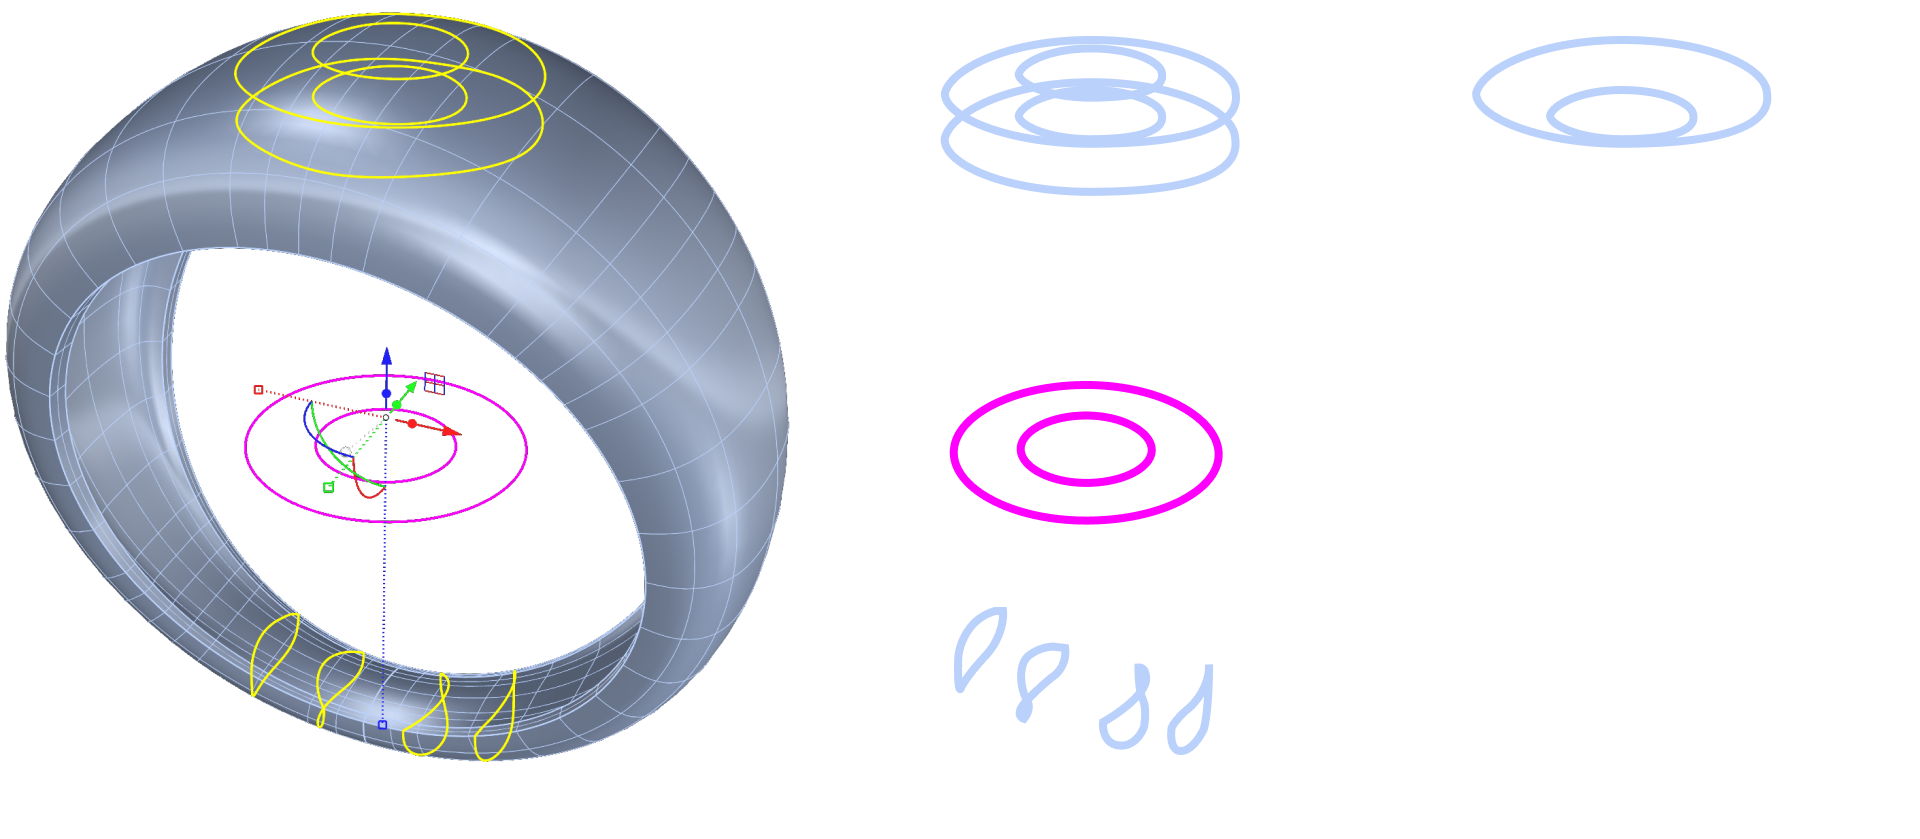
Keep only two curves:
The larger top curve
The smaller bottom curve
You can delete the rest. Retain the original curves as reference by moving them to another layer.
Afterward, type Show to make the shank visible again.
Trimming the Shank
In the upper-left corner, click on the Trim icon.

The command bar will prompt you to select cutting objects. Select the two projected curves and press Enter.
Next, the command bar will ask for the objects to trim. Click inside the projected curves to cut the shank, and press Enter to finish.

You can now hide the curves.
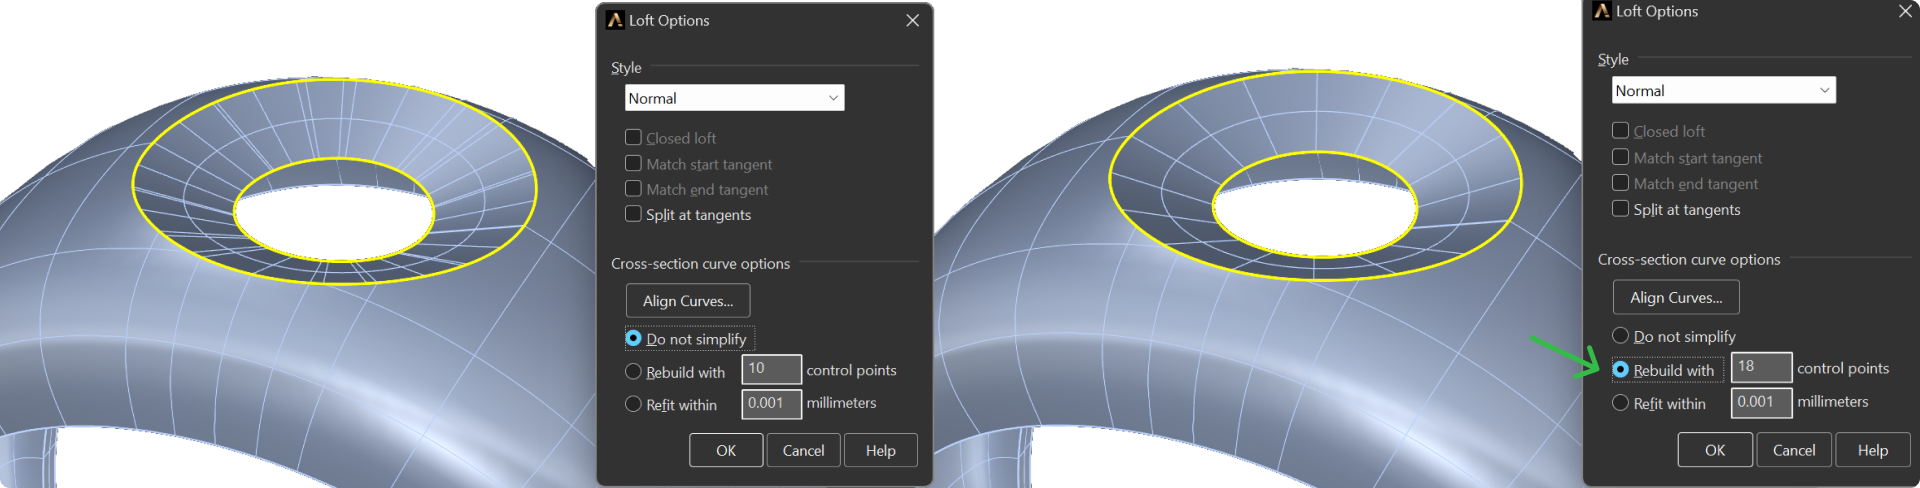
Creating a Solid Using Loft
Go to the Surface tab and use the Loft command to close the trimmed surface and create a solid.

Select the two curves and press Enter.
In the options window, set Rebuild to 18 control points and click OK.
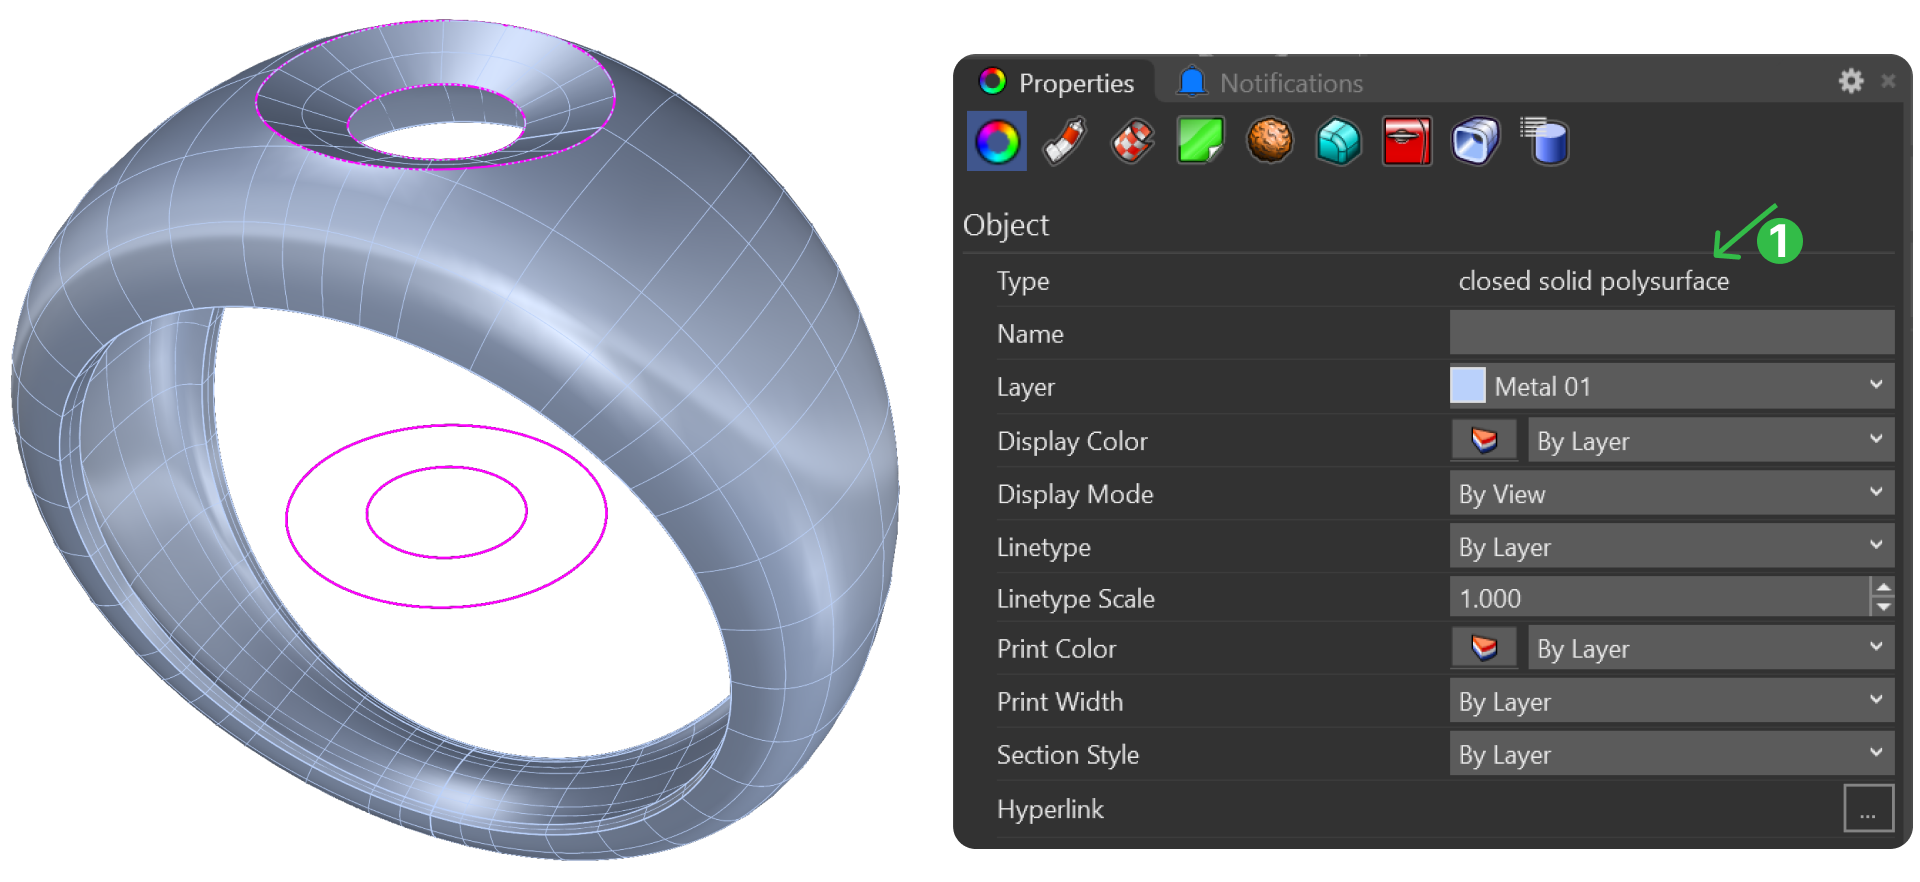
To create the solid, select both the lofted surface and the shank, then click on Join, located next to the Trim command in the upper-left corner.

Checking the Solid
To verify that the object is a solid, select the model and press F3 to view its properties. You should see Closed Solid Polysurface, confirming that it is now a single solid element.
Next Lesson: Refining the Central Setting and Adding Decorative Details