RhinoArtisan Modeling
Lesson 18 of 31
Building the Shank
Sign in to access this lesson
This lesson is part of From RhinoArtisan to Keyshot: Jewelry Rendering Essentials, which can come bundled with a RhinoArtisan Commercial license subject to current promotions. Log in with your customer account, or get in touch and we'll set you up.
Customers only
Solo para clientes
This lesson is part of From RhinoArtisan to Keyshot: Jewelry Rendering Essentials, which can be included with a RhinoArtisan Commercial license subject to current promotions. If you've already purchased and don't see it in your account, get in touch.
Objective: Learn how to construct a classic ring shank using the Classic Ring command and adjust its parameters for customization.
The shank is the band that wraps around the finger, and it’s the piece that will carry everything else we build in this section: the central setting, the lateral channels and the gems. Because all of that geometry is projected onto the band, getting the size and the profile right now saves a lot of corrections later. Let’s start from a parametric classic shank and adjust it value by value.
To start, we will build a classic ring. Go to the Shanks tab and use the Classic command. The shank appears as an editable asset, so none of the values we set are final: we can reopen and refine them at any point.

Click on Edit
With the shank created, click on Edit to open its parameters. Before changing any value, it’s worth improving how the model reads on screen: go to the lower part of the viewport, press Shift, and click on the Shaded icon. The display mode will automatically switch to shaded in all four viewports, which lets you judge the real volume of the band instead of working on a wireframe.
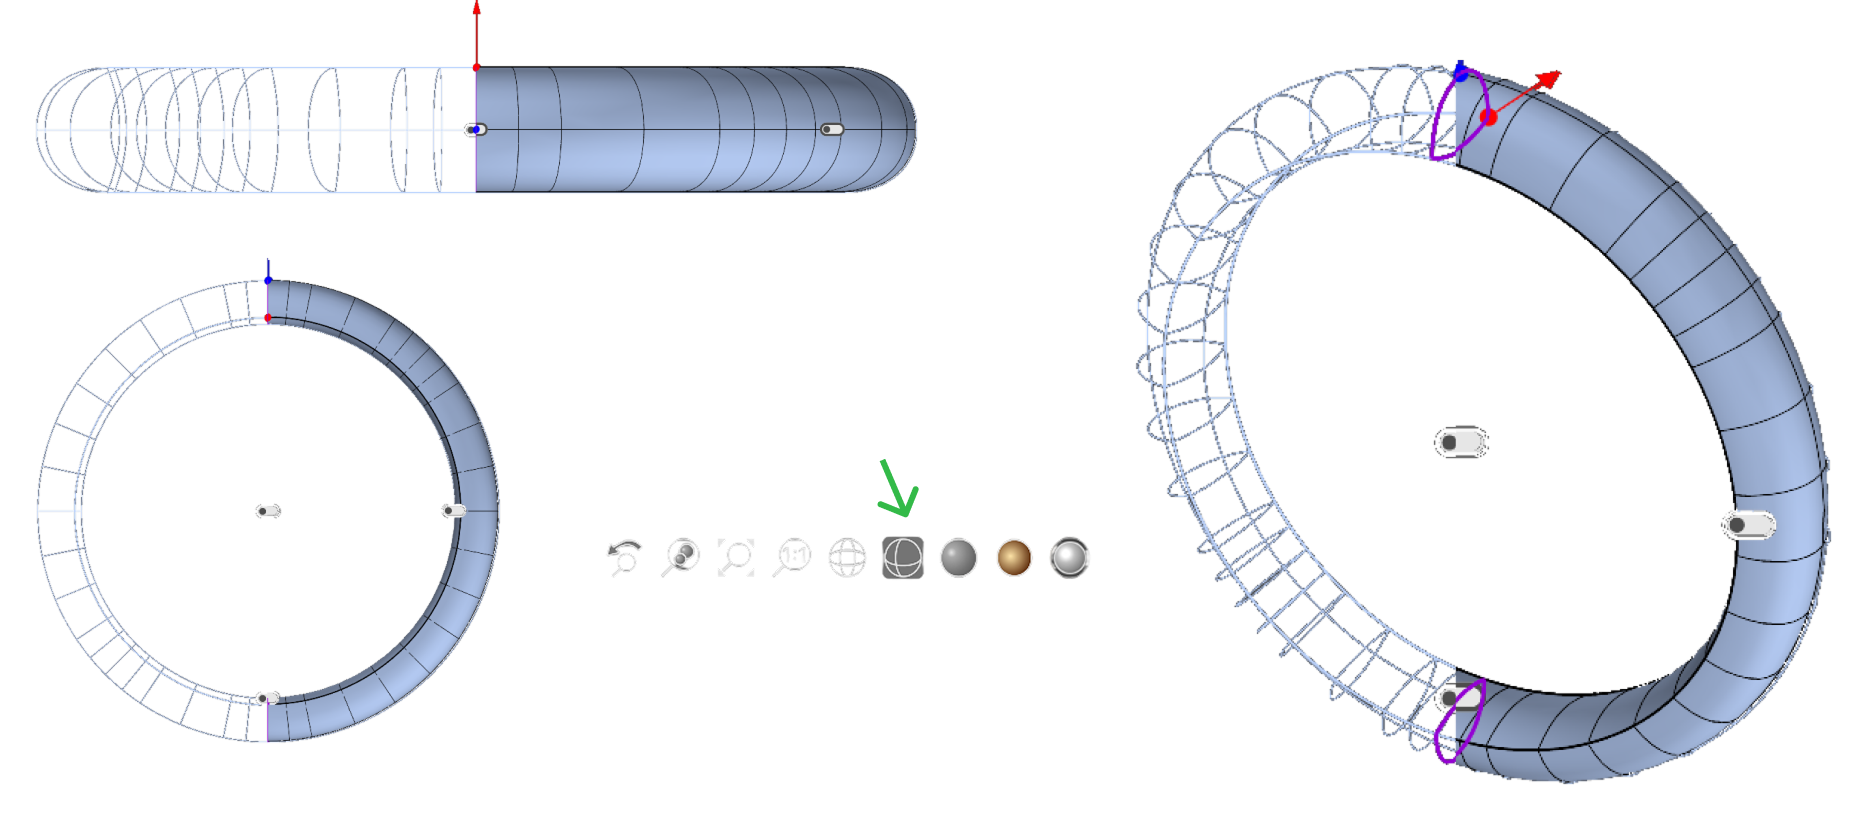
Setting the Size
The first step is to change the ring size to match the Spain region and select size 14.
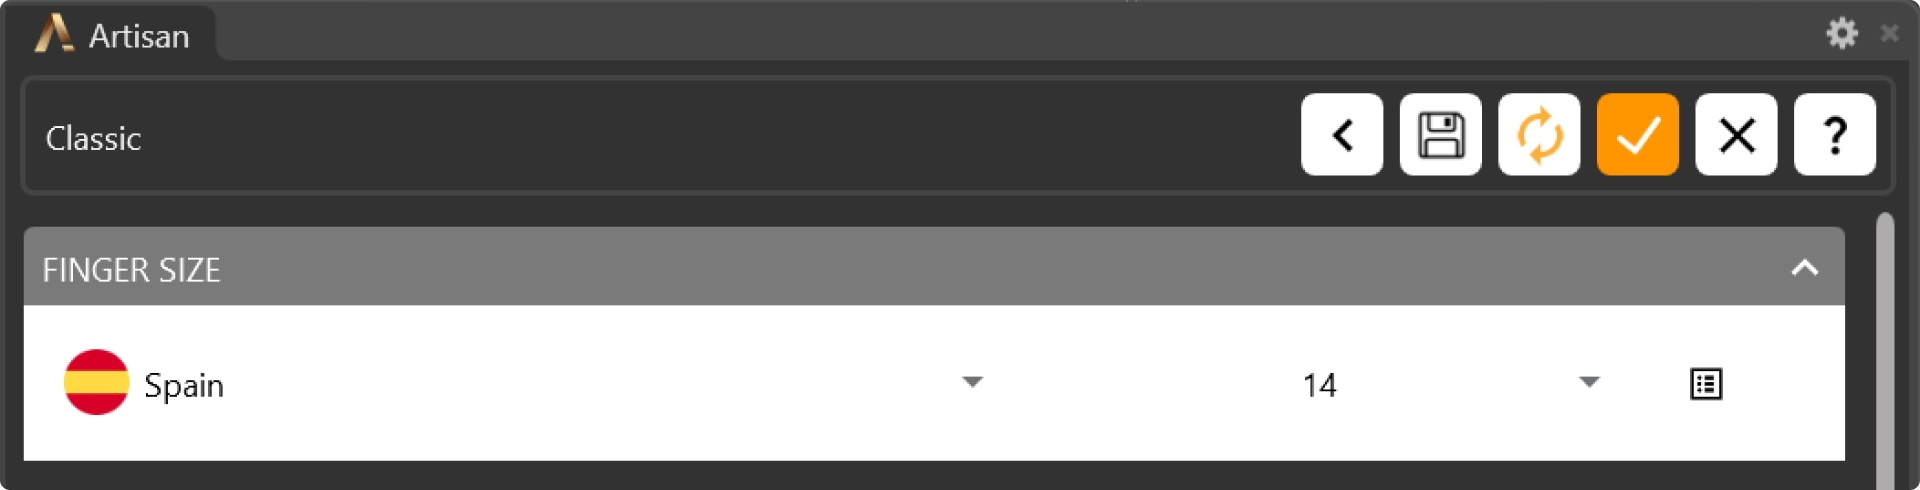
Editing the Top Profile
Click on Edit Asset to modify the top profile. The profile is the cross-section that runs around the finger, so it’s what gives the band its width, its height and, ultimately, its character.
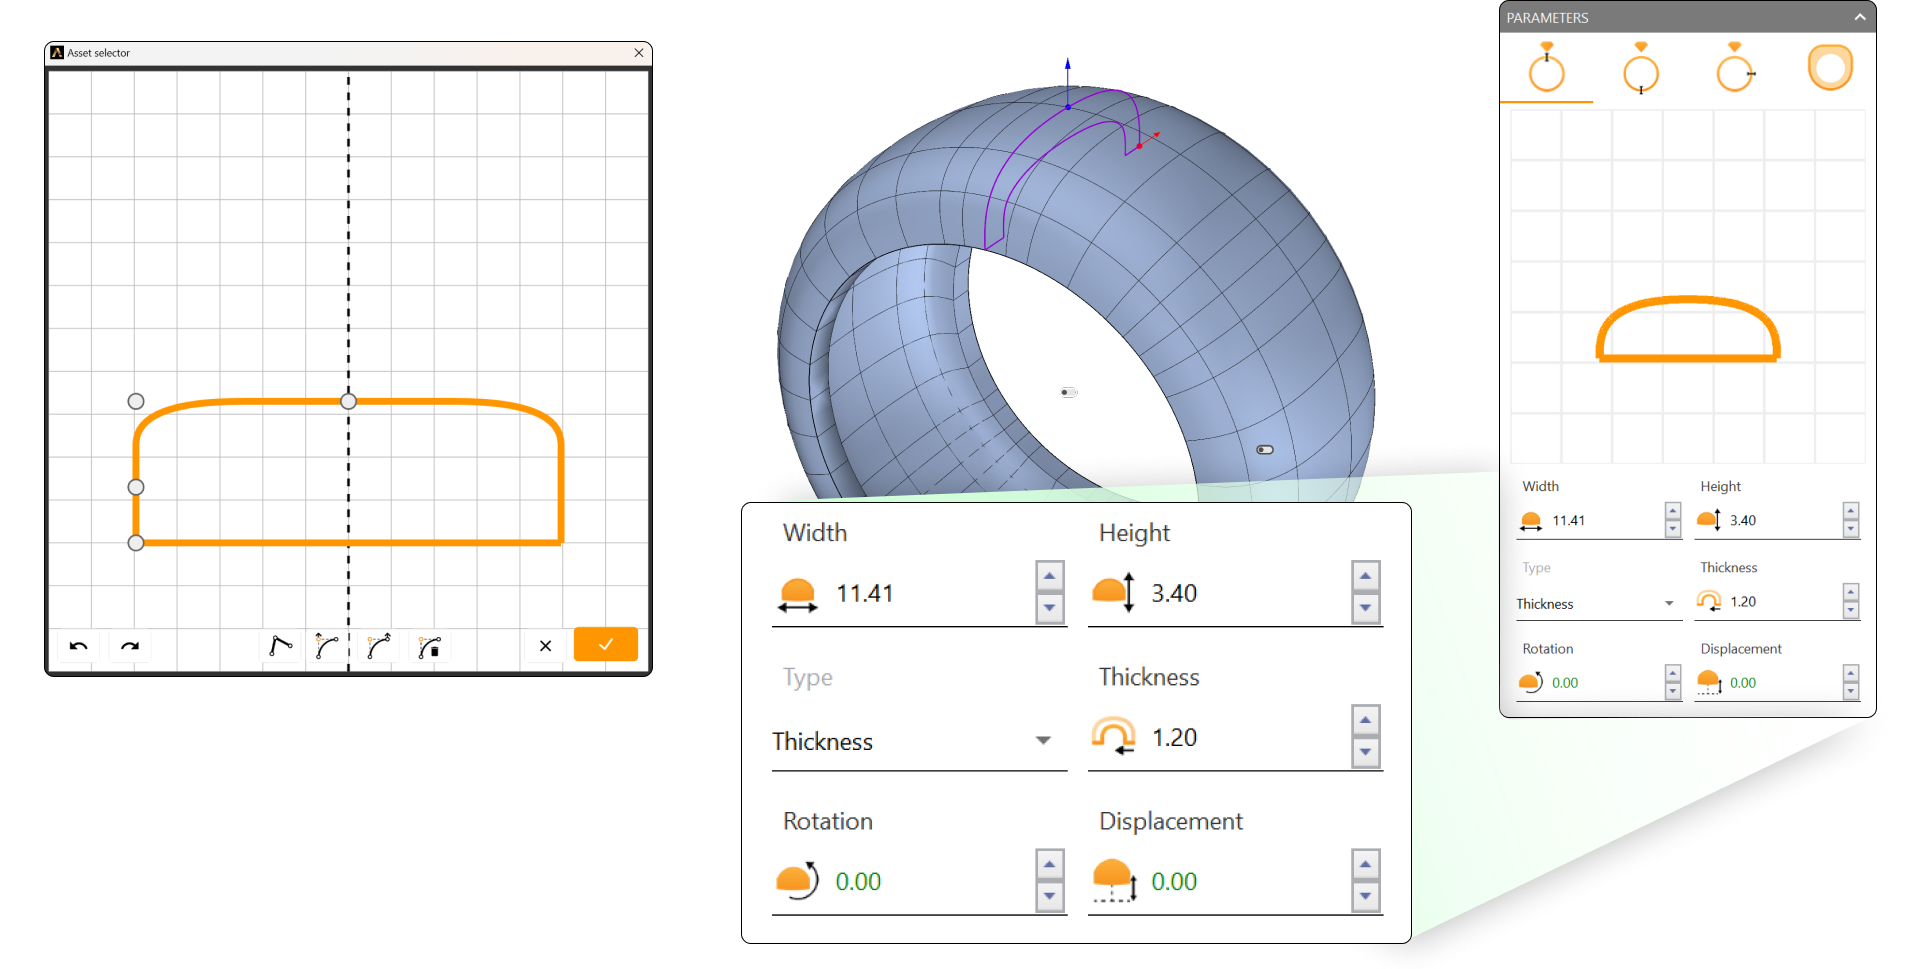
Adjust the following parameters:
- Width: 11.41 mm
- Height: 3.40 mm
- Type: Thickness
- Thickness: 1.20 mm
Width and Height set the section of the band, while switching the Type to Thickness lets you control the amount of metal with a single value. That generous width is what will give us room to project the central setting onto the top of the shank in the next lesson.
Editing the Bottom Profile
Now switch to the Parameters tab to adjust the bottom profile. Activate the bottom profile and change its Height to 1.70 mm.
Activating a second profile lets the band change section as it travels around the finger. With half the height of the top profile, the band tapers underneath. This is a classic move that keeps the ring comfortable to wear and prevents the design from looking heavy.
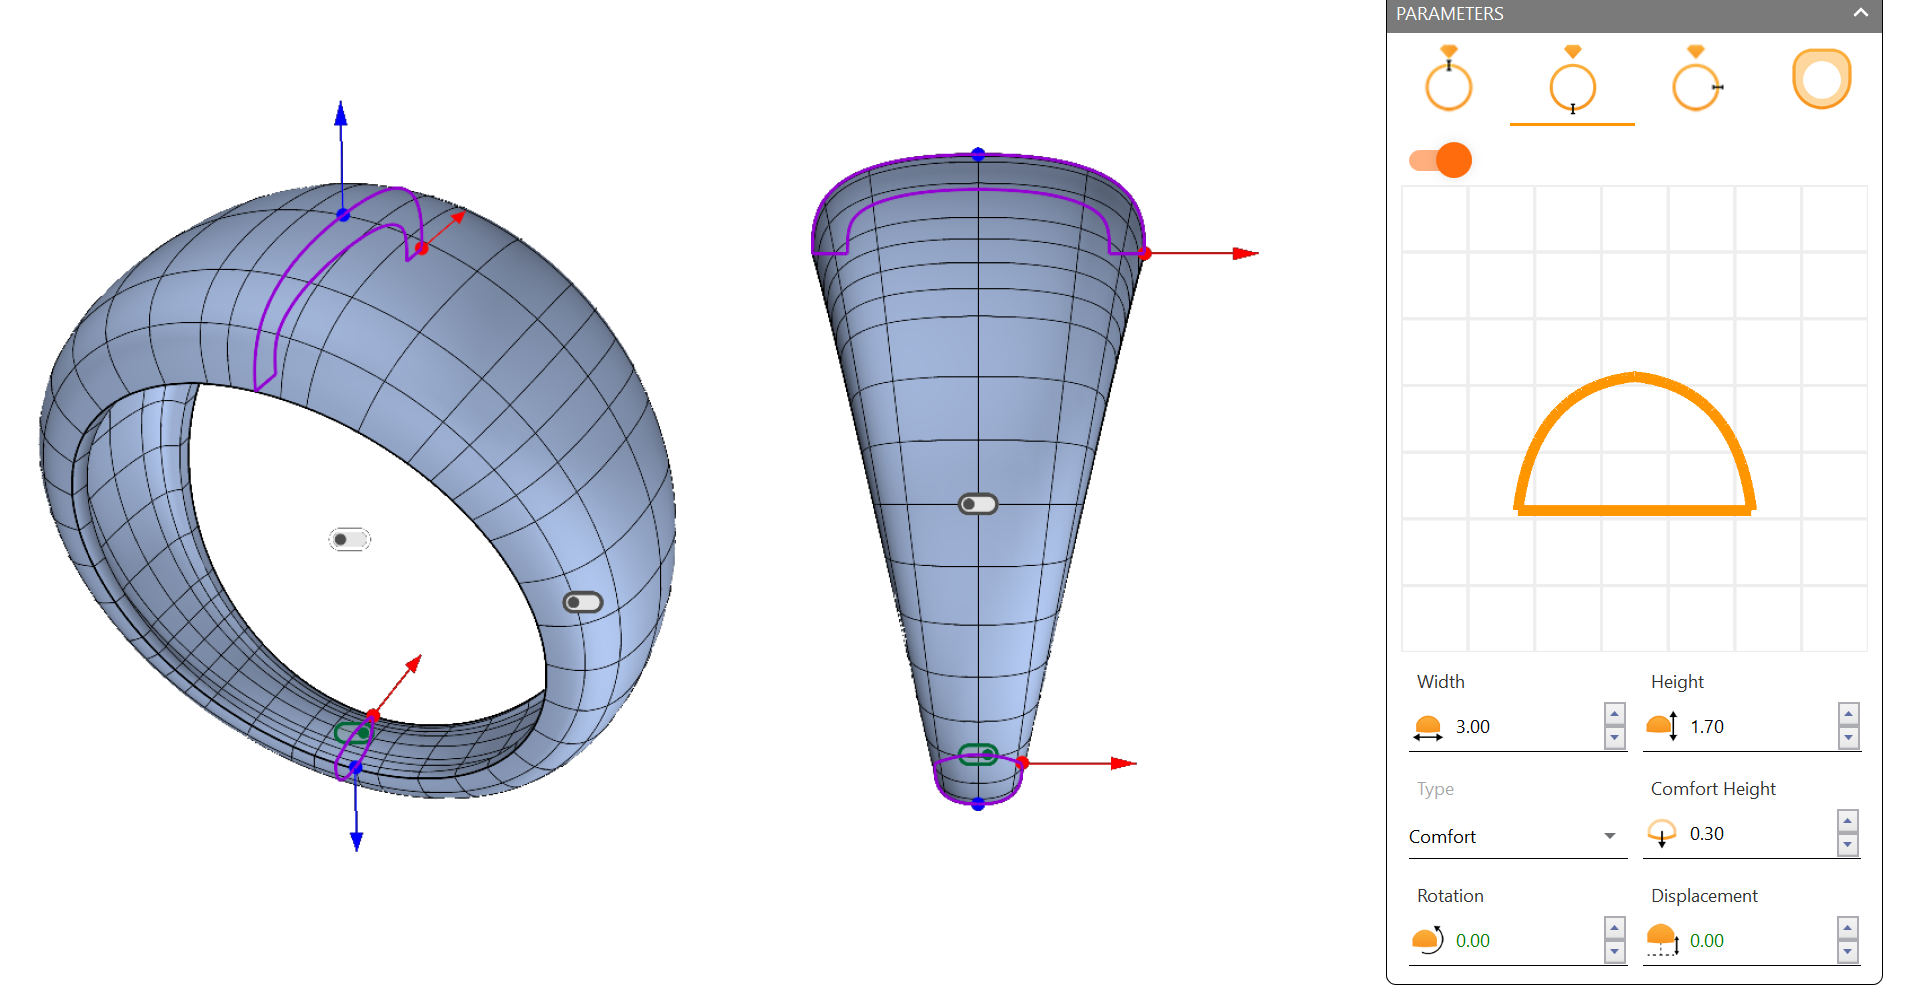
Once done, click Accept, and the base for your ring is ready. Take a moment to check the proportions in the perspective view before moving on: everything we add from here sits on this band.
Next Lesson: Preparing the Central Setting
Almost there — you still have some lessons to complete. Jump to the next one →
Impersonating — progress and reviews are disabled.
Course completed
You've completed From RhinoArtisan to Keyshot: Jewelry Rendering Essentials 🎉
Great work. Get your certificate of completion and, if you have a minute, let other jewelers know what you thought of the course.