RhinoArtisan Modeling
Lesson 25 of 31
Creating the Lateral Channels
Sign in to access this lesson
This lesson is part of From RhinoArtisan to Keyshot: Jewelry Rendering Essentials, which can come bundled with a RhinoArtisan Commercial license subject to current promotions. Log in with your customer account, or get in touch and we'll set you up.
Customers only
Solo para clientes
This lesson is part of From RhinoArtisan to Keyshot: Jewelry Rendering Essentials, which can be included with a RhinoArtisan Commercial license subject to current promotions. If you've already purchased and don't see it in your account, get in touch.
Objective: Learn how to create the lateral channels by placing a reference point, extracting an isocurve, offsetting the surface, and mirroring the result before the Boolean difference.
The lateral channels follow the same logic as the central one: we mark a point on the surface, extract an isocurve through it, and turn the resulting surface into a thin solid that will be subtracted from the shank. Let’s start with the reference point.
Go to the Curve tab and use the Point command. Make sure Osnap is activated with the Int and End options enabled so the point lands exactly on the seam.
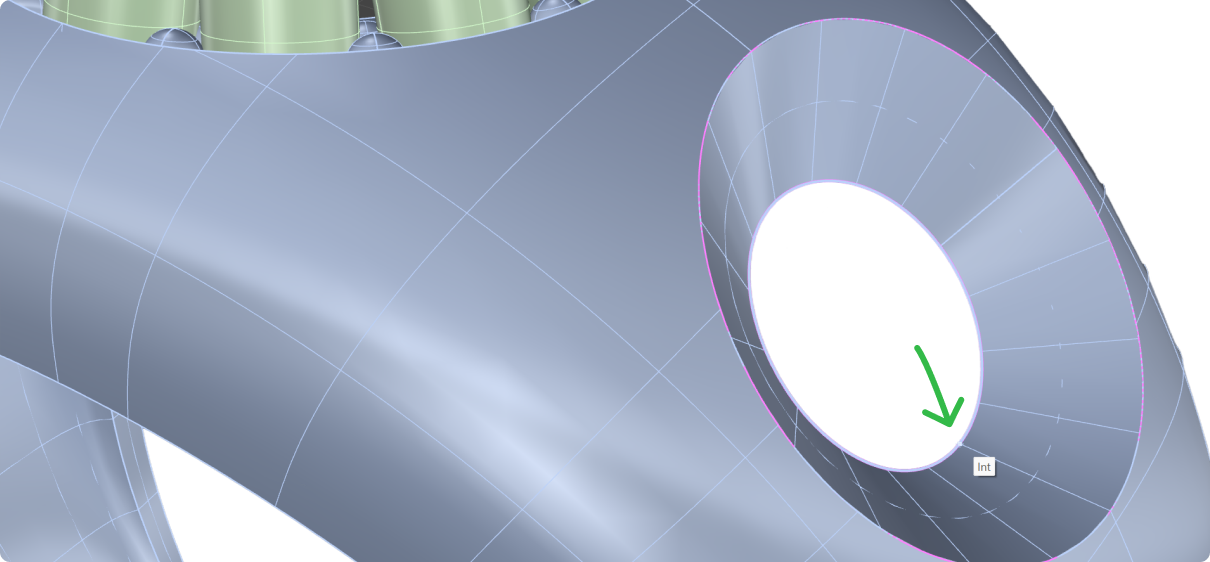
Click on the lower part of the seam of the lofted surface. That click is only the starting position: the point still has to travel 0.5 mm along the seam, because it marks where the surface will be split, and therefore where the channel begins.
Select the point and go to the Transform tab, then click on Move.

Click on the point to set it as the reference, then type 0.5 in the command bar and press Enter. With Osnap set to Near, select the seam so the point travels along it.
Extracting the Isocurve
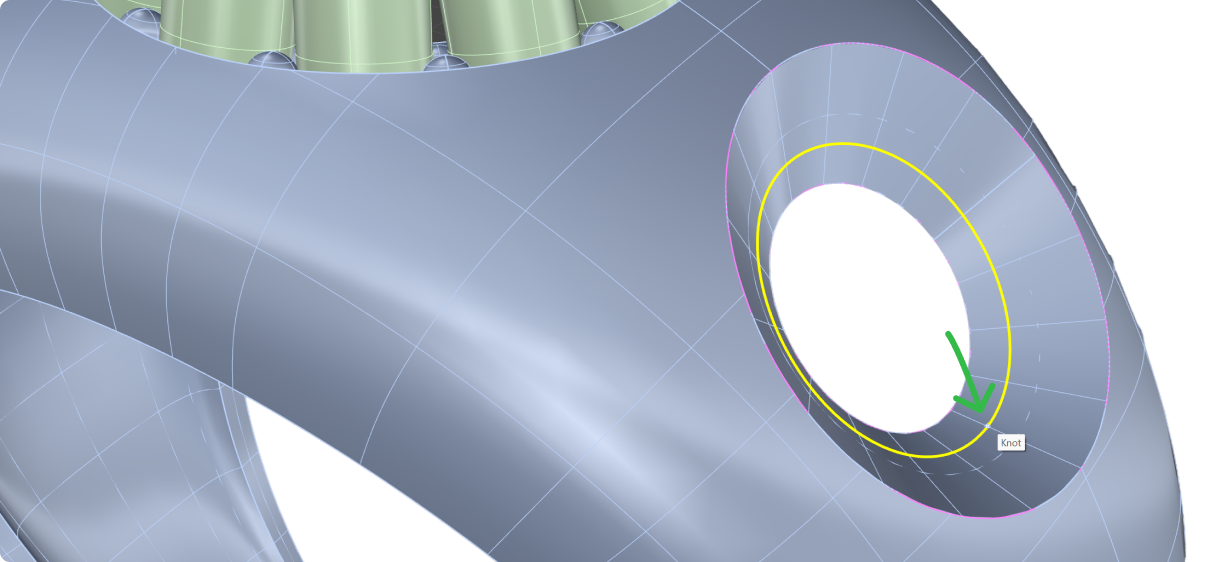
With the point in place, we can extract the curve that will cut the surface. Go to the Curve tab and use the Extract Isocurve command.

Select the surface and change the direction to V in the command bar. Click on the previously created point to extract the isocurve and press Enter to finish.
Splitting the Surface
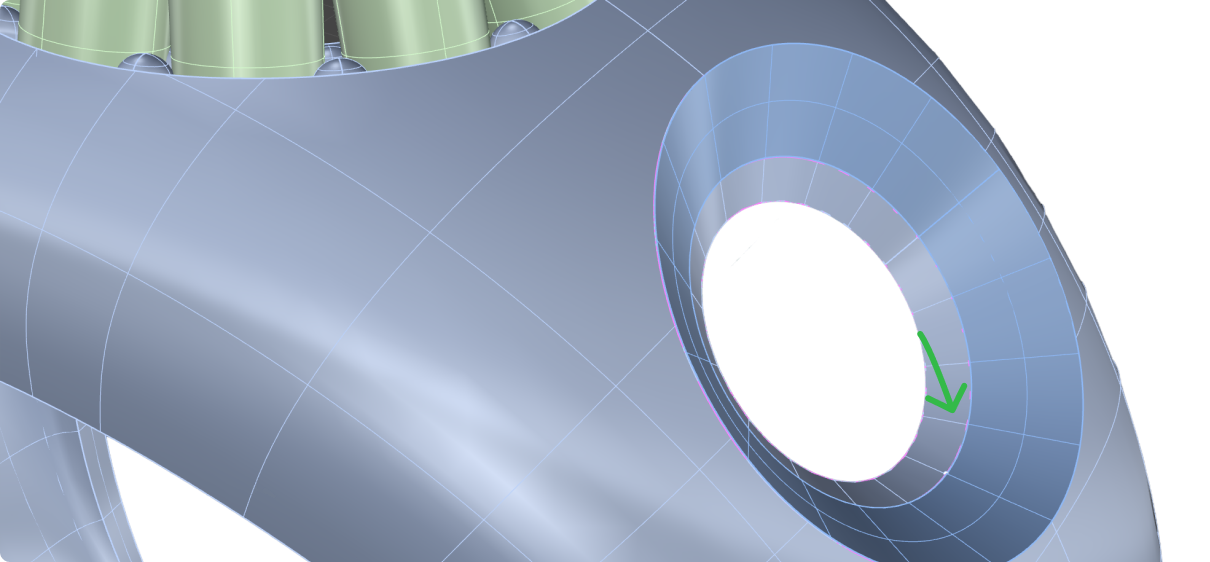
Now we use that isocurve to divide the lateral surface. Go to the Surface tab and use the Split Refit Surface command.

Select the surface and the isocurve, then press Enter. The surface is now split into two pieces: we keep the larger one, which is the one that will become the channel, and delete the smaller one.
Offsetting the Surface
As with the central channel, the surface has no thickness of its own, so we offset it into a solid that the Boolean operation can subtract from the shank.
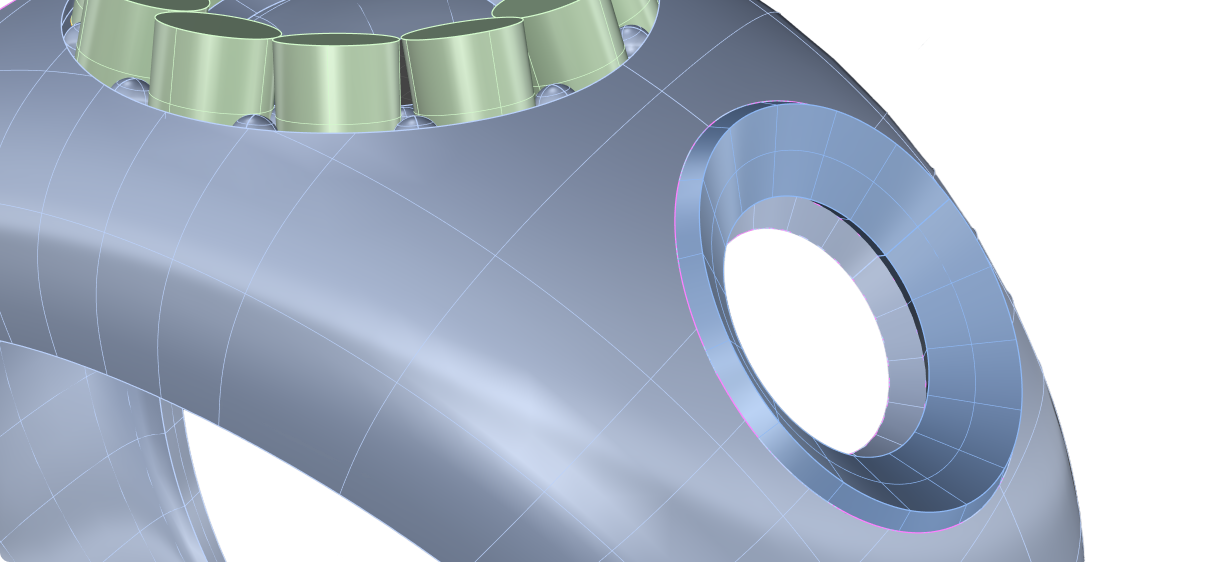
Select the remaining surface and click on the Offset command.

Change the option BothSides to Yes so the surface grows in both directions, set the offset distance to 0.3 mm, and press Enter twice to complete the operation.
Mirroring the Solid
Before performing the Boolean operation, we’ll mirror the solid to create the second channel. Doing it now means both channels are cut in a single operation and come out perfectly symmetrical.
Select the solid and go to the Transform tab, then use the Mirror command.

Set the axis by typing 0 in the command bar and pressing Enter. From the front view, hold Shift and click on the top of the model, exactly as we did when mirroring the projected curves.
Applying the Boolean Difference
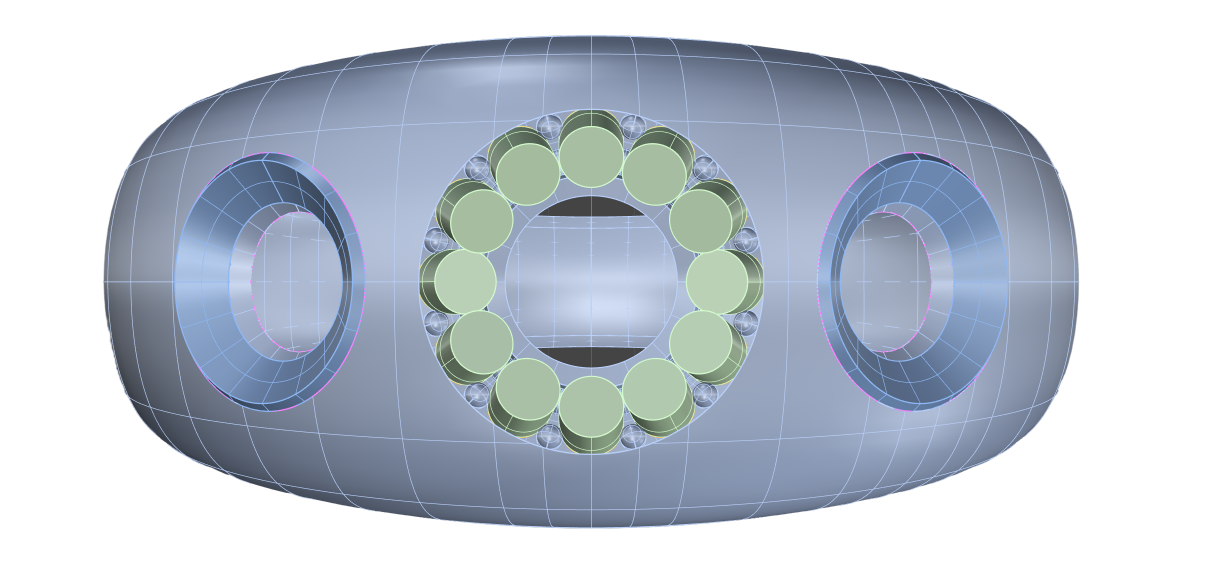
We now have the shank and the two solids that will carve the channels into it. Go to the Solid tab and use the Boolean Difference command.

The selection order is the same one we used for the central channel. First, select the Shank and press Enter. Then, select the two mirrored solids and press Enter to complete the Boolean operation.
Result: You now have the lateral channels successfully created.
Next Lesson: Adding Gems to the Lateral Channels
Almost there — you still have some lessons to complete. Jump to the next one →
Impersonating — progress and reviews are disabled.
Course completed
You've completed From RhinoArtisan to Keyshot: Jewelry Rendering Essentials 🎉
Great work. Get your certificate of completion and, if you have a minute, let other jewelers know what you thought of the course.