Dual Pear Diamond Ring
Lesson 28 of 35
Carving the Gem Channels
Sign in to access this lesson
This lesson is part of Sculpted Elegance: Statement Jewelry Designs, which can come bundled with a RhinoArtisan Commercial license subject to current promotions. Log in with your customer account, or get in touch and we'll set you up.
Customers only
Solo para clientes
This lesson is part of Sculpted Elegance: Statement Jewelry Designs, which can be included with a RhinoArtisan Commercial license subject to current promotions. If you've already purchased and don't see it in your account, get in touch.
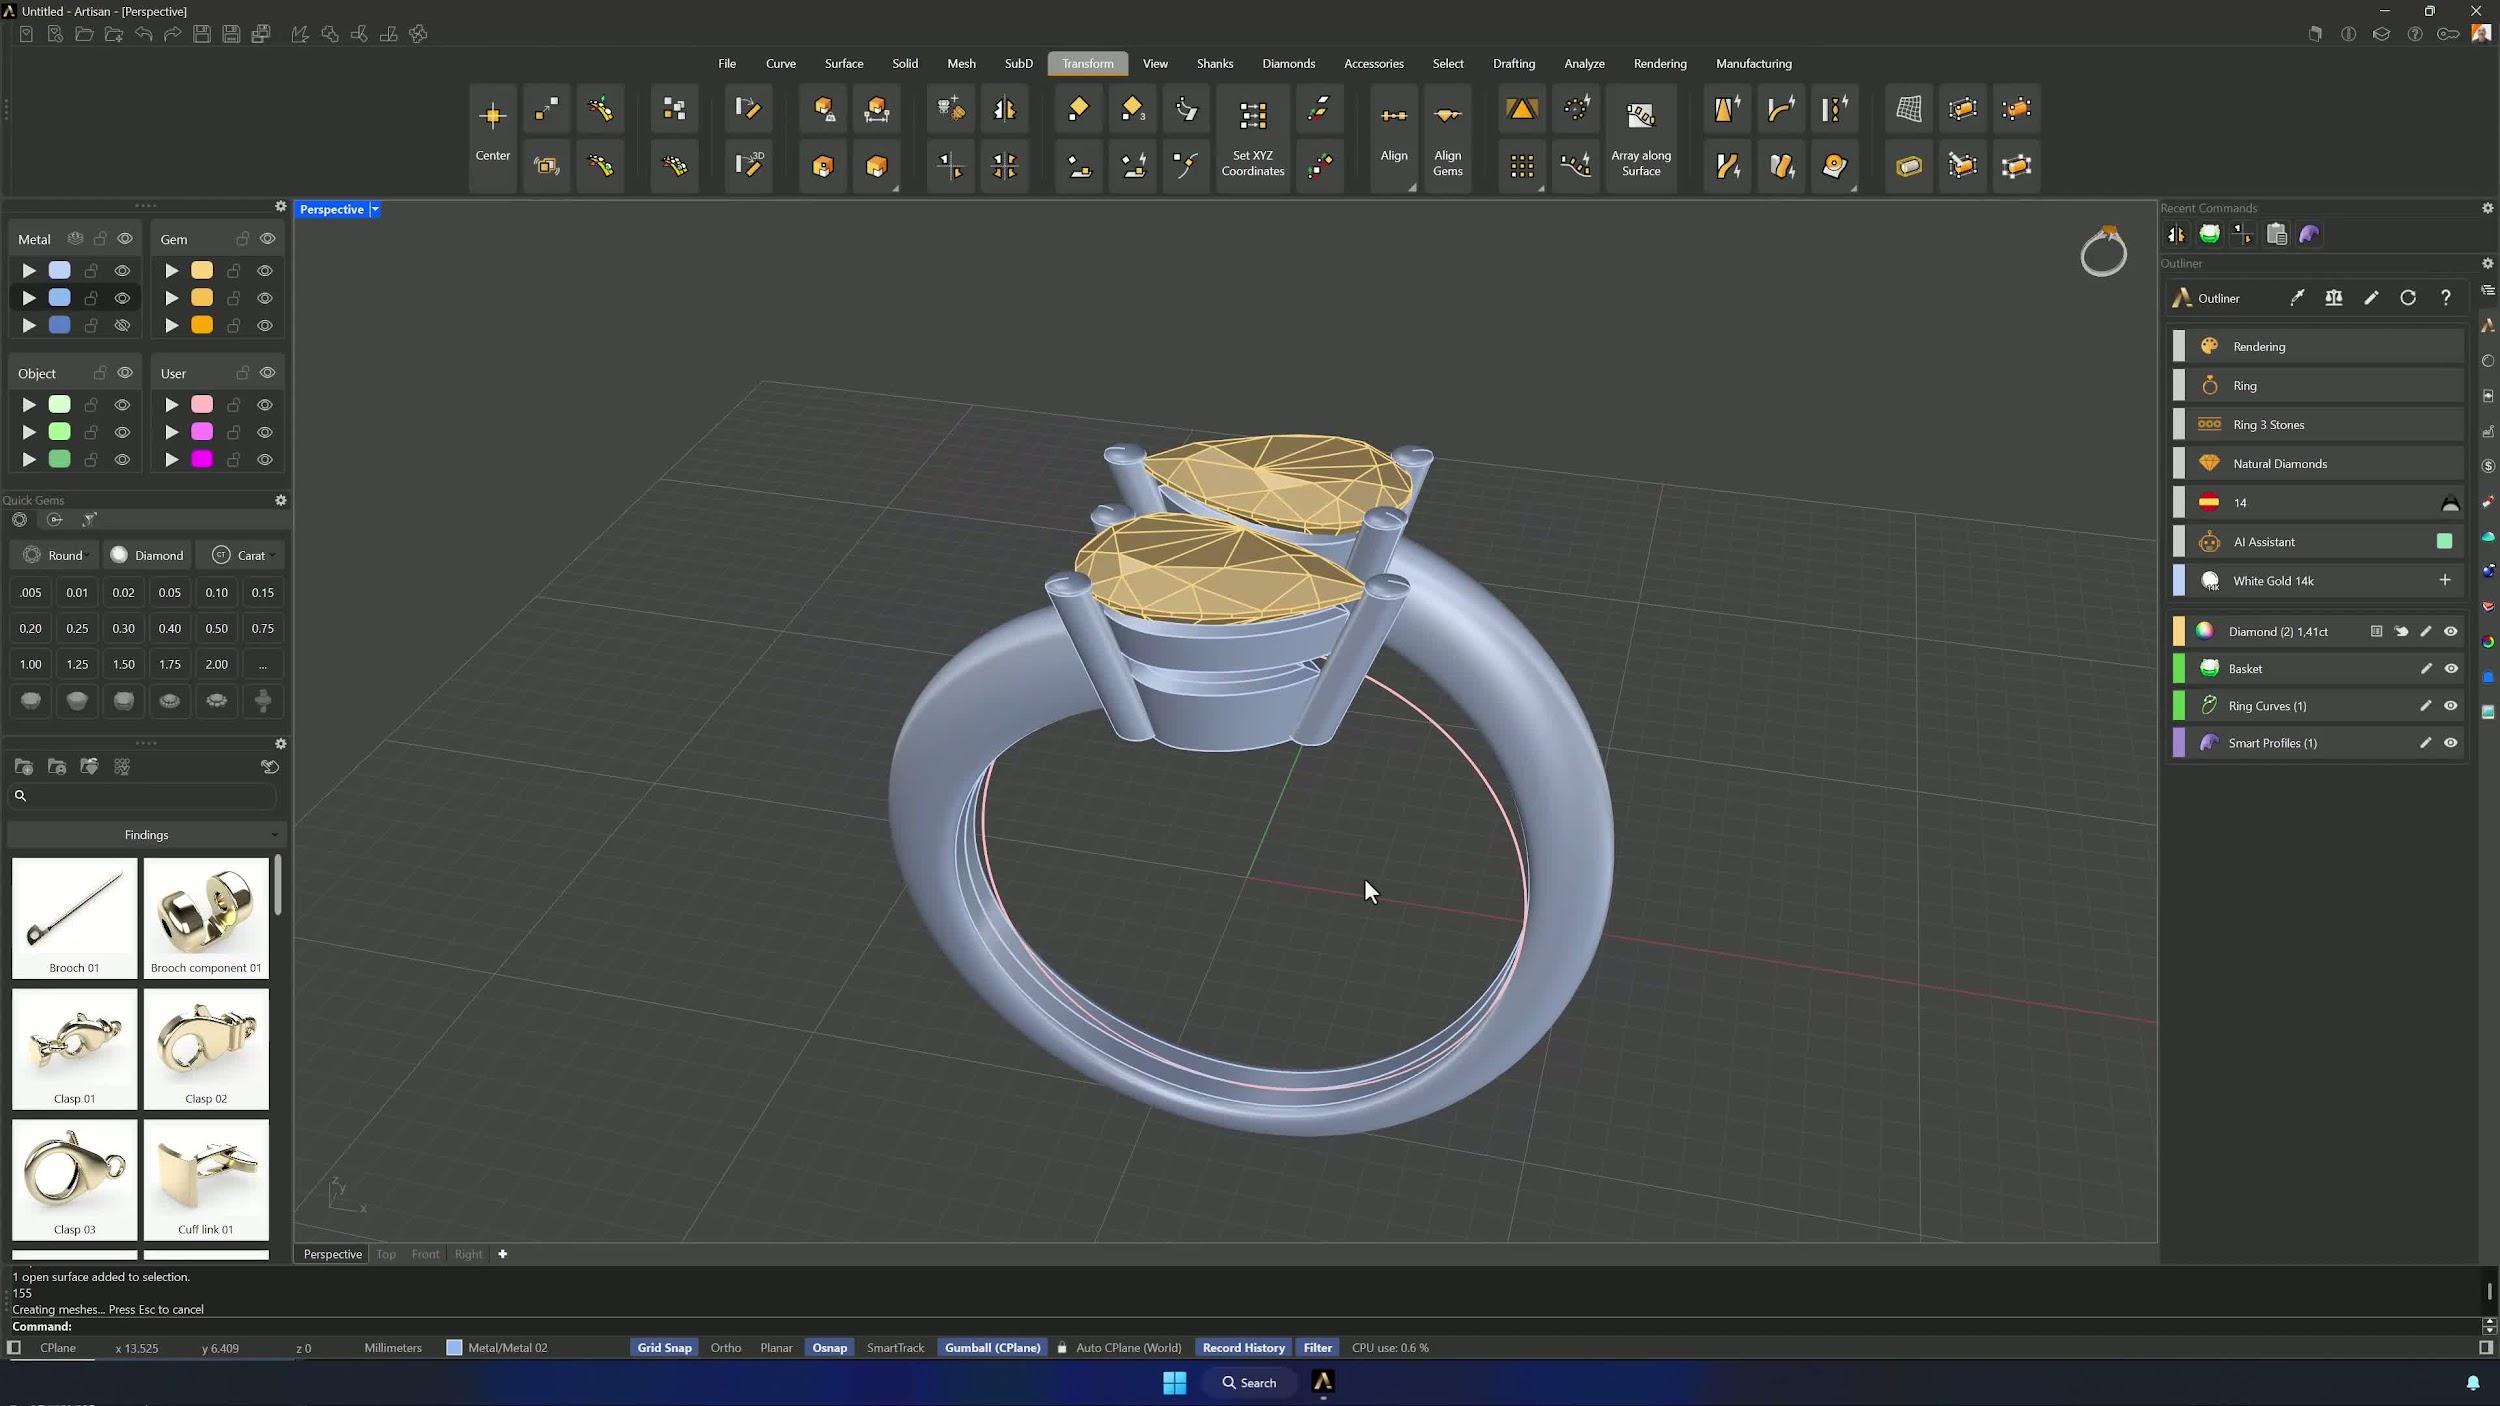
12. Create reference rectangles and circles for side details
From the Front view, draw a reference rectangle from 0 with −4.76 mm and 8.33 mm, and a 1.9 mm-radius circle at its top-left corner. A second rectangle from 0 at −9.52 mm × 1.75 mm positions a second circle of radius 1.25 mm — separate layers keep them legible.
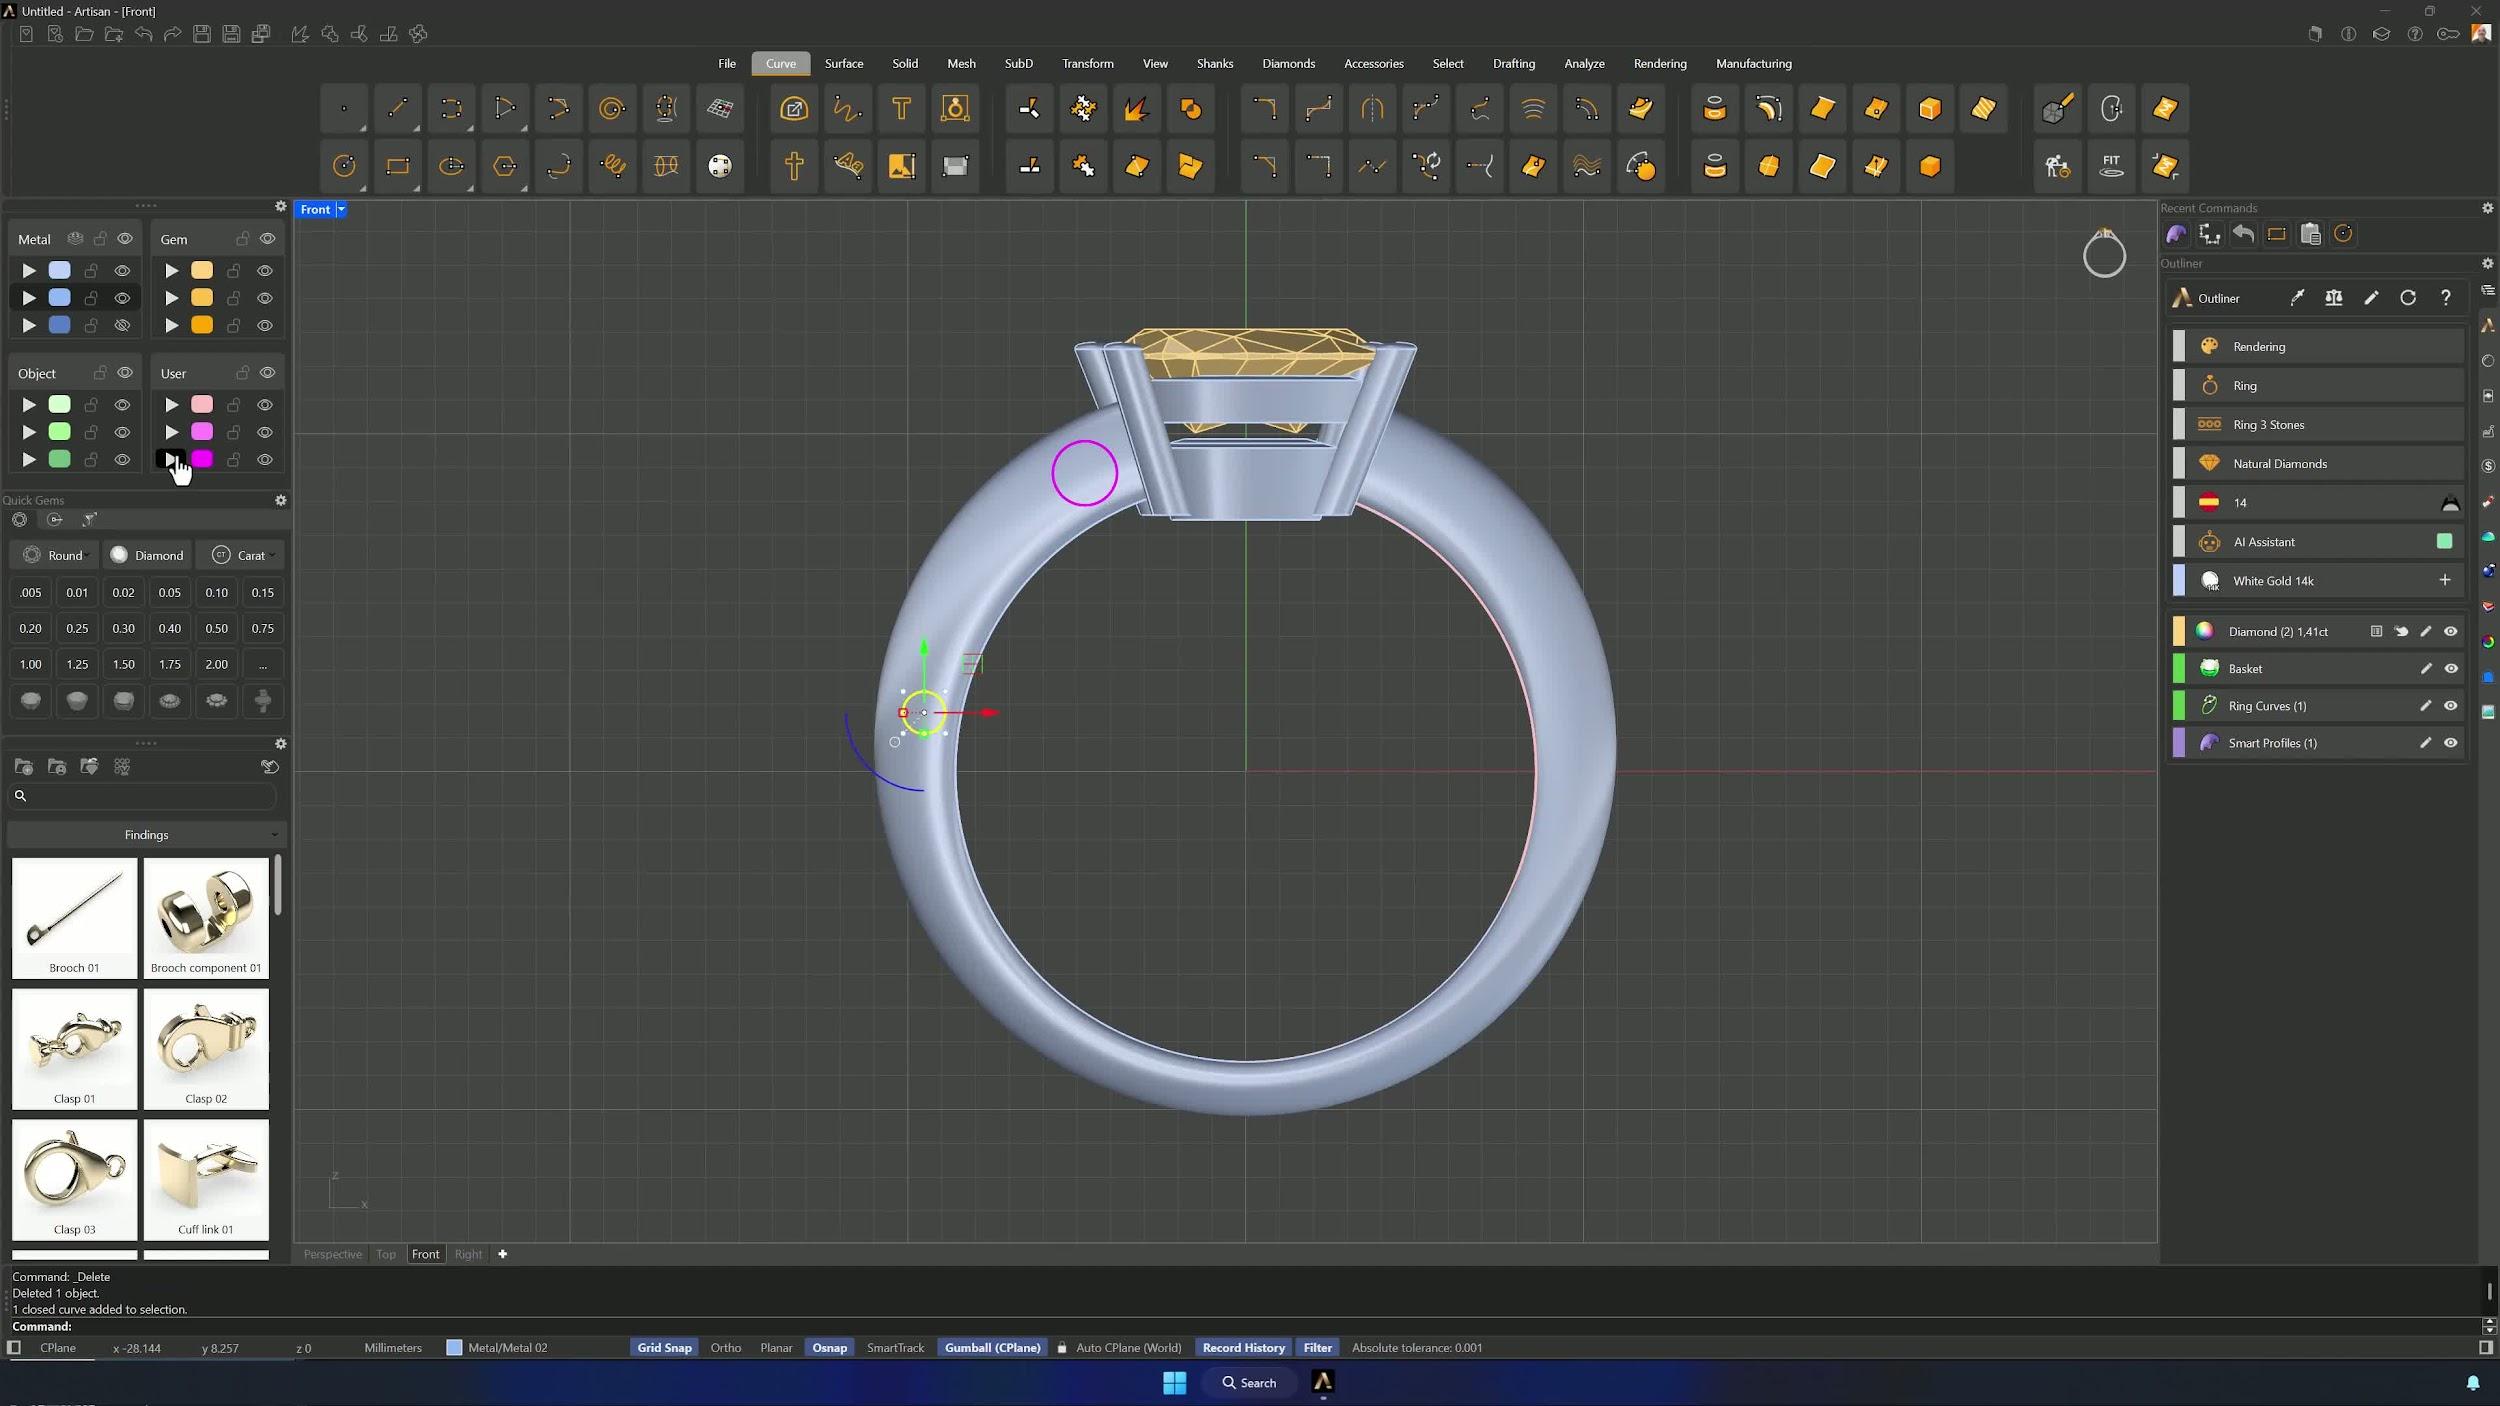
13. Blend the curves and create a closed region
Blend the upper edges with tangent continuity (Flip any inverted handle), then the lower ones, shaping the result to follow the ring’s natural flow. Rebuild the upper curve if the alignment asks for it.
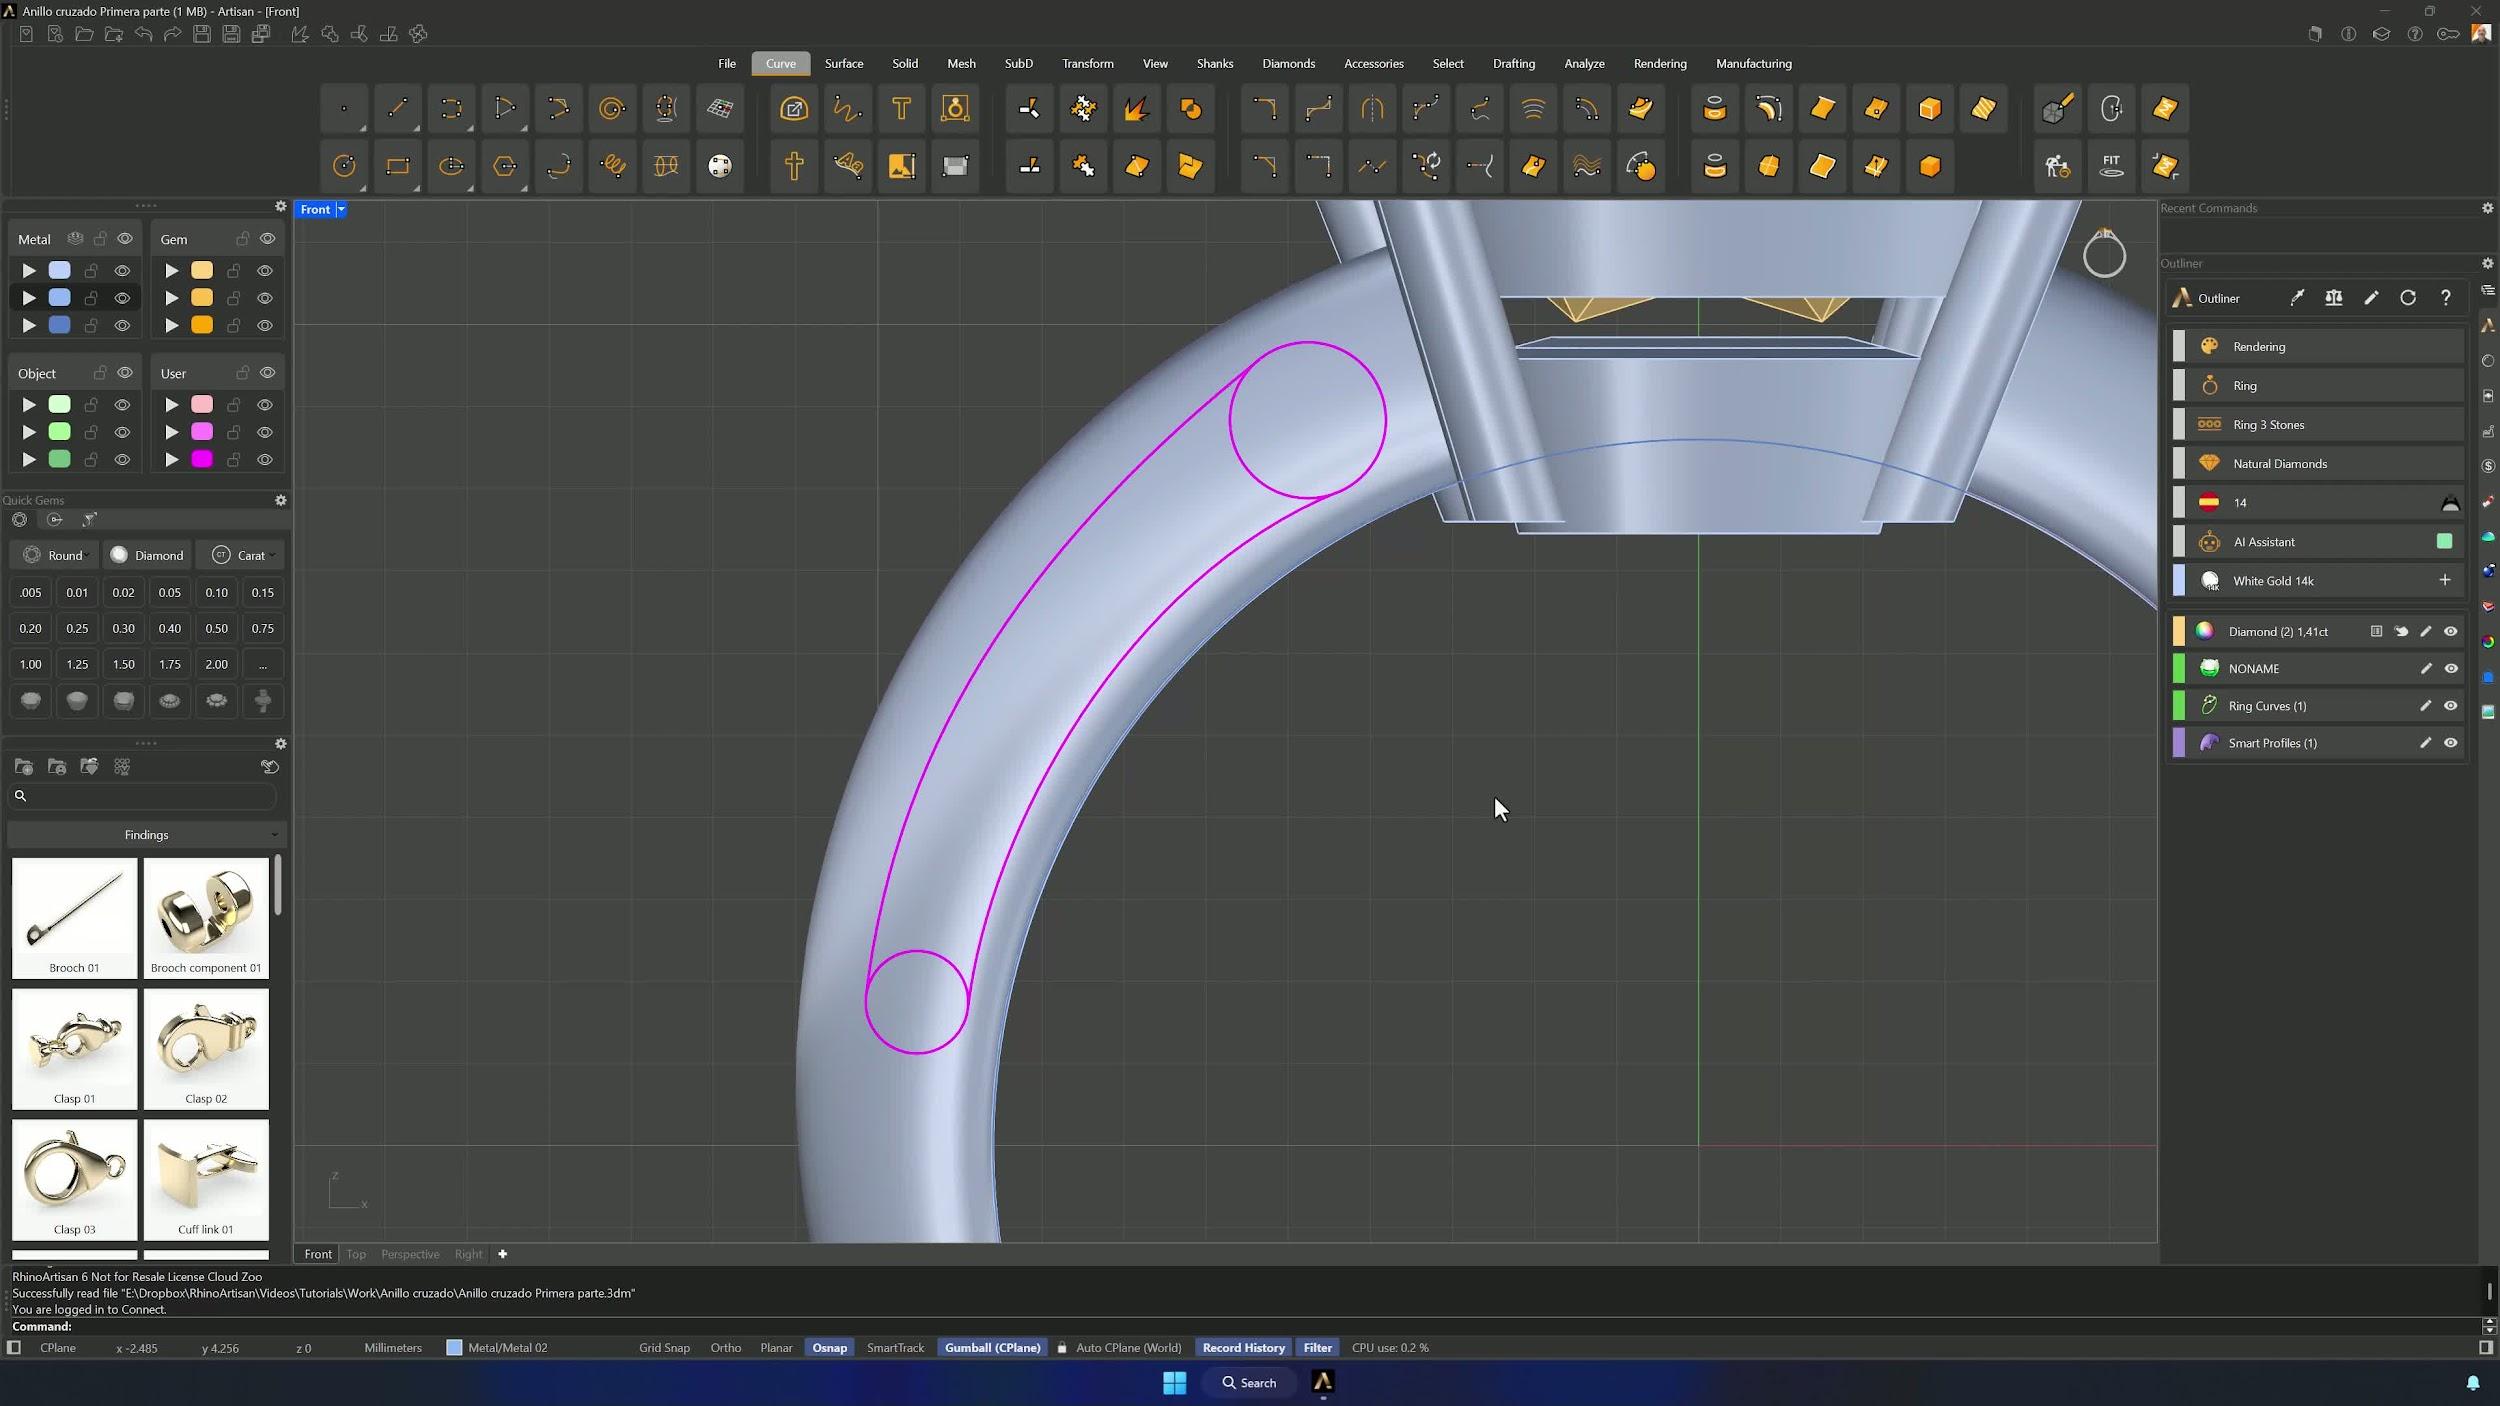
14. Convert the blended curves into a projected channel guide
Boolean Curves over the whole set, choosing All Regions, produces the combined outline. Move it slightly forward in Perspective and Project it onto the shank from the Front view, hiding the original.
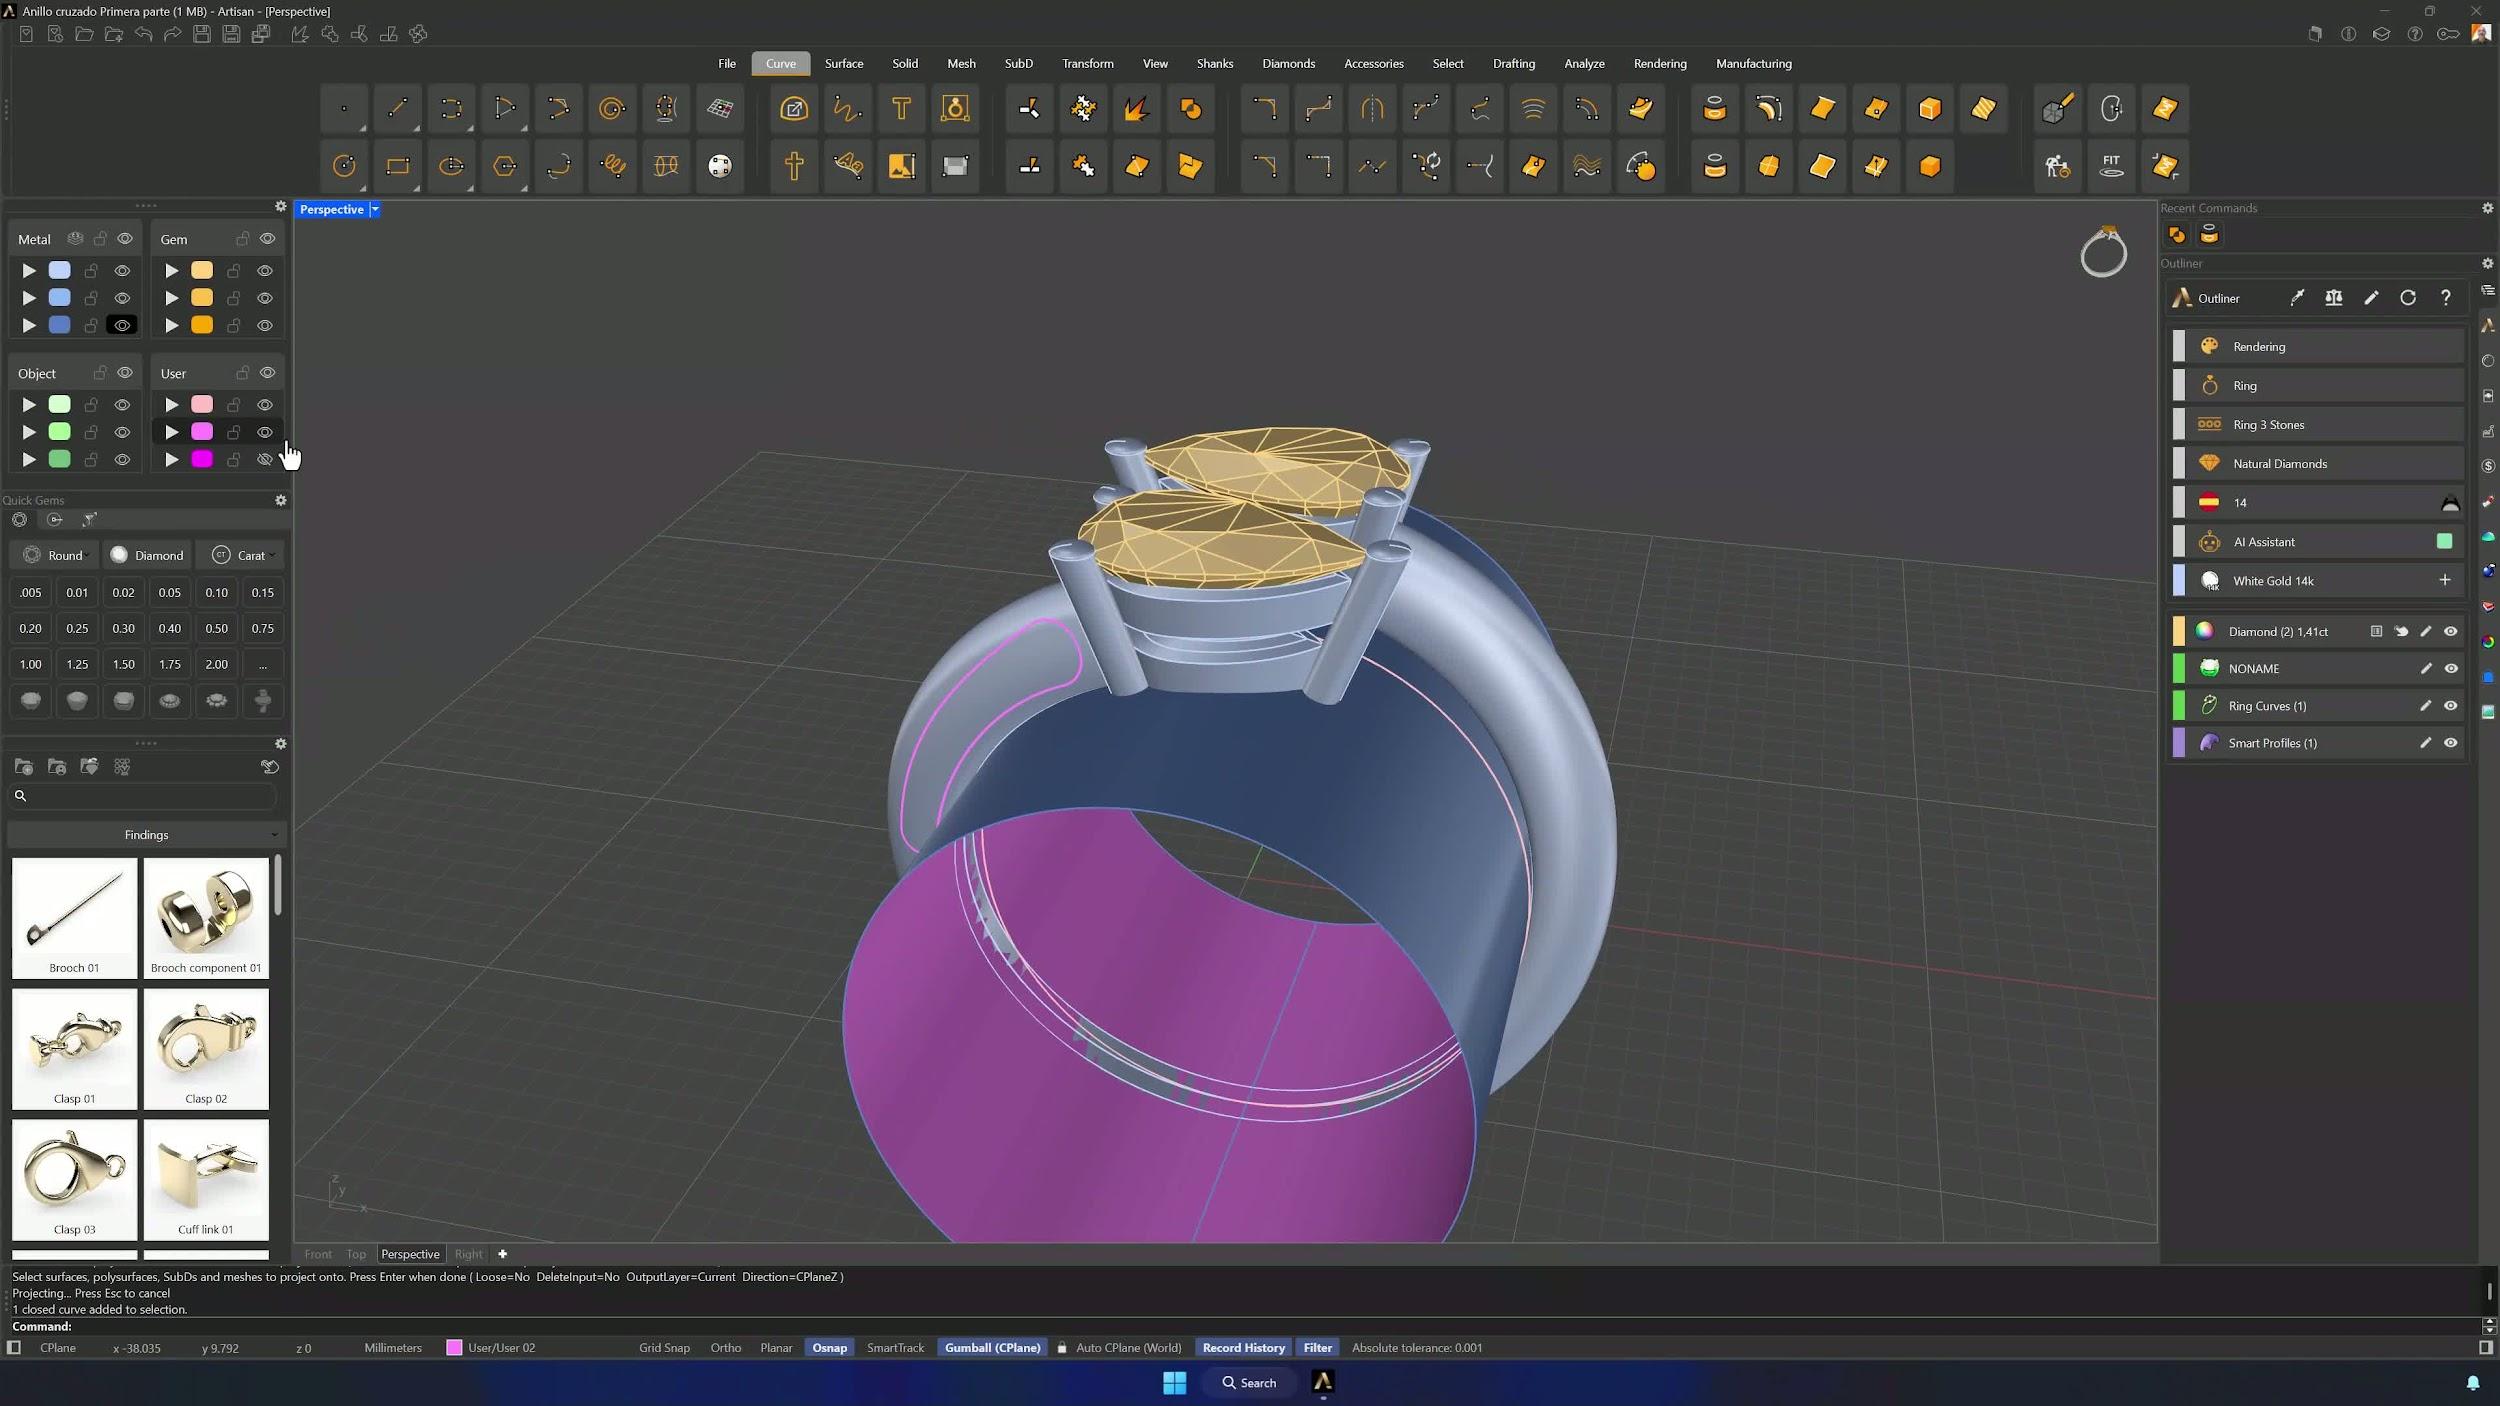
15. Carve the gemstone channel with Push and Pull
Push and Pull on the projected area, typing 0.2 and pulling inward — a carved groove, not an extrusion. Repeat on the opposite side and check both channels match.
Almost there — you still have some lessons to complete. Jump to the next one →
Impersonating — progress and reviews are disabled.
Course completed
You've completed Sculpted Elegance: Statement Jewelry Designs 🎉
Great work. Get your certificate of completion and, if you have a minute, let other jewelers know what you thought of the course.