Three-stone Princess Ring
Lesson 34 of 35
Claw Tips, Baskets & Final Cut
Sign in to access this lesson
This lesson is part of Sculpted Elegance: Statement Jewelry Designs, which can come bundled with a RhinoArtisan Commercial license subject to current promotions. Log in with your customer account, or get in touch and we'll set you up.
Customers only
Solo para clientes
This lesson is part of Sculpted Elegance: Statement Jewelry Designs, which can be included with a RhinoArtisan Commercial license subject to current promotions. If you've already purchased and don't see it in your account, get in touch.
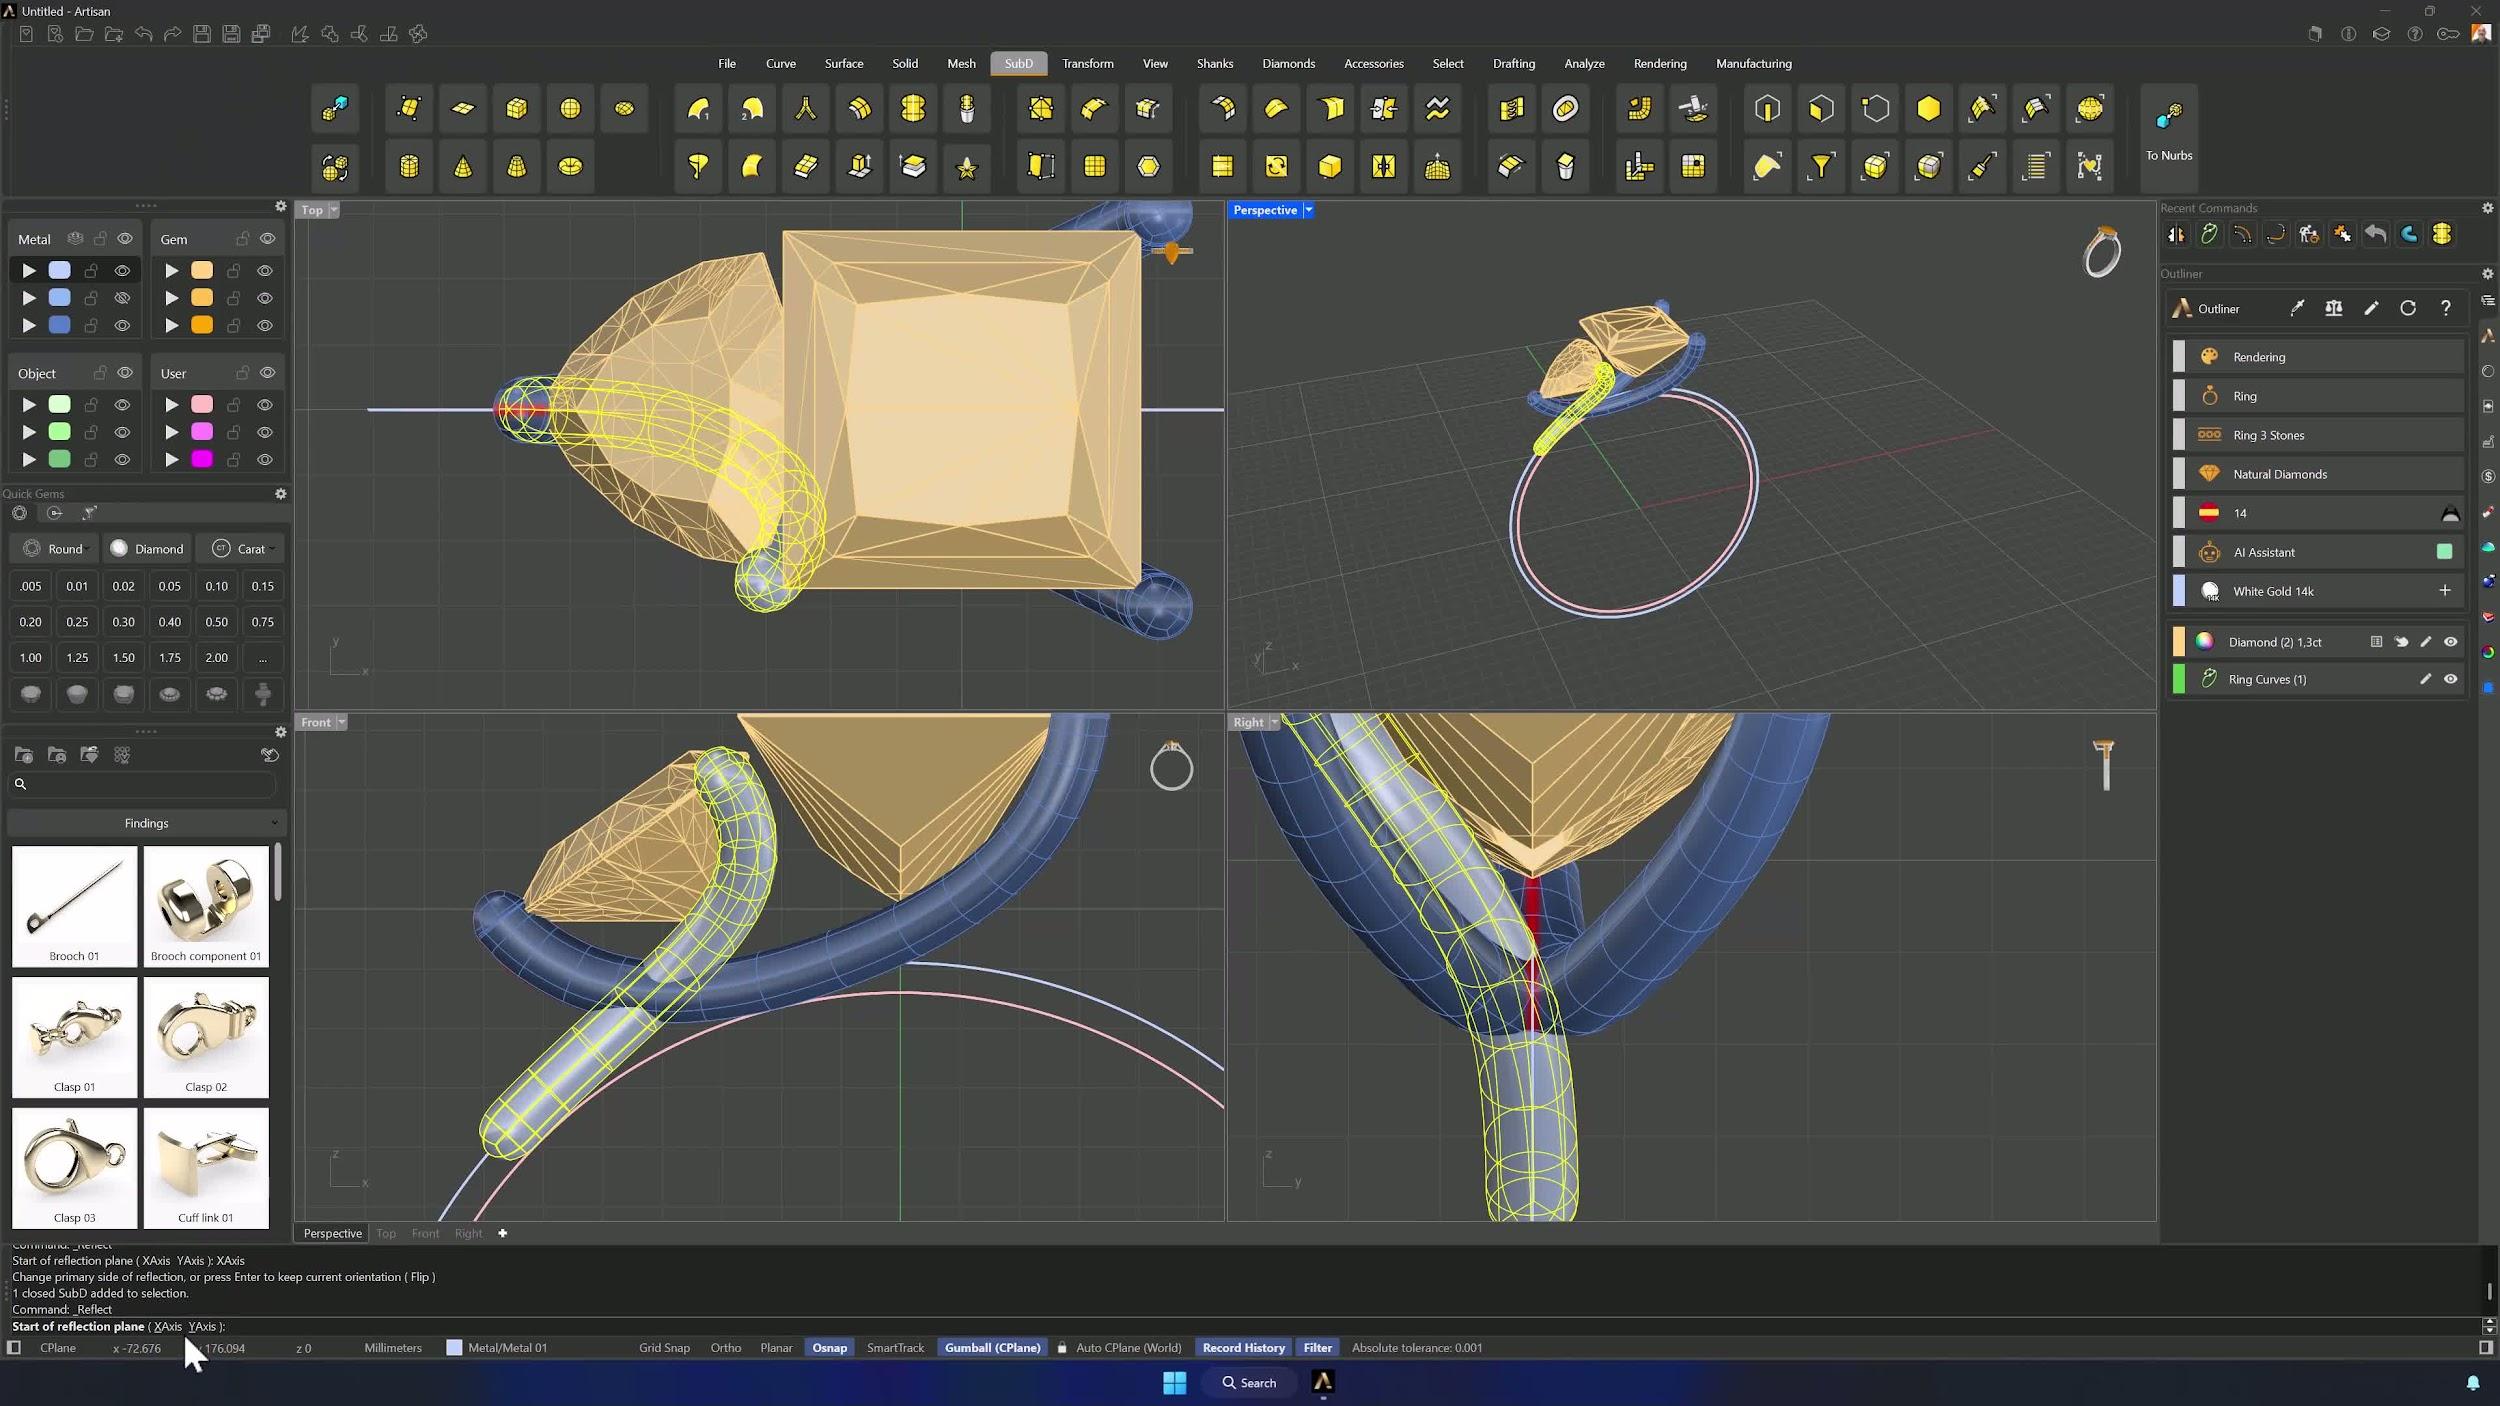
10. Clean up the shank and refine prong geometry
Bring the shank back, Edit it and disable the bridge to clean the geometry. Then, with the edge filter and Soft Transform, nudge each prong inward — editing only the light side, since Reflect carries the change across — and match the other prong to the ring’s curvature.
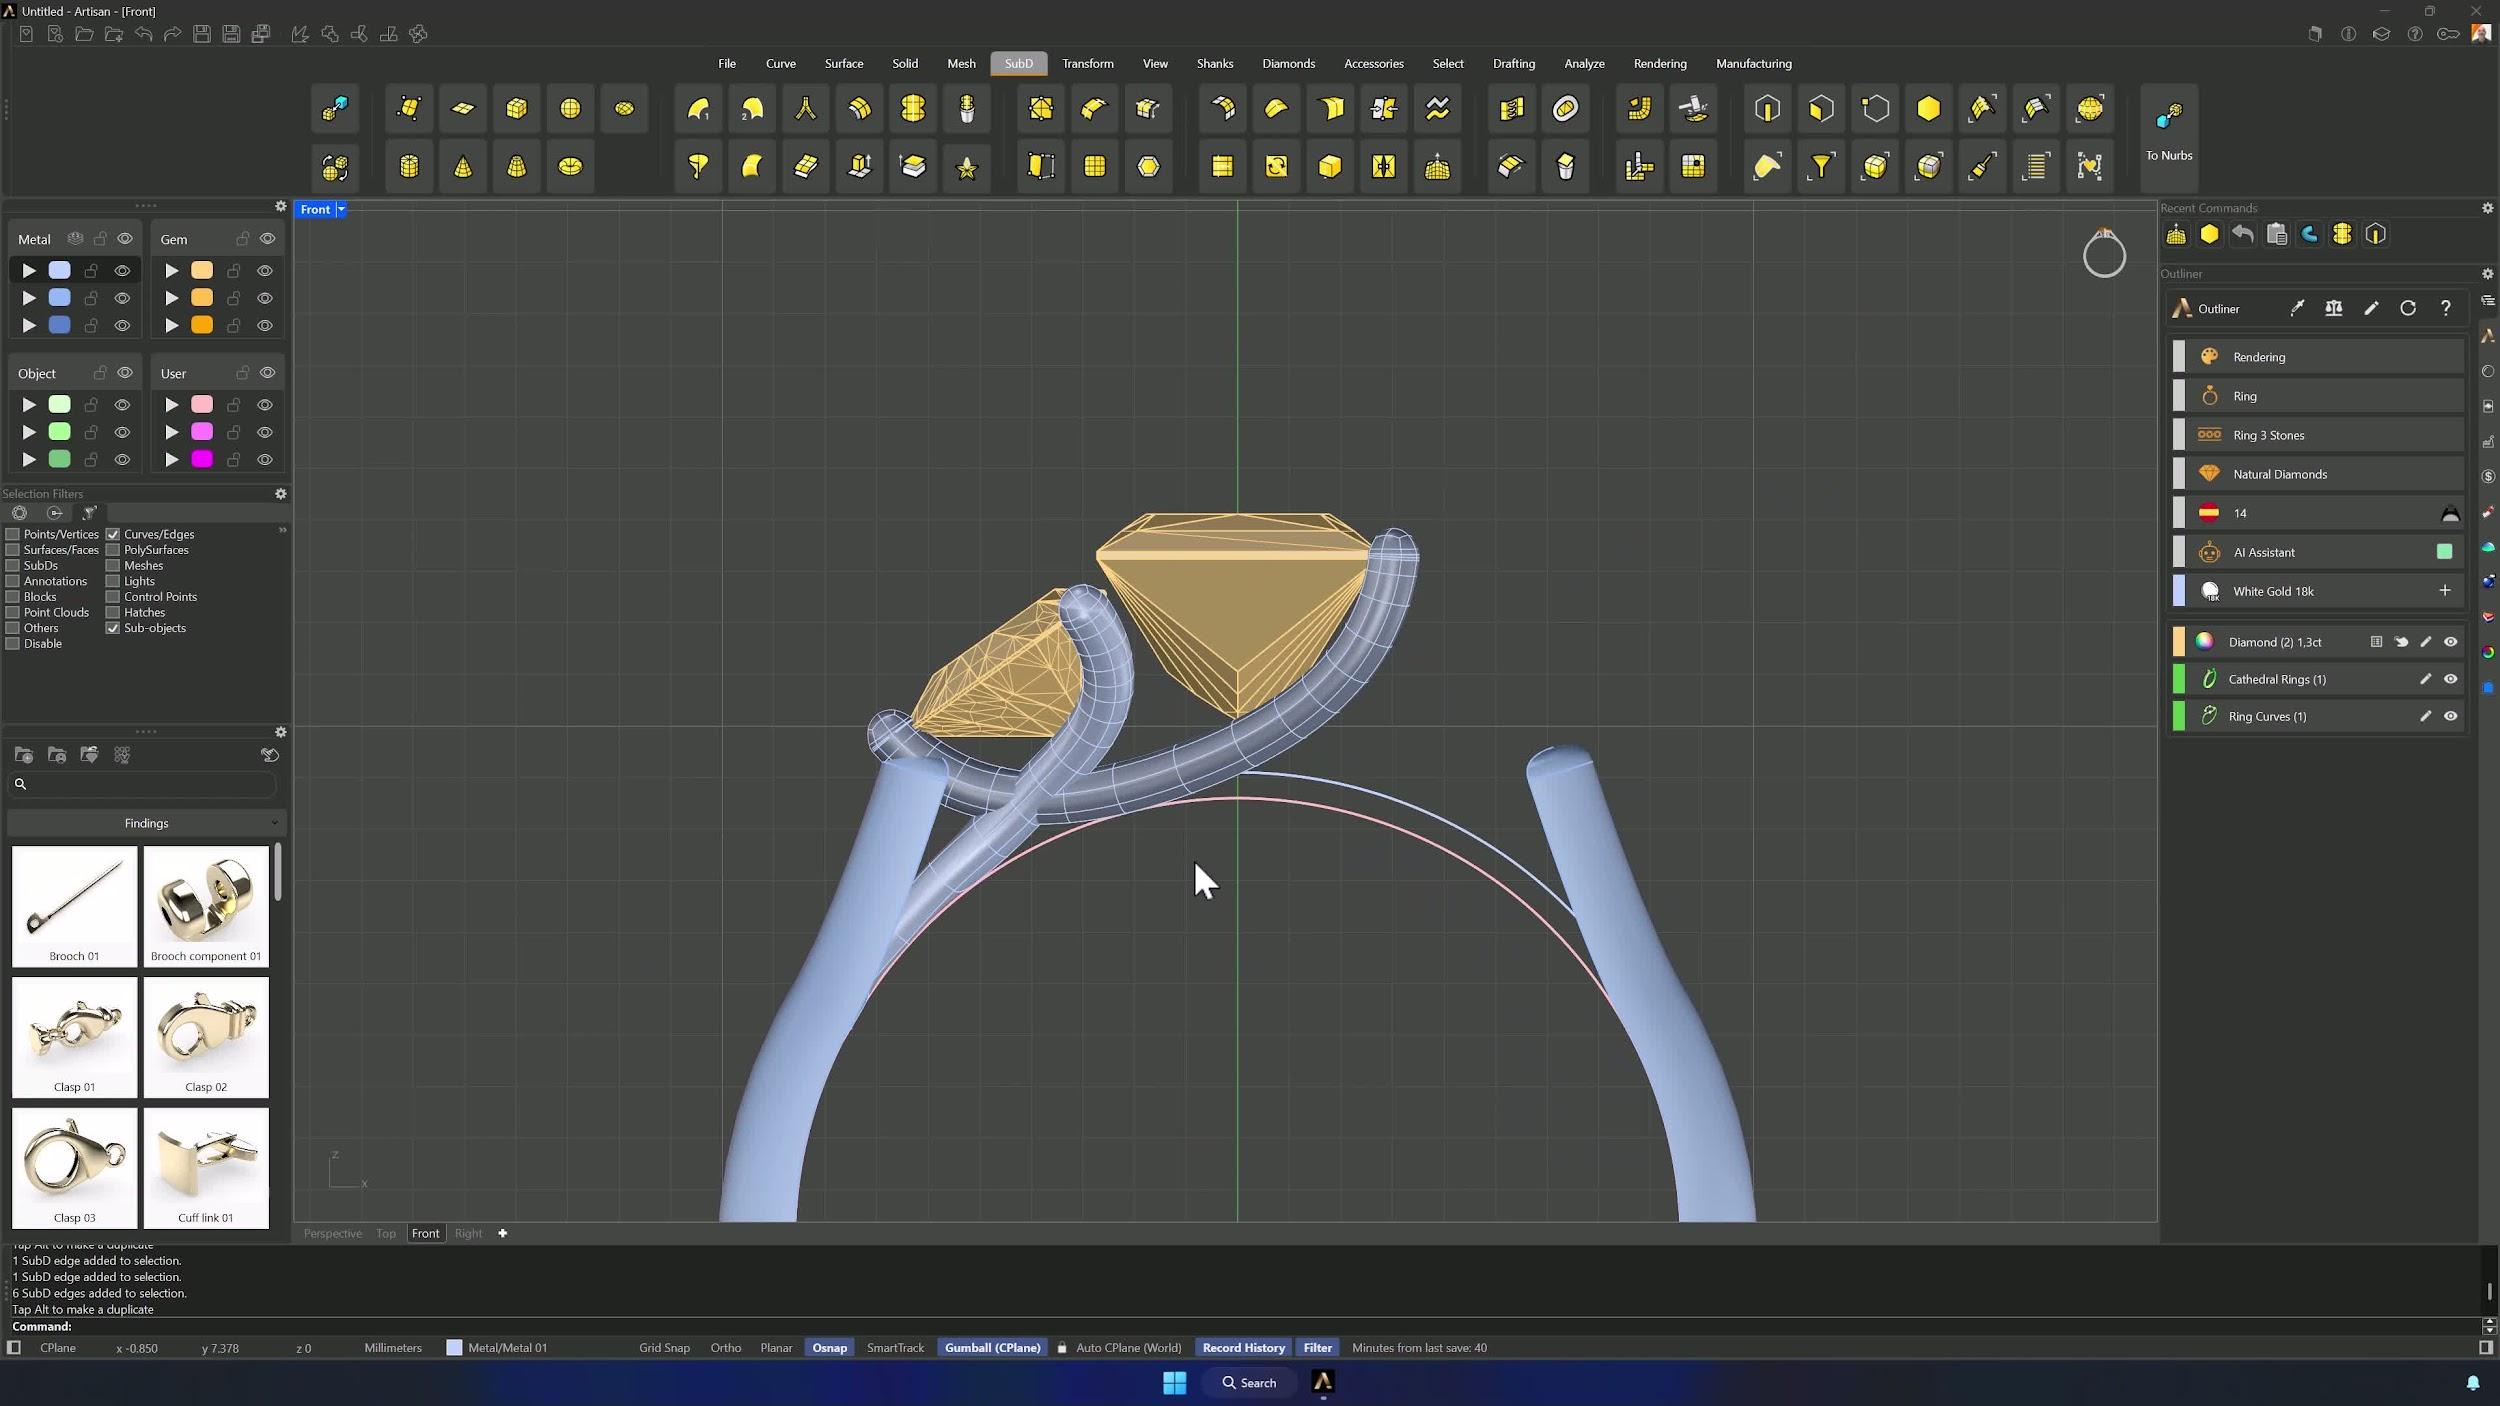
11. Shape the prong tips into claw-like ends
Delete surplus edges, Split with Edge Loop where the tip begins, and raise the separated section above the fillet area. Relocate the Gumball pivot to the gem’s center, rotate the tip into orientation, switch to Faces (Soft Transform off before scaling), and scale down twice — moving up between scales in Object mode — until the claw tapers cleanly.
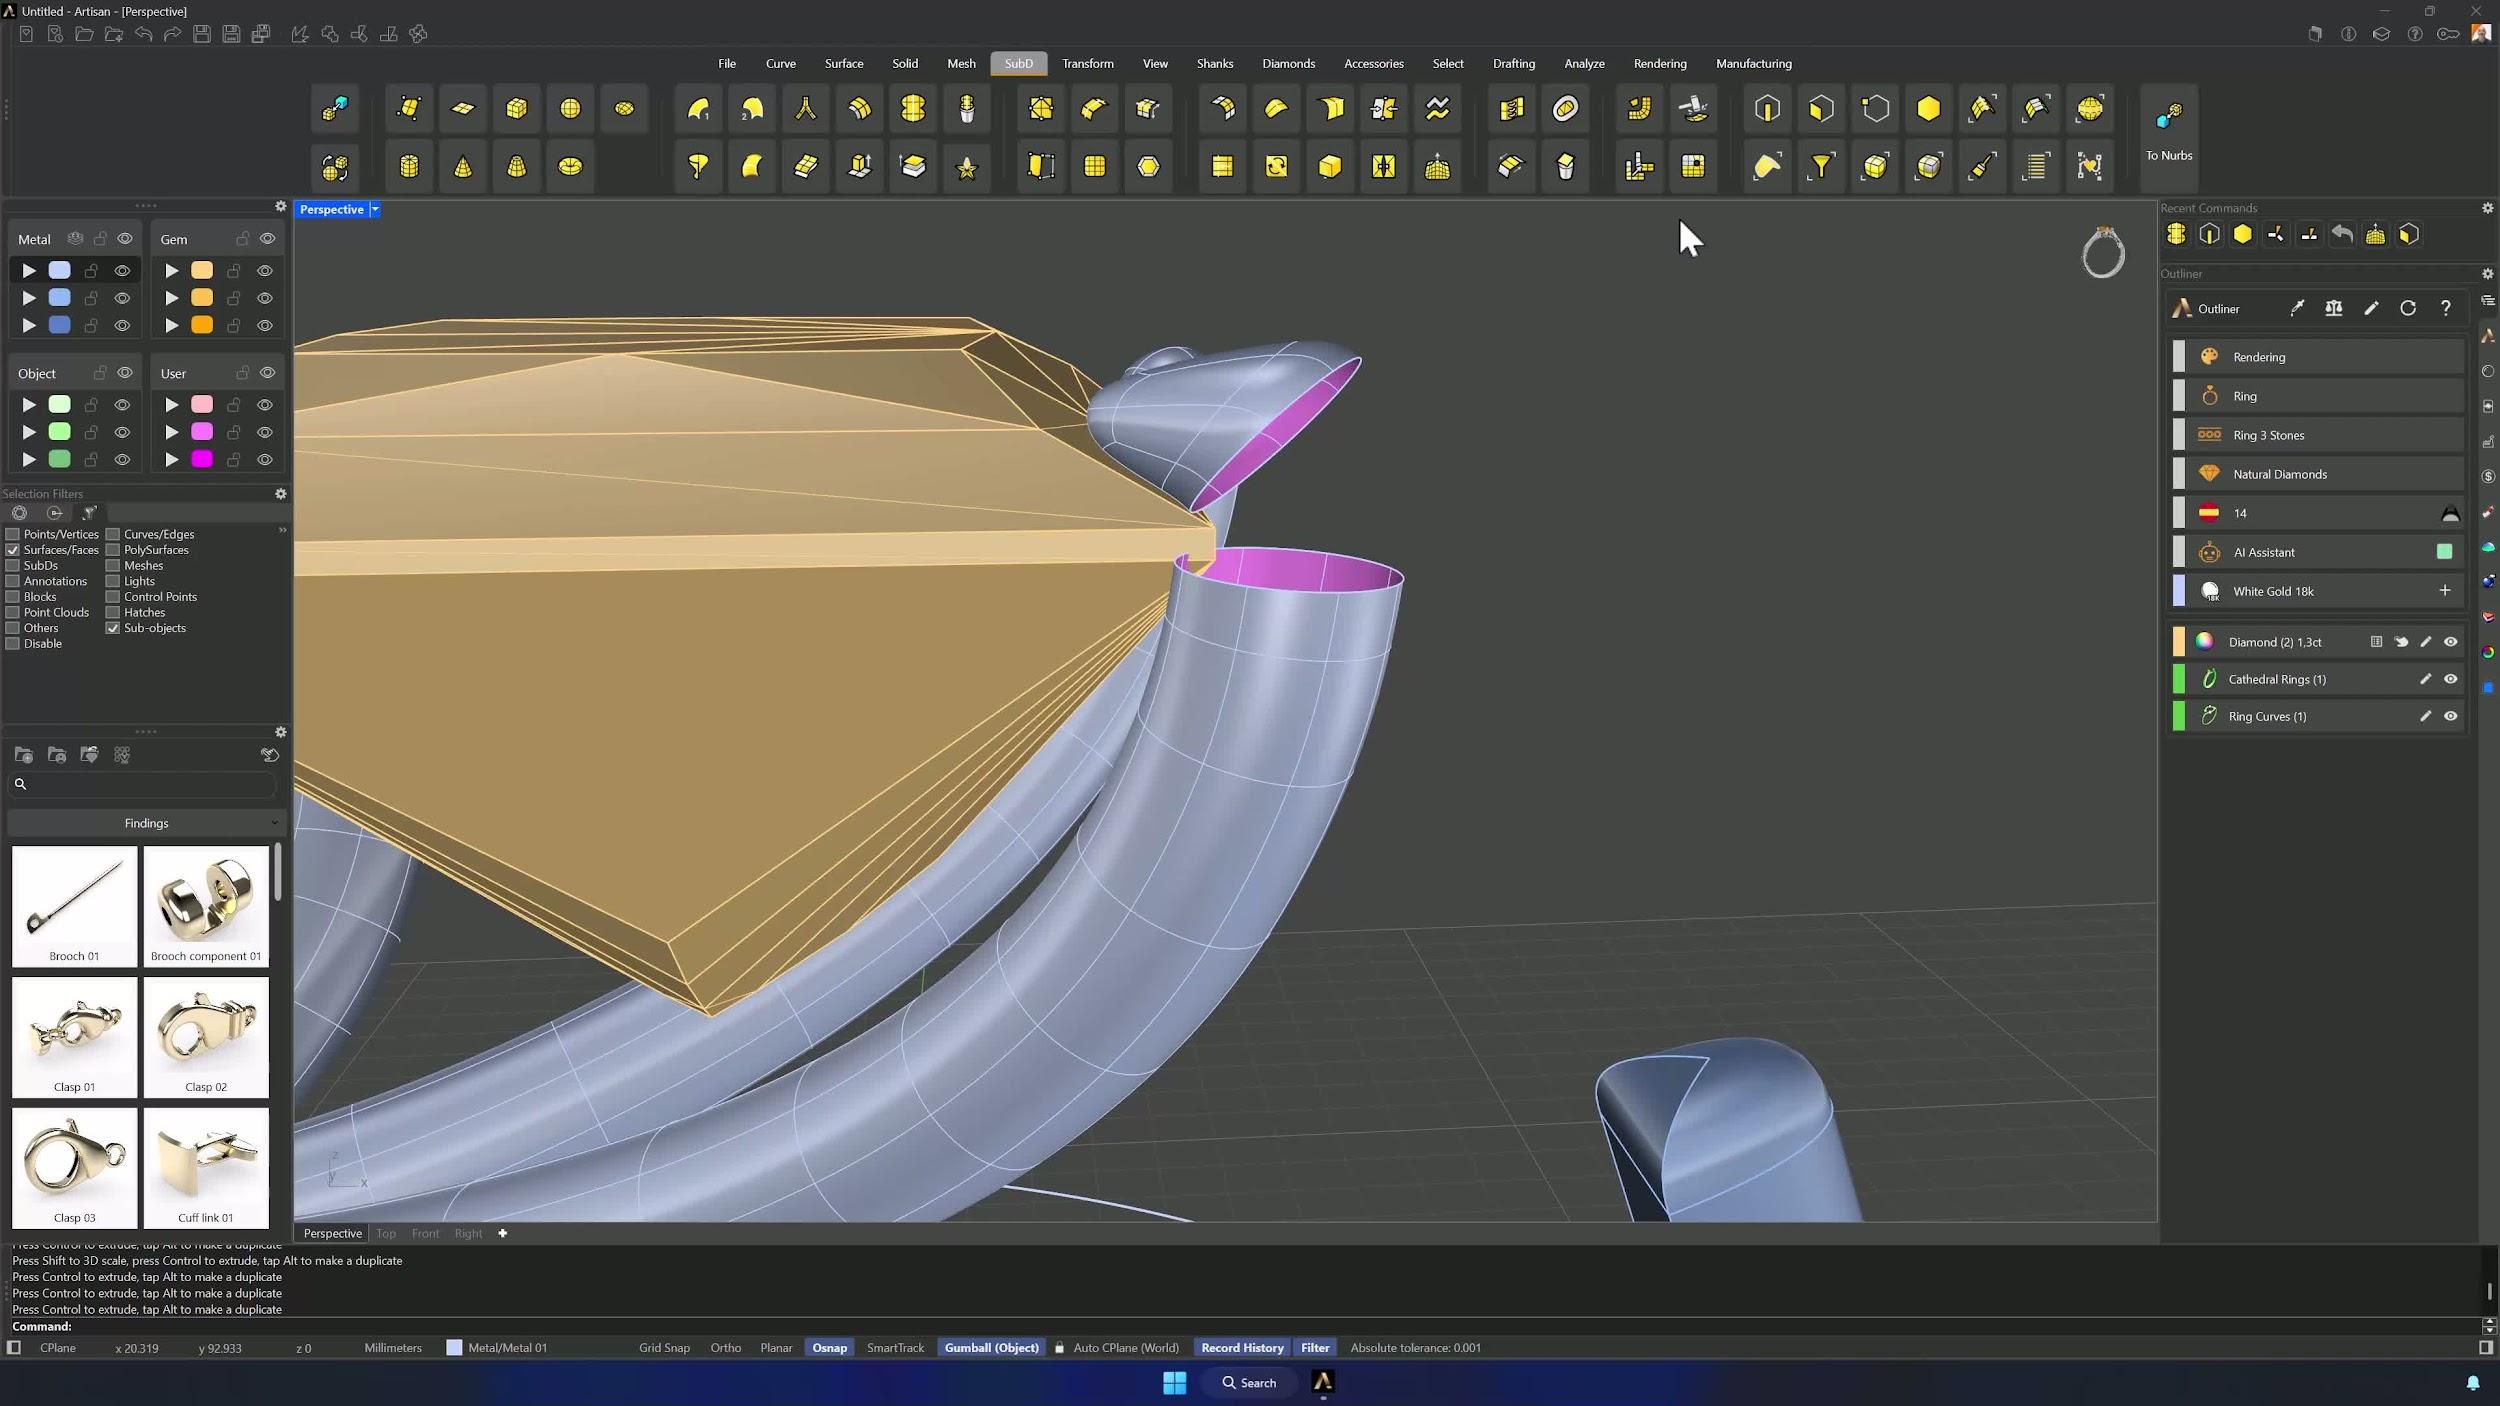
12. Bridge, mirror, and repeat the prong finishing process
Bridge the top edge to the prong loop with Segments = 2, delete the leftover edge and smooth the transition. Reflect the finished prong across X, then repeat the full recipe on the remaining prongs — remove edges, Insert Edge, Split, sculpt the tip, Bridge — until every claw is clean and organic.
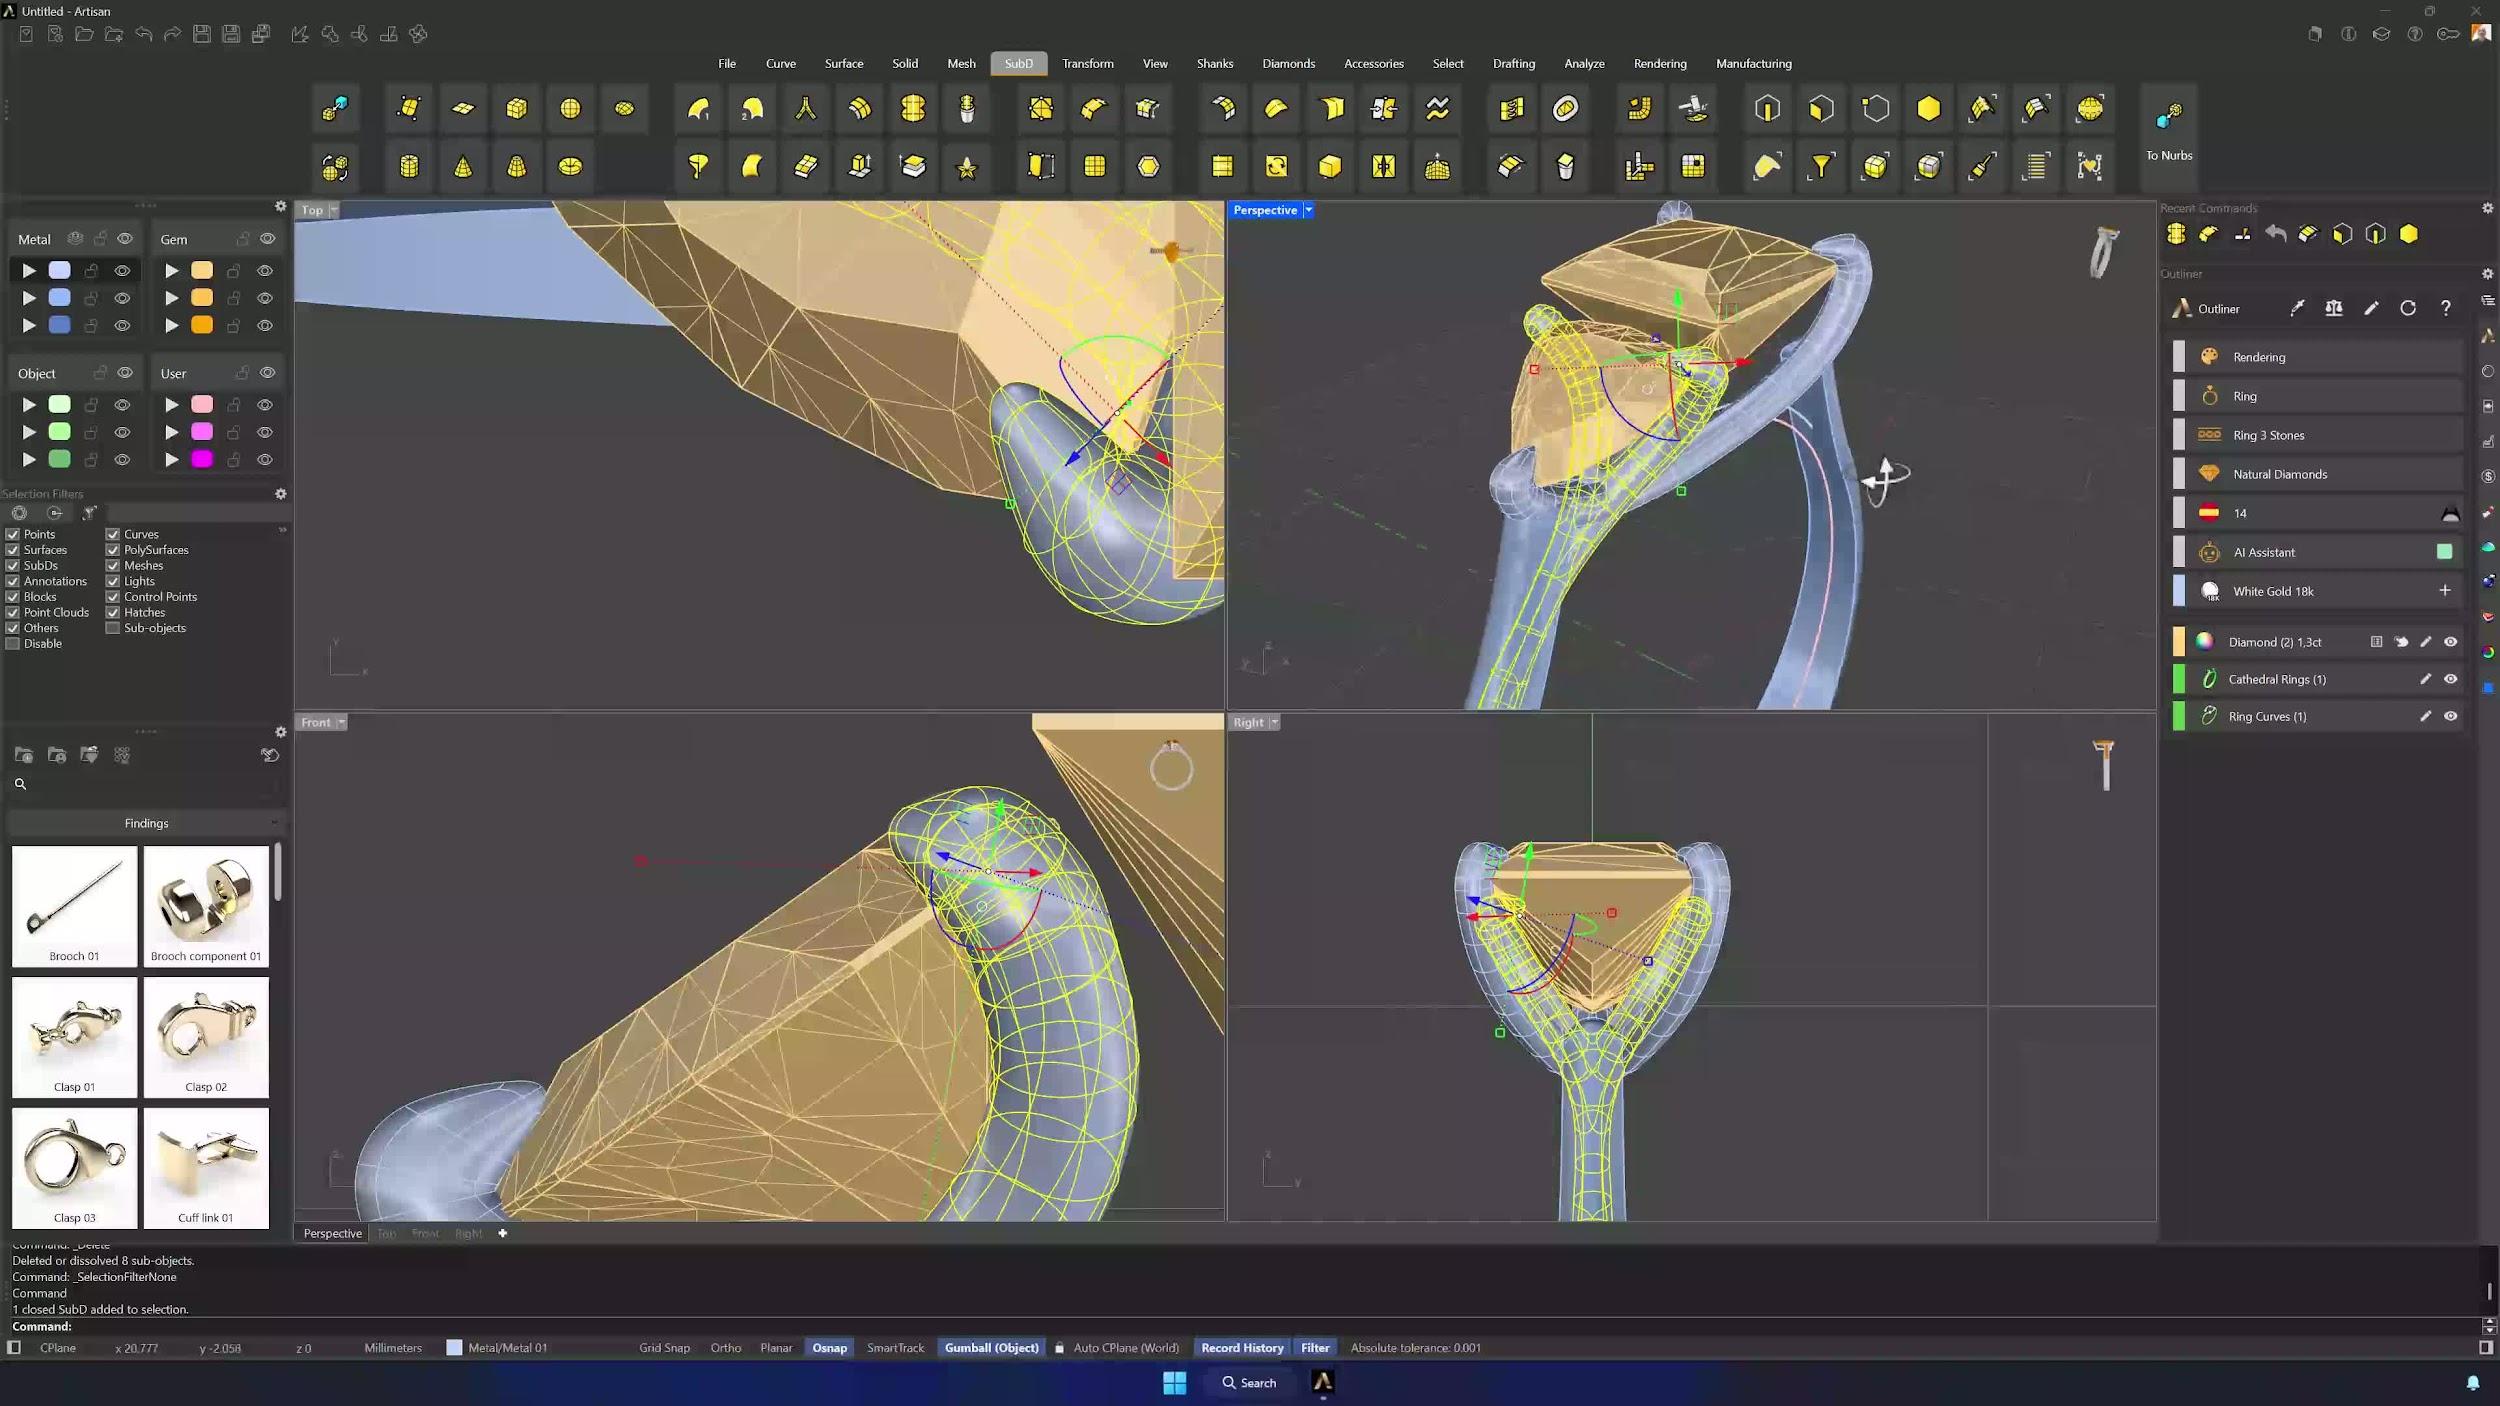
13. Mirror the completed prongs and add basket supports
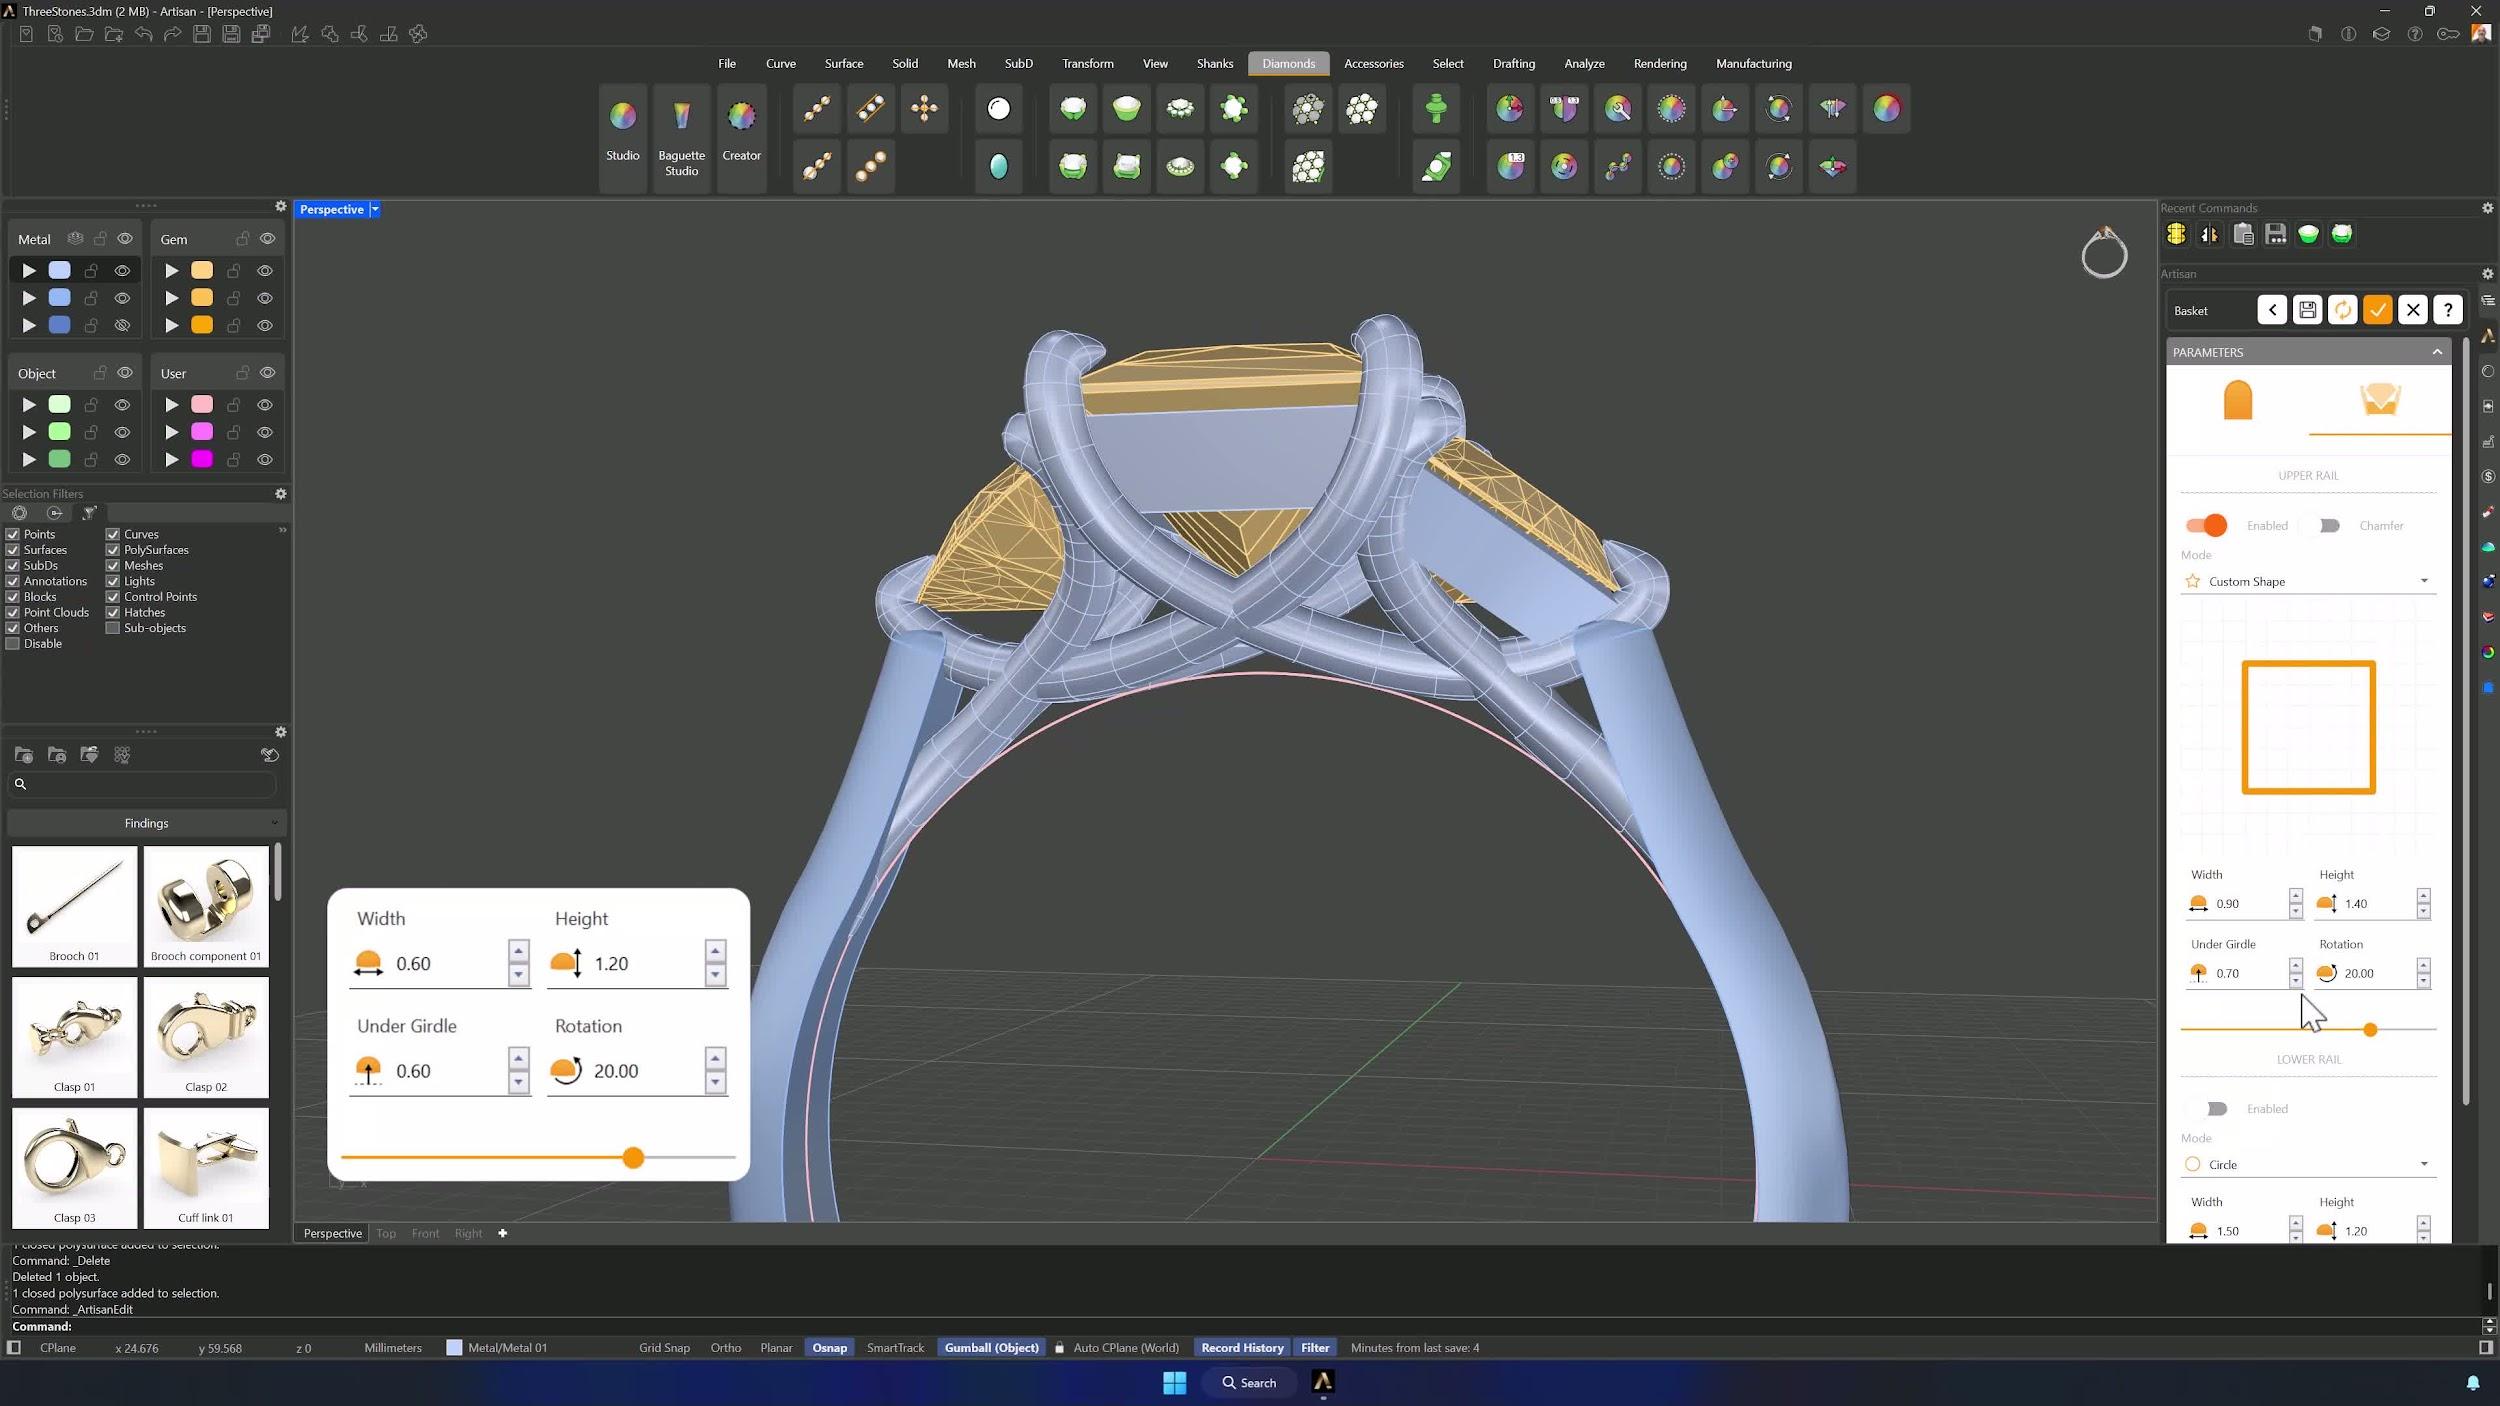
Mirror the finished prongs and side gem from 0 (Shift + click at the top). Then the supports: Basket on the central gem, Edit without preset and Without Prongs — rail only — with the upper rail at 1.70 mm in Custom shape with Asset 003. Apply Style copies the support to the other stones, adjusting width, height, undergirdle and slider per gem.
14. Finalize the model and prepare for rendering
Select all the gems, apply the cutters, and Boolean Difference. The three-stone princess ring — and the course — is complete: save, render, and enjoy the collection.
Tips for a clean result
- Check the Reflect arrows before confirming — they decide which side follows your edits.
- Soft Transform off before scaling faces, or the geometry deforms unexpectedly.
- Rebuild at 5 points is what keeps the prong curves smooth and editable.
- In organic forms, visual harmony beats exact measurement.
- Gumball modes are the workflow: Object for precise moves, Relocate to change pivots, Faces for tapering tips.
- Refine one side fully before mirroring — the reflection doubles your progress, not your rework.
Almost there — you still have some lessons to complete. Jump to the next one →
Impersonating — progress and reviews are disabled.
Course completed
You've completed Sculpted Elegance: Statement Jewelry Designs 🎉
Great work. Get your certificate of completion and, if you have a minute, let other jewelers know what you thought of the course.