Sapphire Eternity Ring
Lesson 16 of 35
Shank & Cutout Pattern
Sign in to access this lesson
This lesson is part of Sculpted Elegance: Statement Jewelry Designs, which can come bundled with a RhinoArtisan Commercial license subject to current promotions. Log in with your customer account, or get in touch and we'll set you up.
Customers only
Solo para clientes
This lesson is part of Sculpted Elegance: Statement Jewelry Designs, which can be included with a RhinoArtisan Commercial license subject to current promotions. If you've already purchased and don't see it in your account, get in touch.
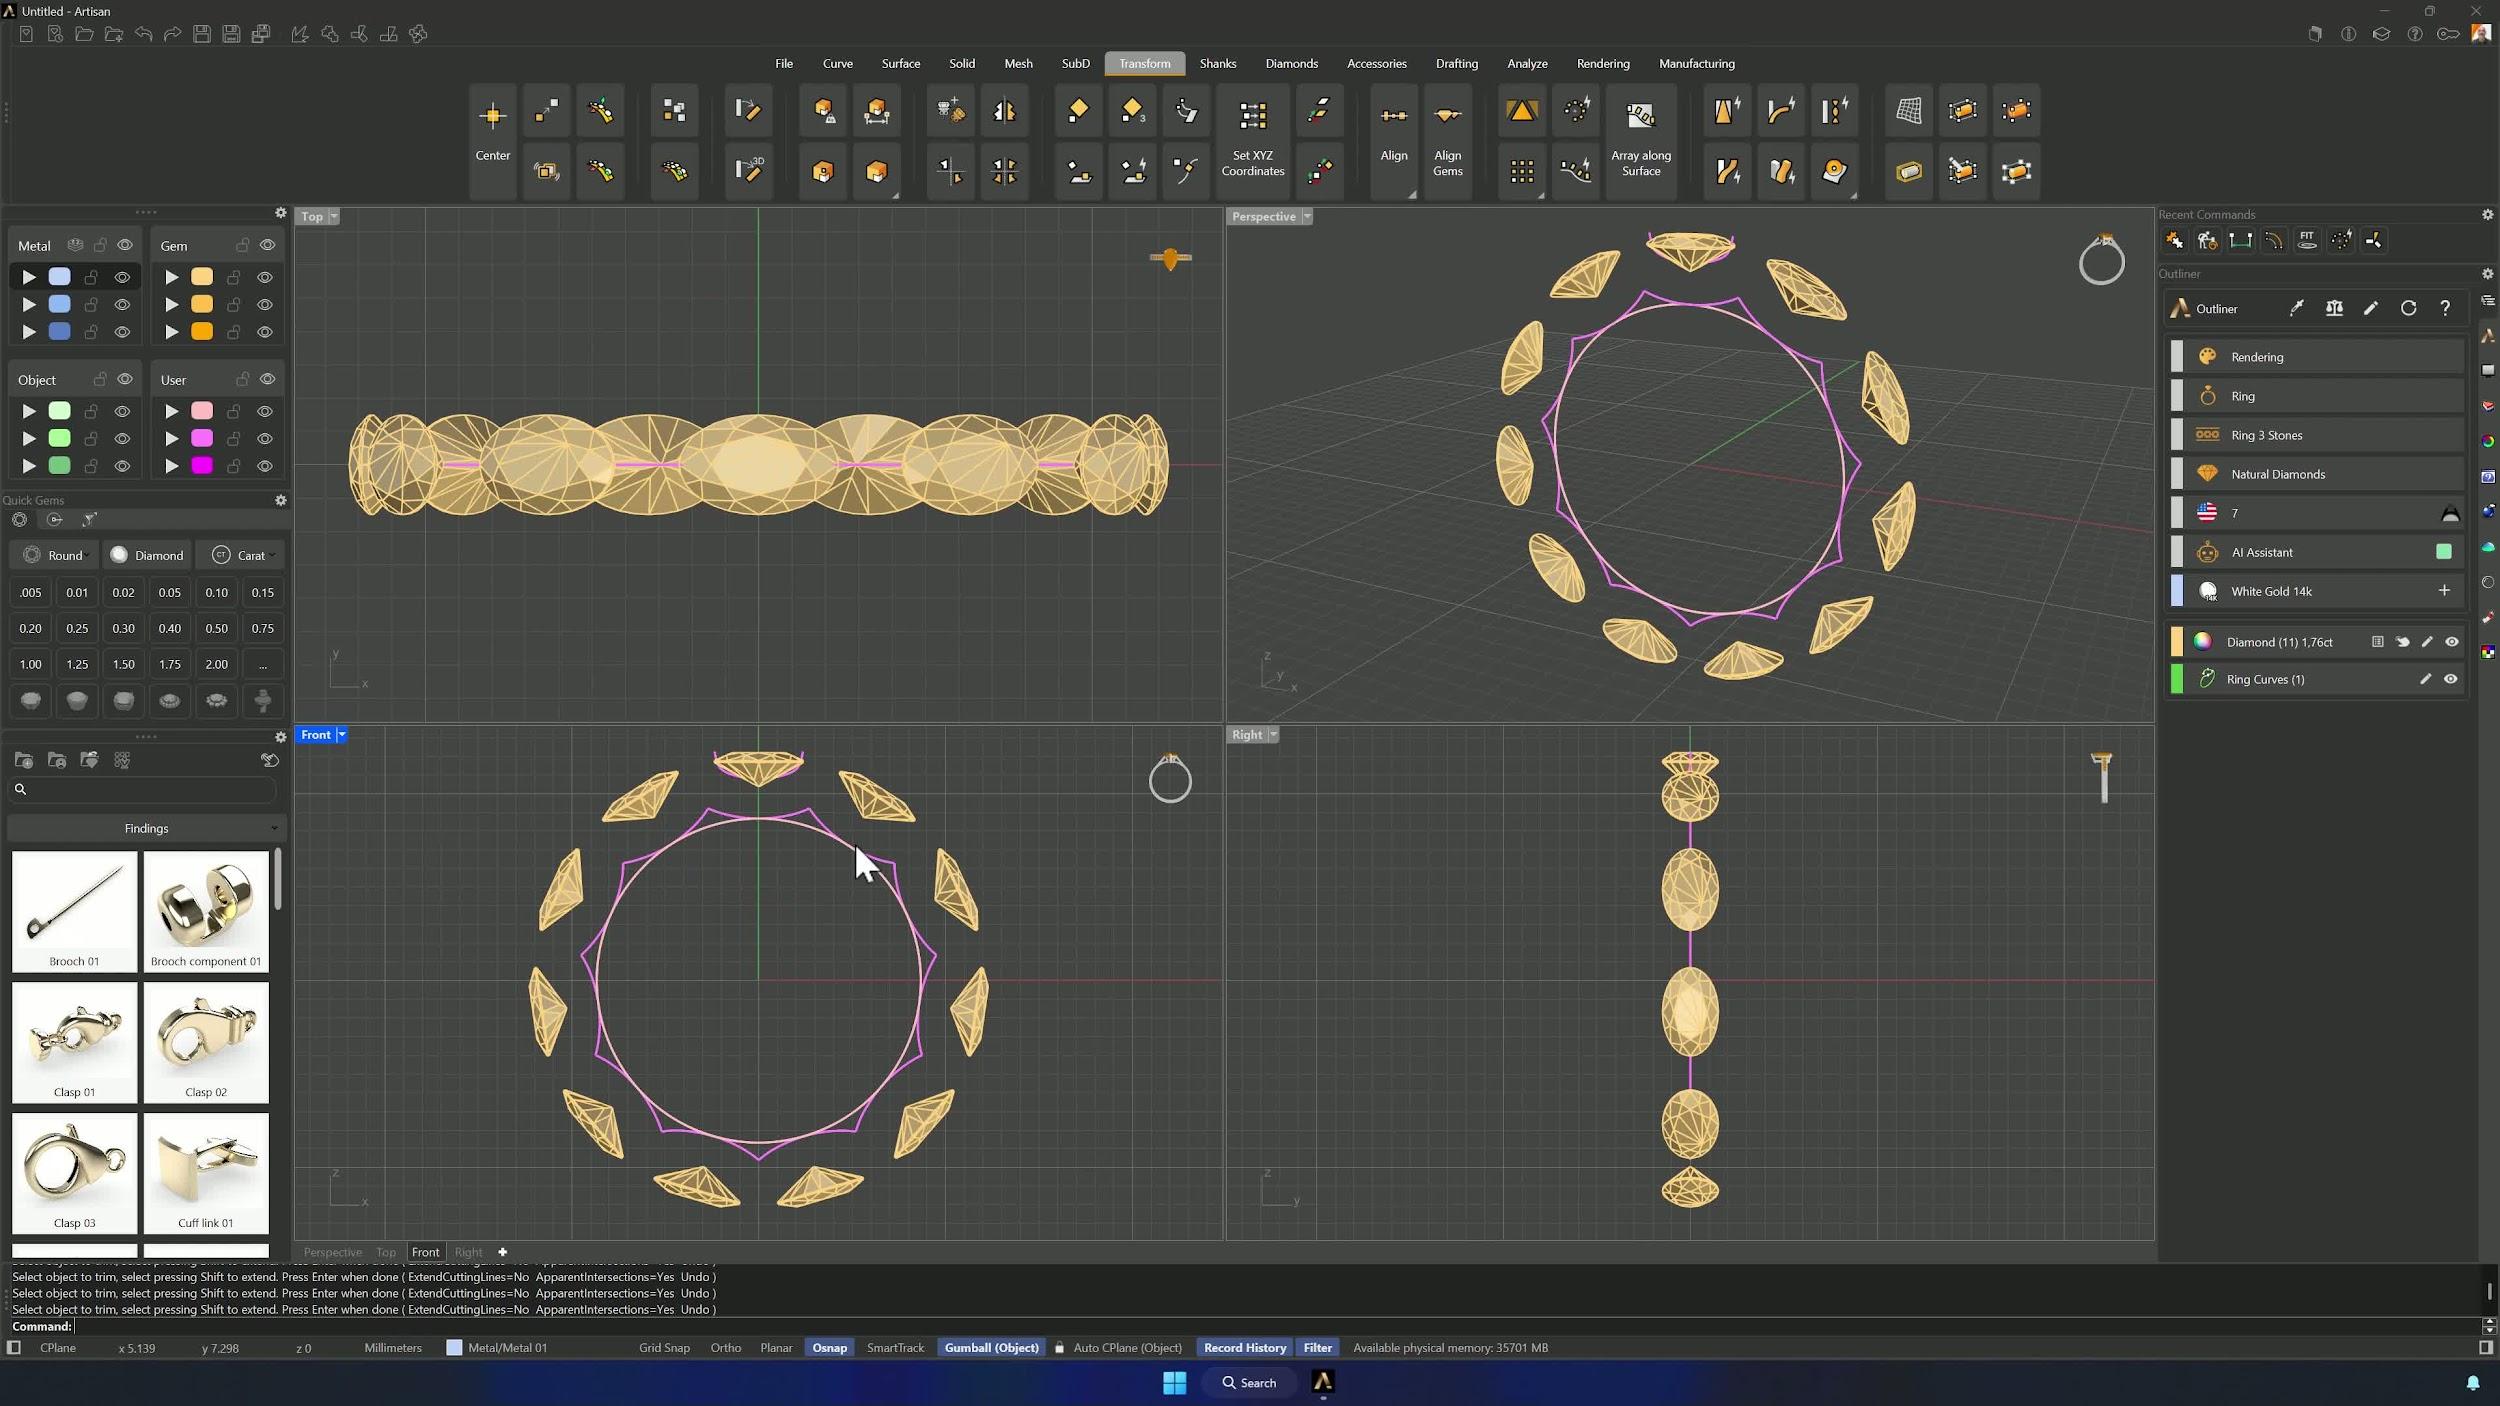
9. Create and edit the classic ring shank
Create a Classic Ring and Edit without preset, shaping the profile by moving its control points. Parameters: width 3.40 mm, height 3.80 mm, interior type Solid. Accept to generate the band.
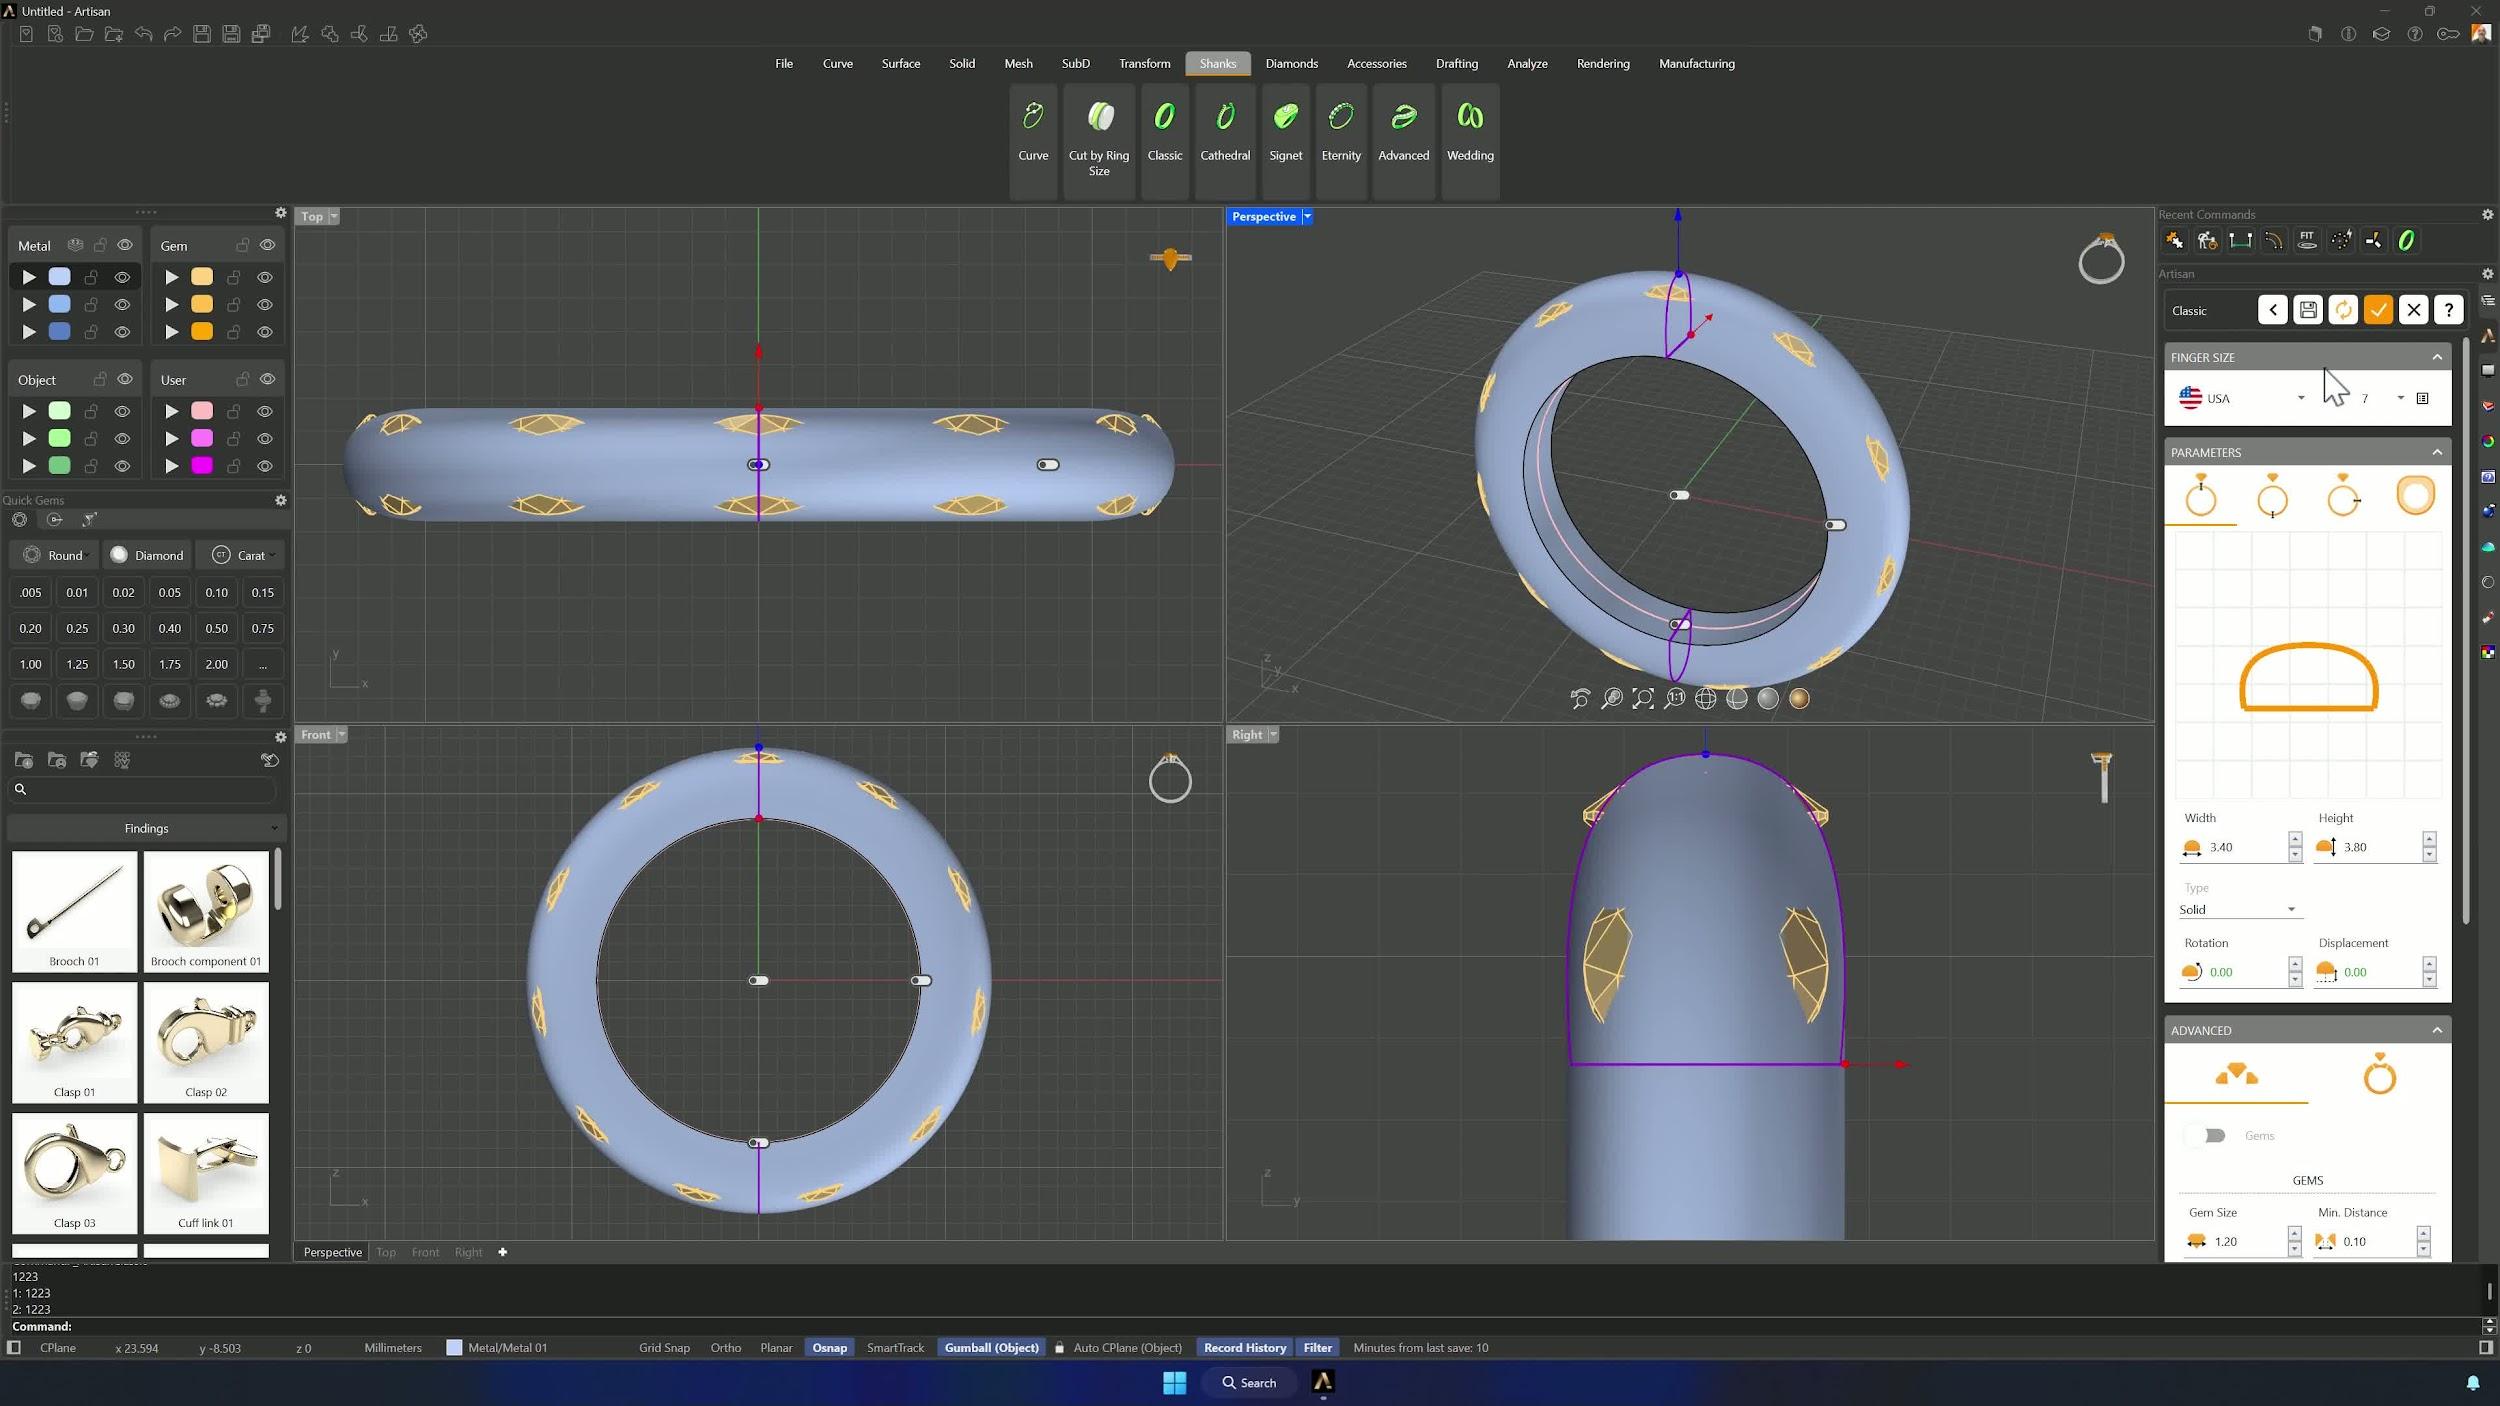
10. Duplicate and preserve a backup shank
Copy the shank In place from the Transform tab, move the duplicate to a backup layer, and lock and hide it. You’ll thank yourself at the hollowing step.
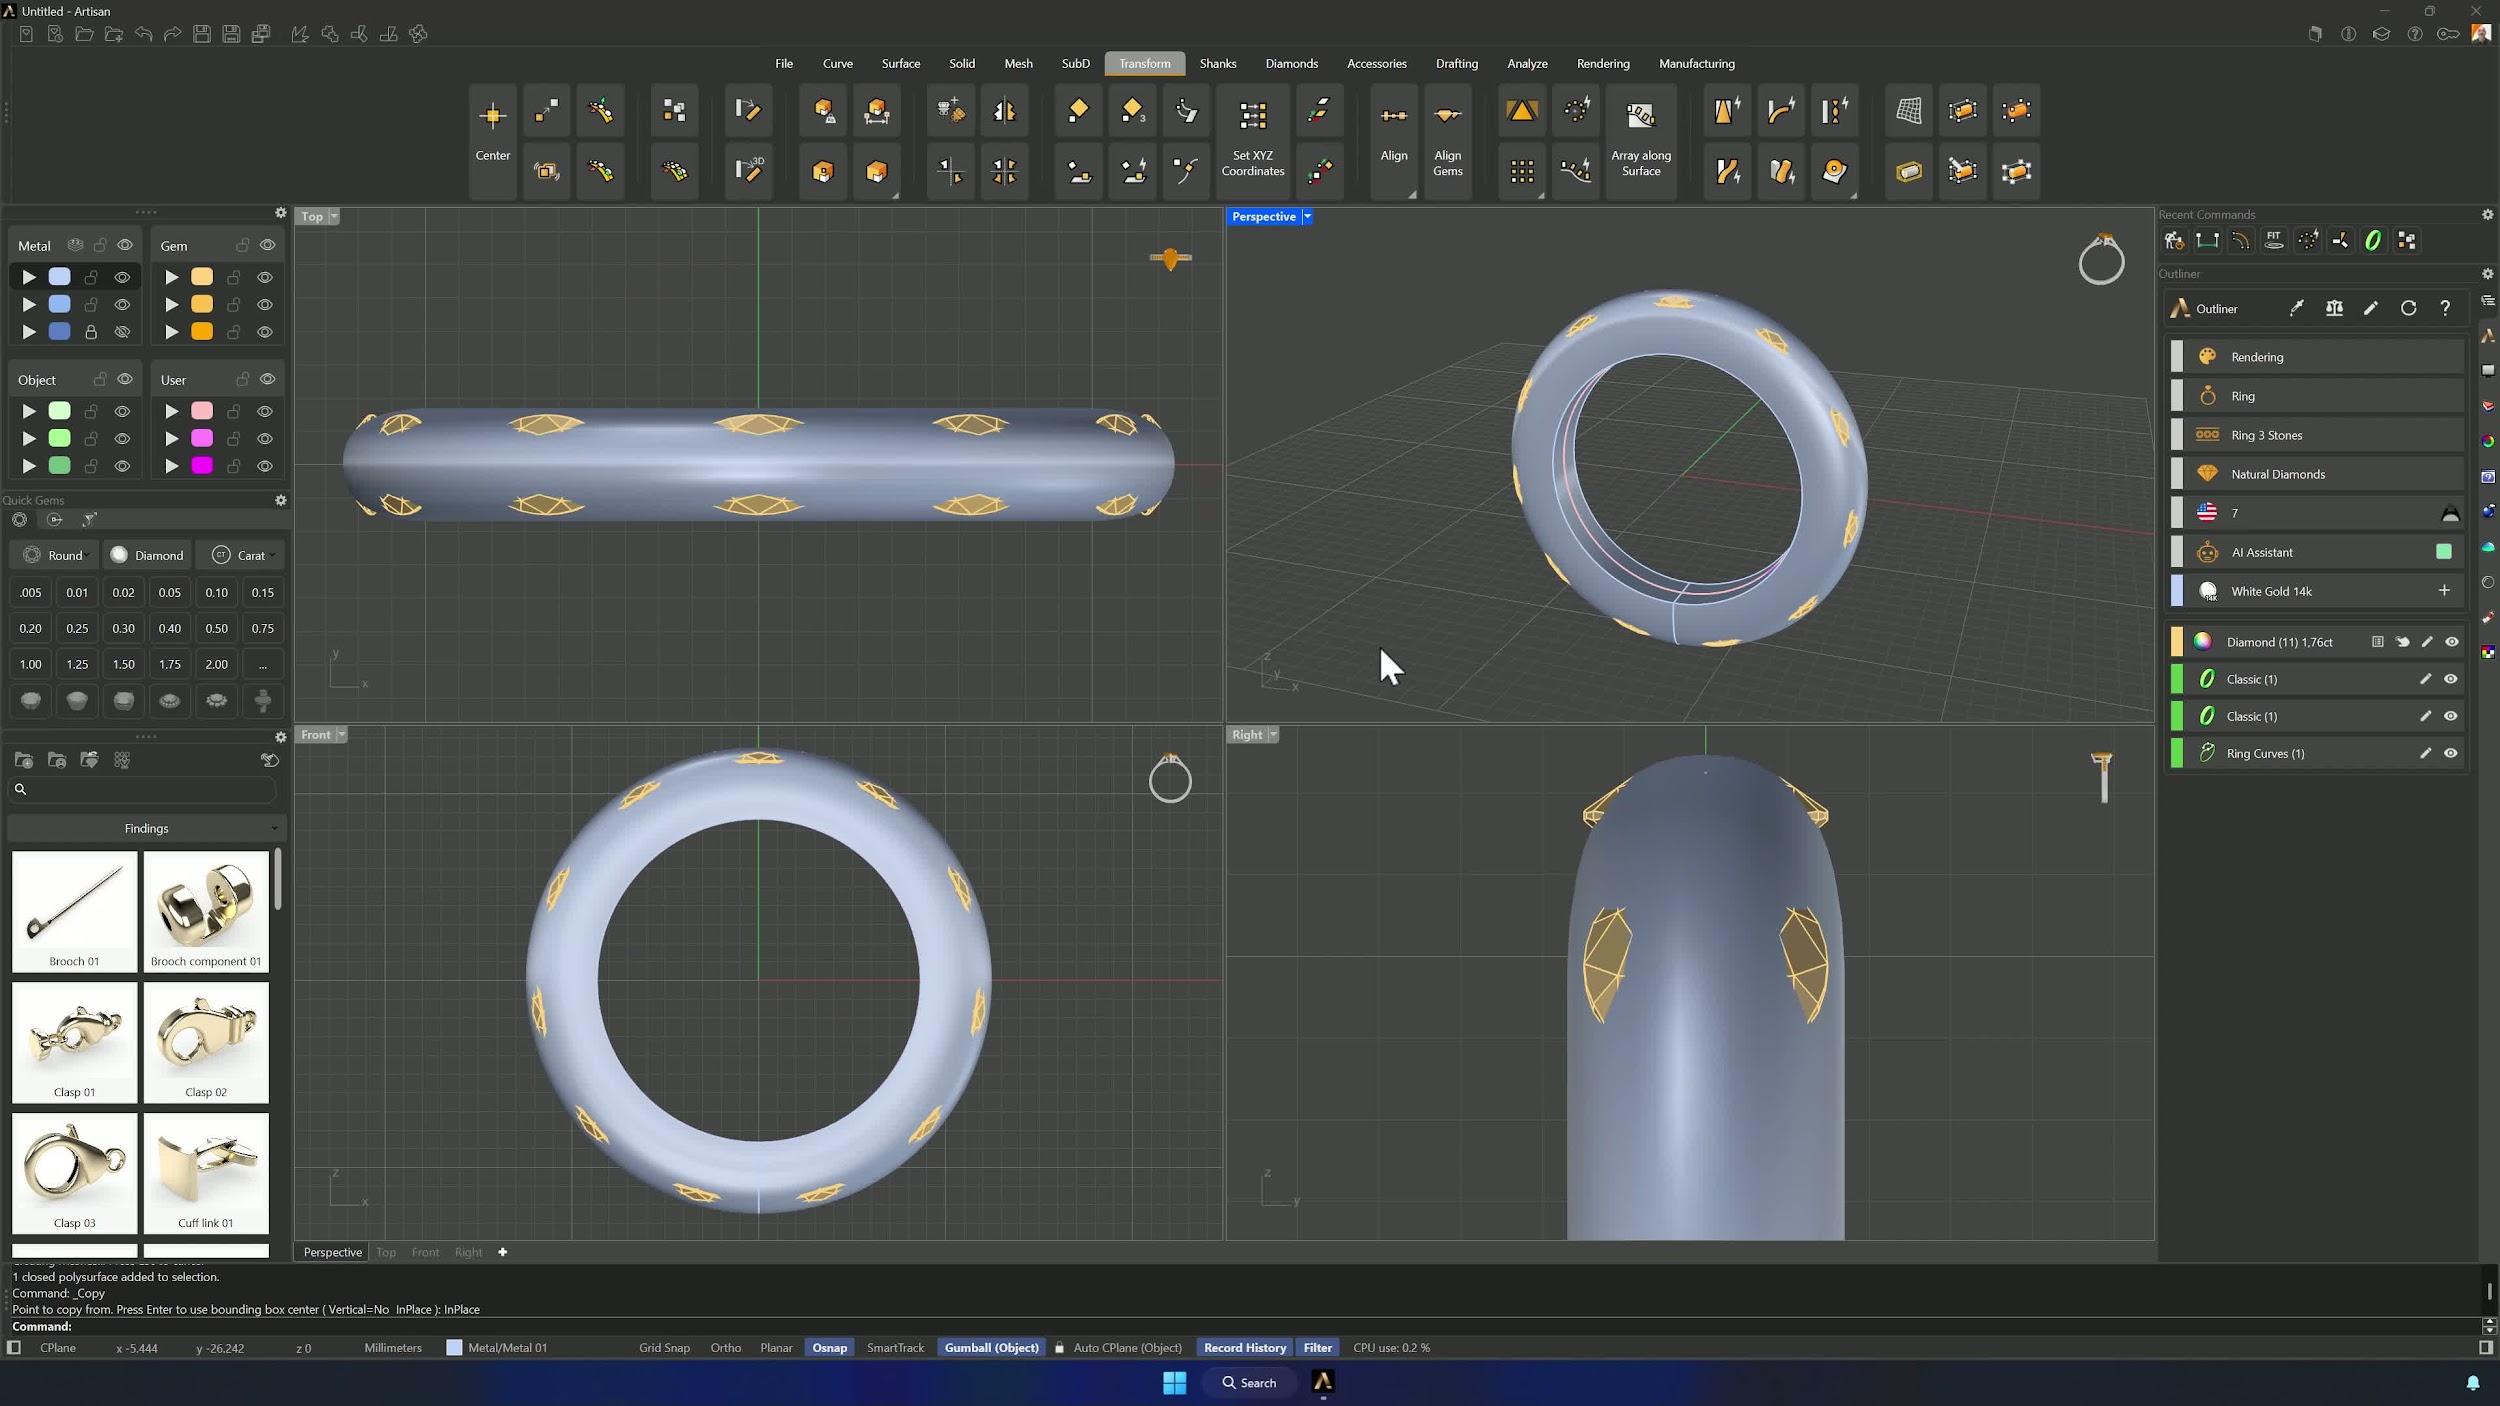
11. Build the side arc curves and join them
In Wireframe from the Front view, draw an Arc (Start and Point on Arc) from one end of the pink curve to the other, extending slightly beyond the shank. Join and Fit, move the top curve to its layer, then join the inner curves (layer color selection) and Fit again.
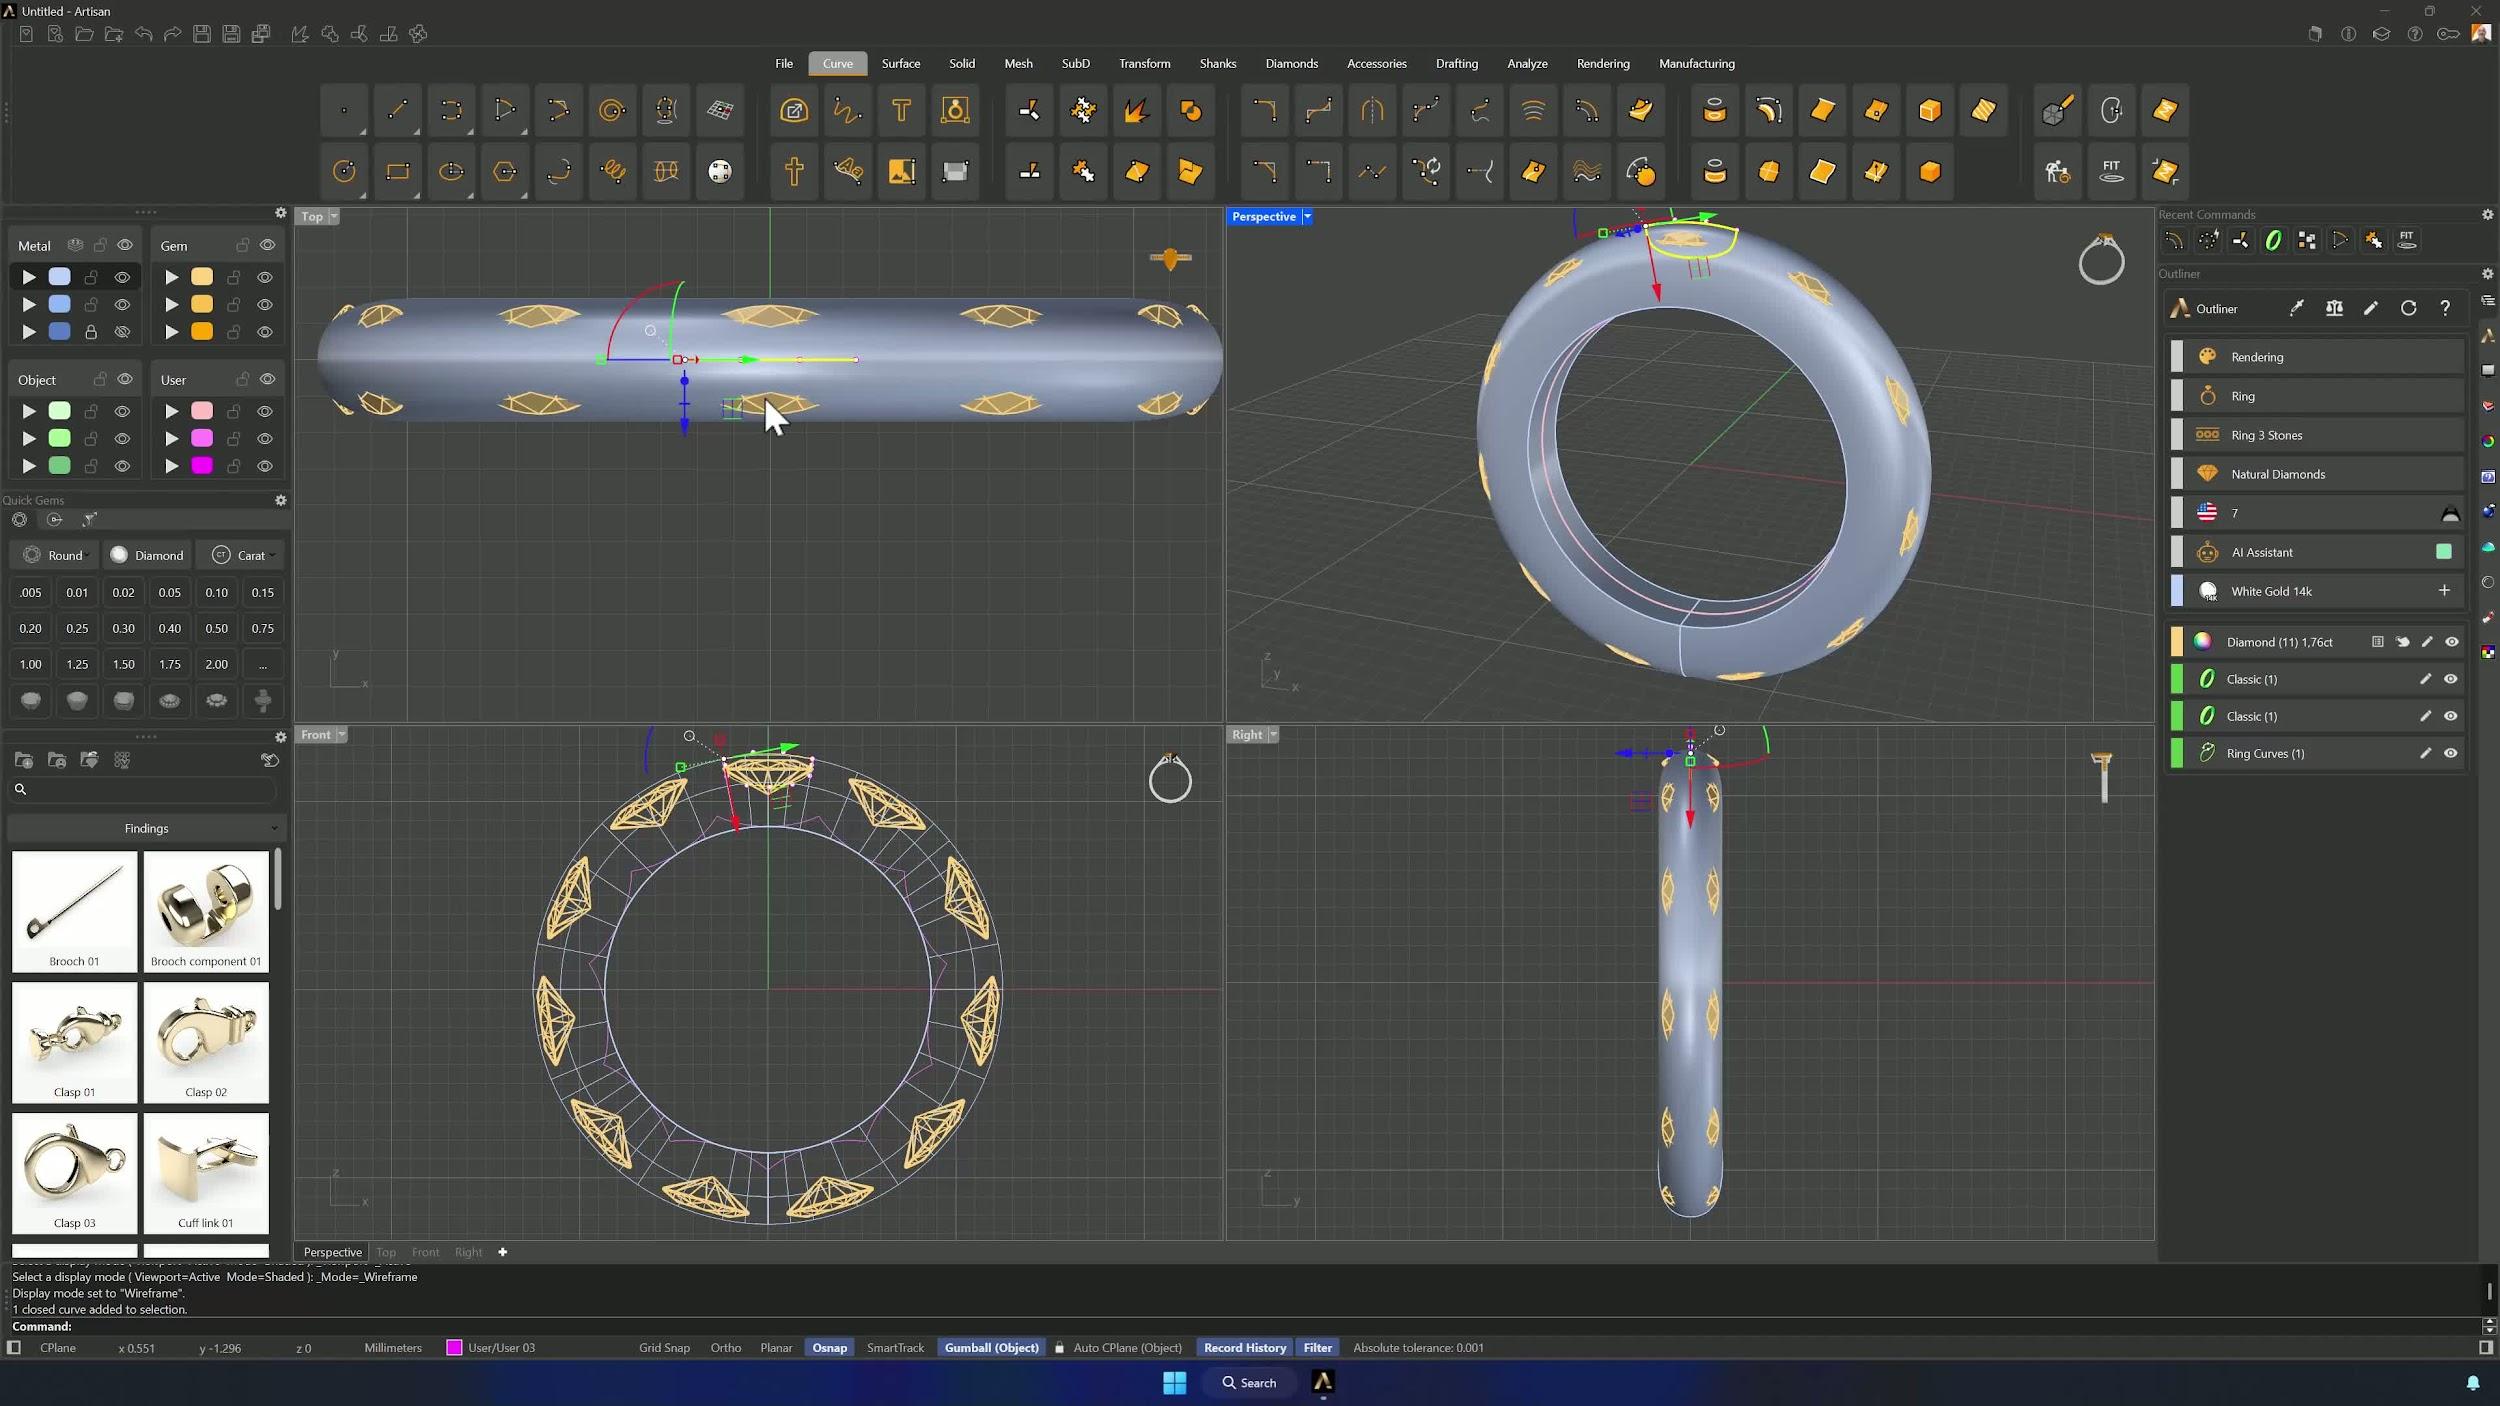
12. Extrude the curves and subtract them from the shank
Extrude the upper curve through both sides of the shank (Shift + drag the Gumball sphere), and the internal curves too. Boolean Difference the central extrusion out of the shank, then Quick Polar Array the top extrusion with 11 copies and boolean those out as well — the cutout pattern circles the band.
Almost there — you still have some lessons to complete. Jump to the next one →
Impersonating — progress and reviews are disabled.
Course completed
You've completed Sculpted Elegance: Statement Jewelry Designs 🎉
Great work. Get your certificate of completion and, if you have a minute, let other jewelers know what you thought of the course.