Solitaire Ring Collection: First Ring
Lesson 25 of 49
Shank
Sign in to access this lesson
This lesson is part of Crafting Engagement Masterpieces, which can come bundled with a RhinoArtisan Commercial license subject to current promotions. Log in with your customer account, or get in touch and we'll set you up.
Customers only
Solo para clientes
This lesson is part of Crafting Engagement Masterpieces, which can be included with a RhinoArtisan Commercial license subject to current promotions. If you've already purchased and don't see it in your account, get in touch.
Objective: Design the shank with proper dimensions and ensure it attaches smoothly to the basket.
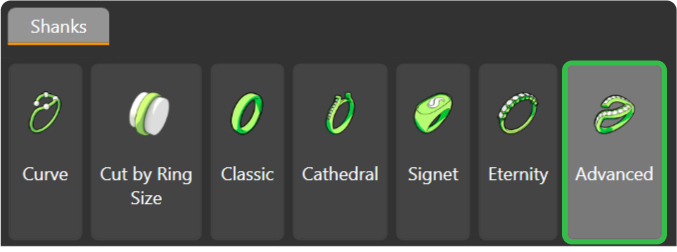
Step 1: Go to the “Shanks” tab and select the Advanced command.
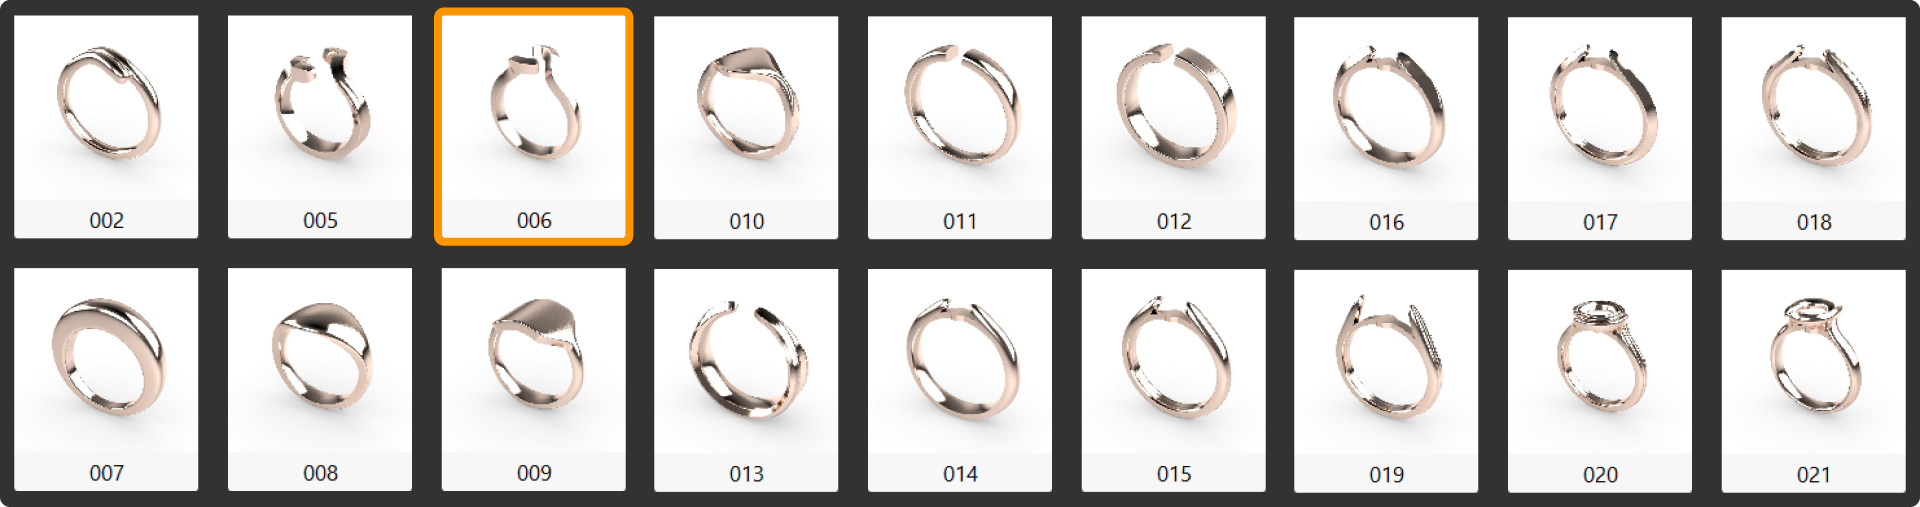
Step 2: Choose model 006 and press Edit.
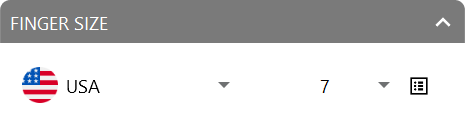
Step 3: Adjust the size to United States of America and set the ring to size 7.
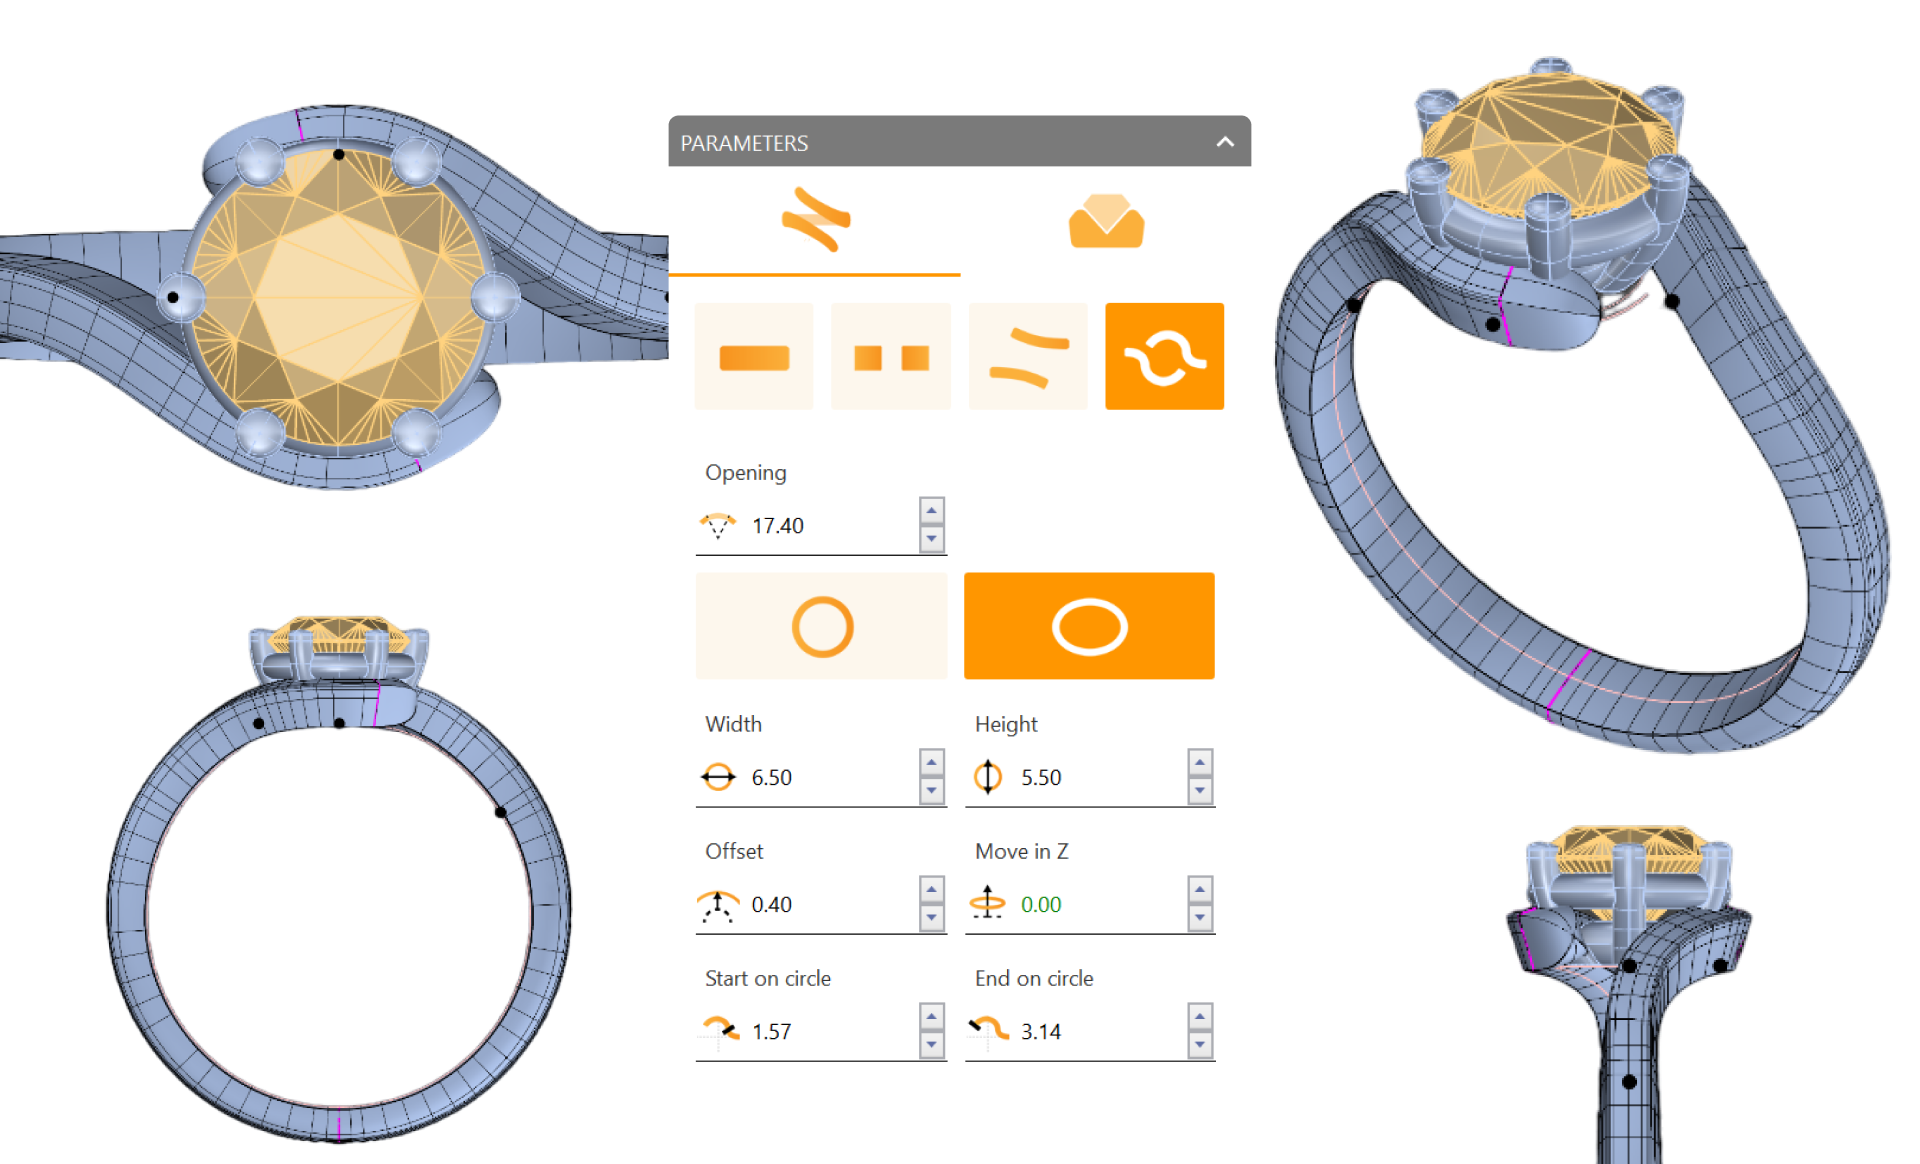
Step 4: Modify the following parameters:
- Opening: Set to 17.40 millimeters
- Height: Set to 5.5 millimeters
- Width: Set to 6.5 millimeters
- Move in Z: Set to 0 millimeters
- Start on Circle: Set to 1.57 millimeters
Step 5: In the Profiles tab, adjust:
- Starting Cap: Set to 2.30
- End Cap: Set to 2.30
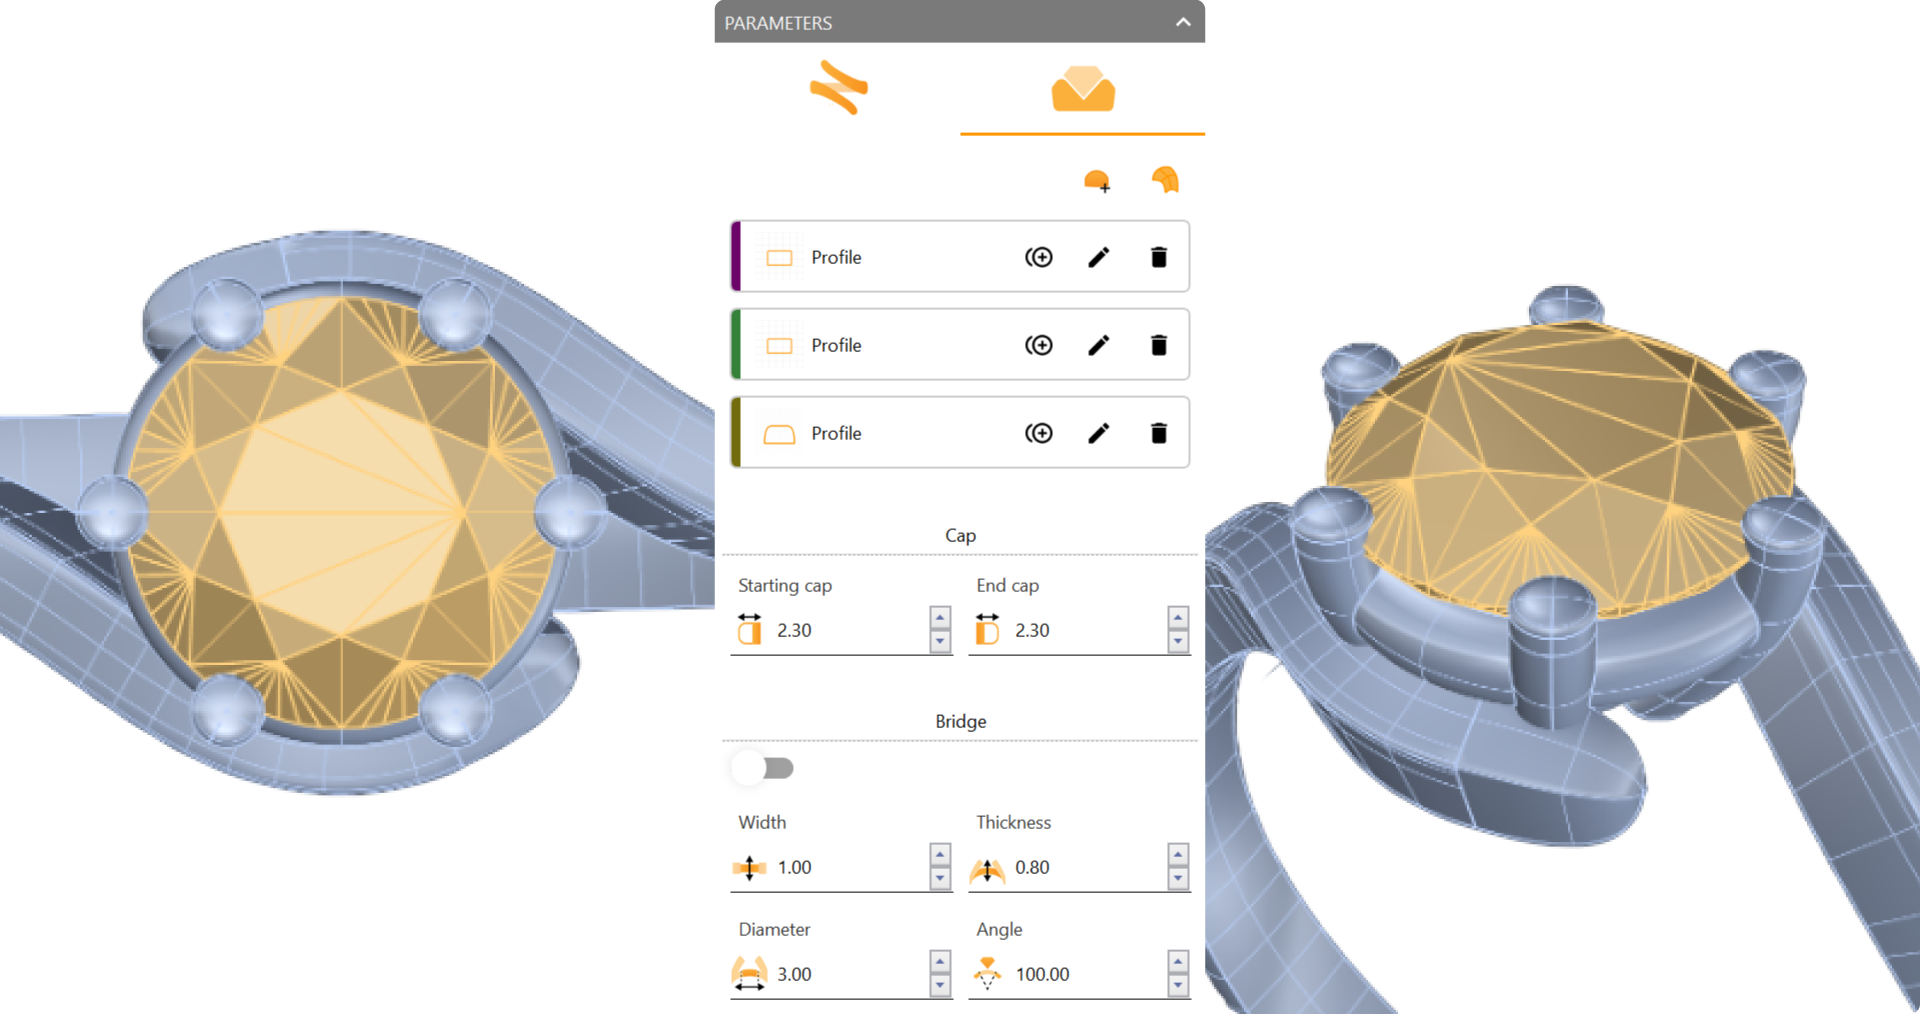
This ensures a better attachment between the basket and the shank.
Video Lesson
Next Step
Prepare for the casting manufacturing process.