Textured Snake Ring
Lesson 3 of 29
The Snake Outline
Sign in to access this lesson
This lesson is part of Living Jewels: SubD Creature Sculpting, which can come bundled with a RhinoArtisan Commercial license subject to current promotions. Log in with your customer account, or get in touch and we'll set you up.
Customers only
Solo para clientes
This lesson is part of Living Jewels: SubD Creature Sculpting, which can be included with a RhinoArtisan Commercial license subject to current promotions. If you've already purchased and don't see it in your account, get in touch.
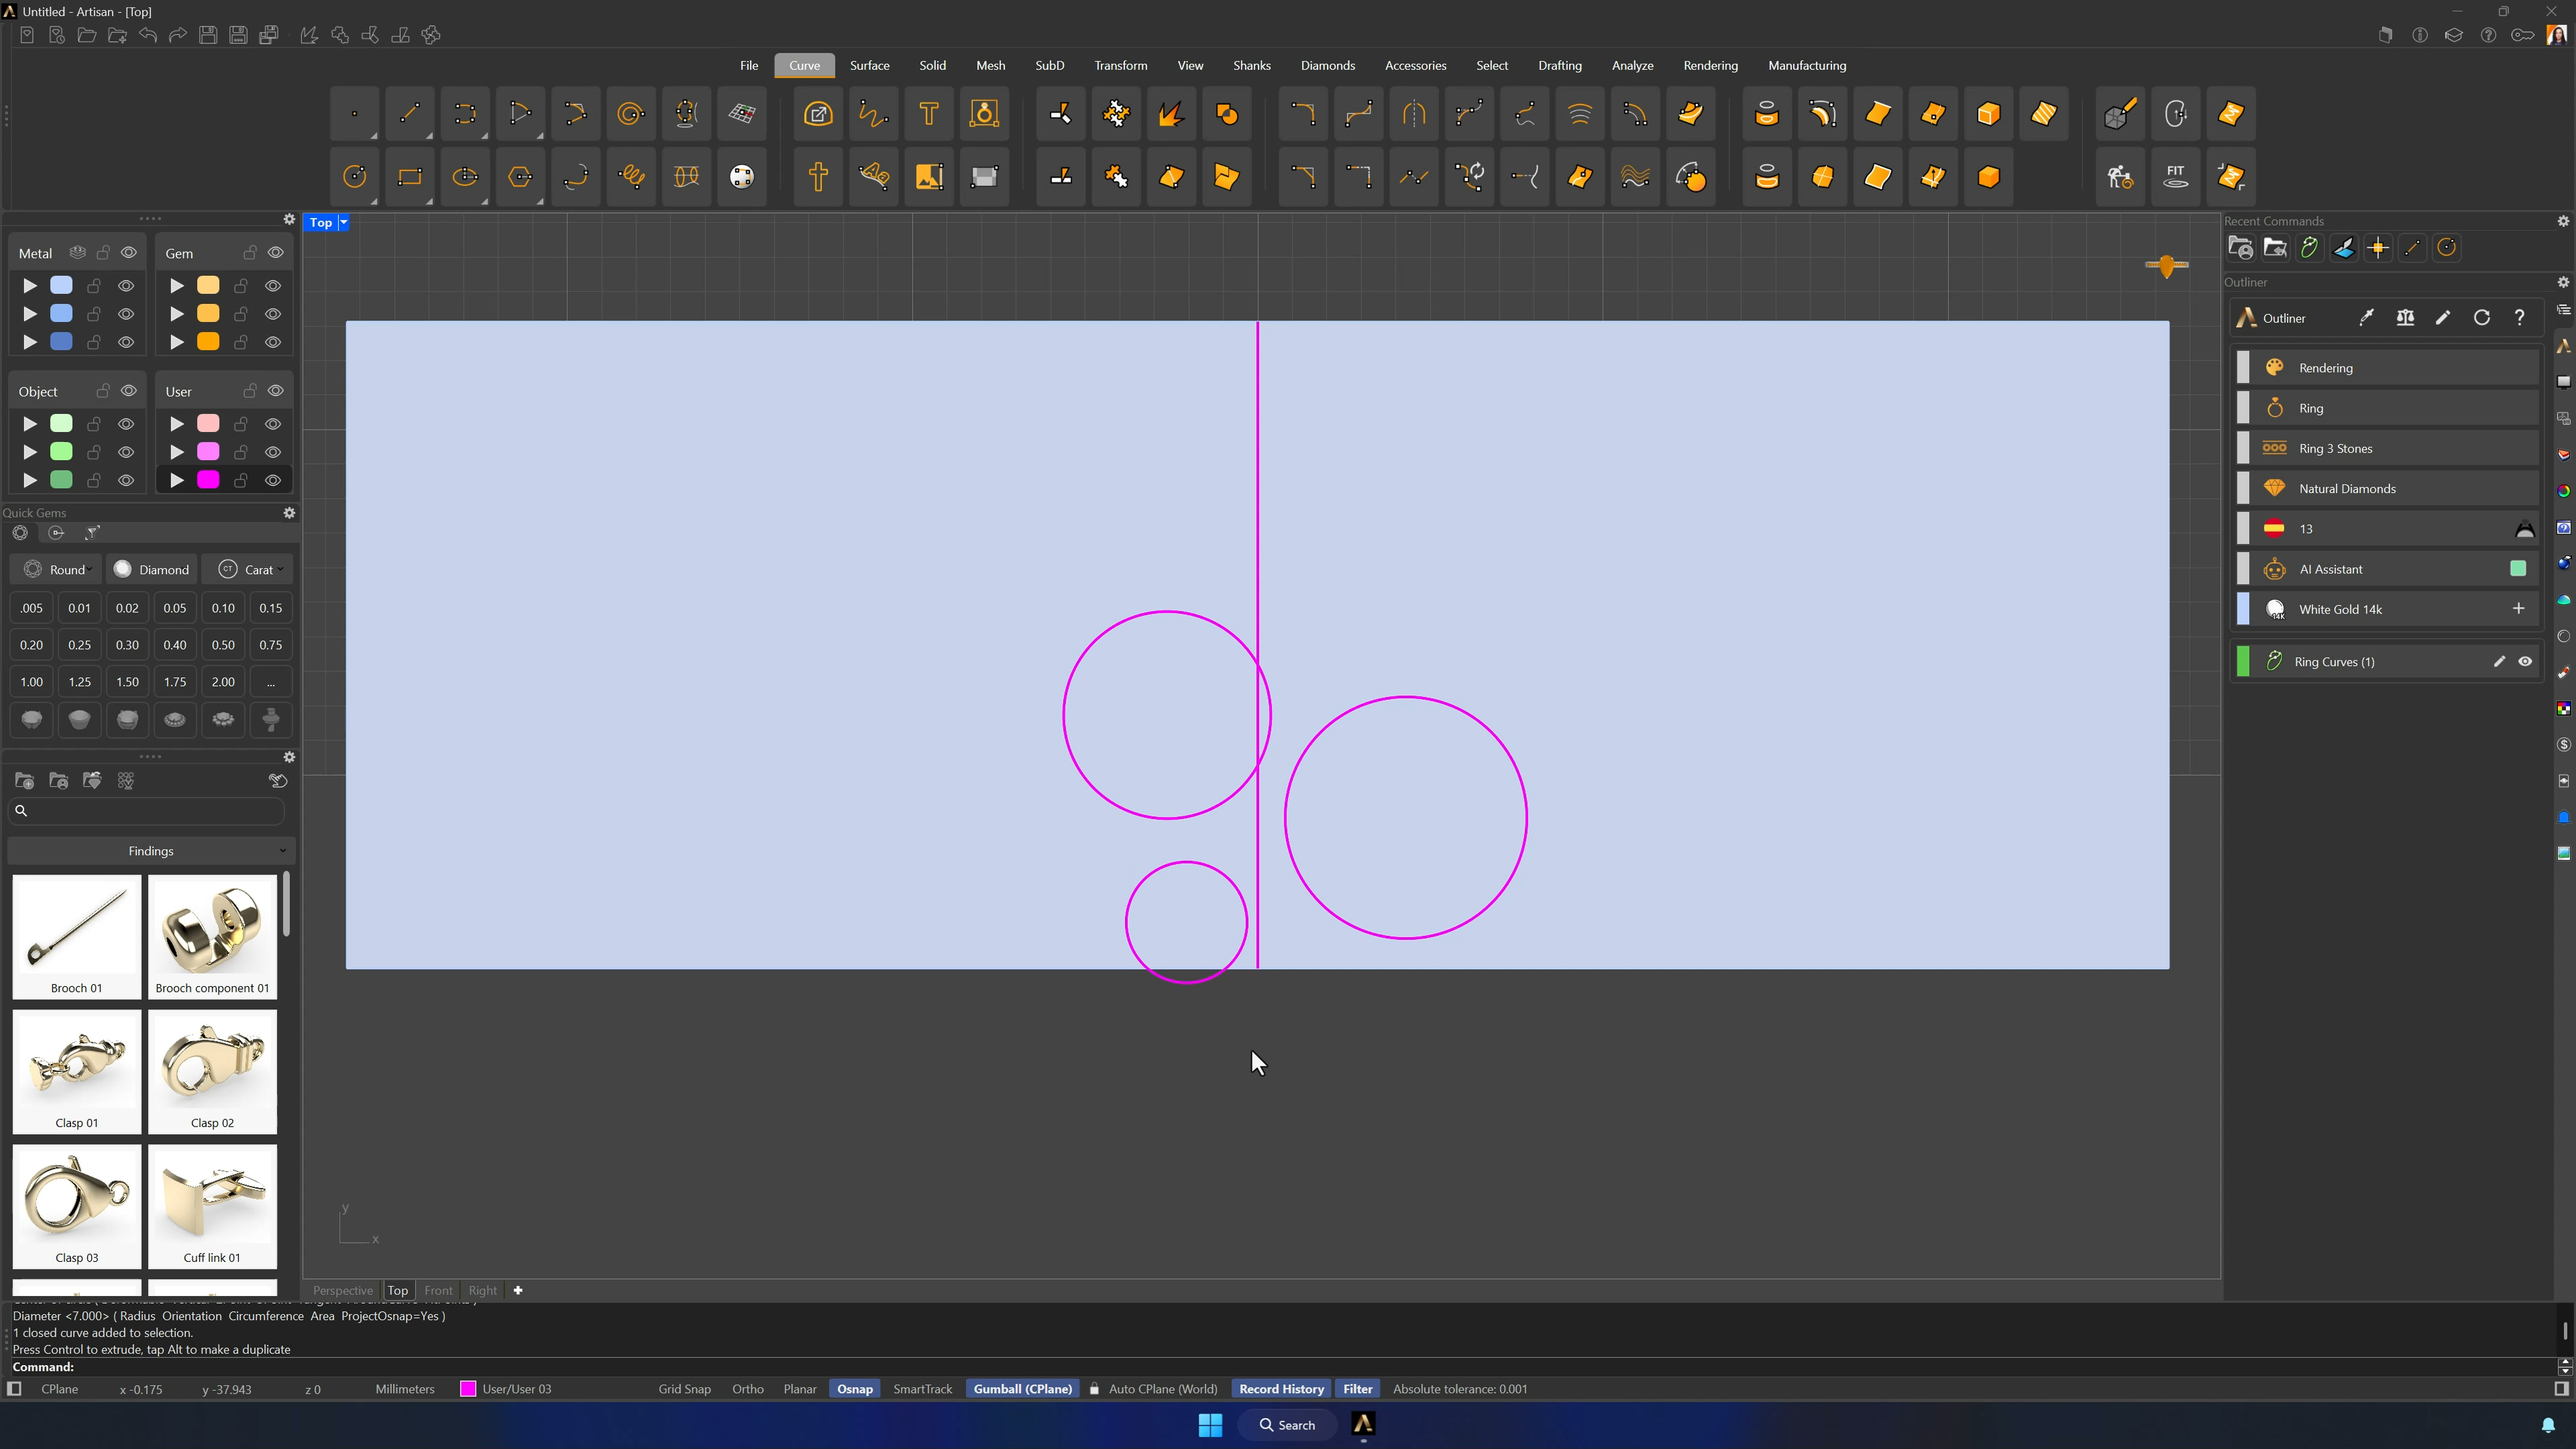
4. Blend the circles into a smooth snake outline
Blend Curve connects the circles — top of the smallest to bottom of the larger — with first continuity Curvature and second Tangency, flipping reversed directions. If a blend overlaps its circle, move the connection points until the transition flows.
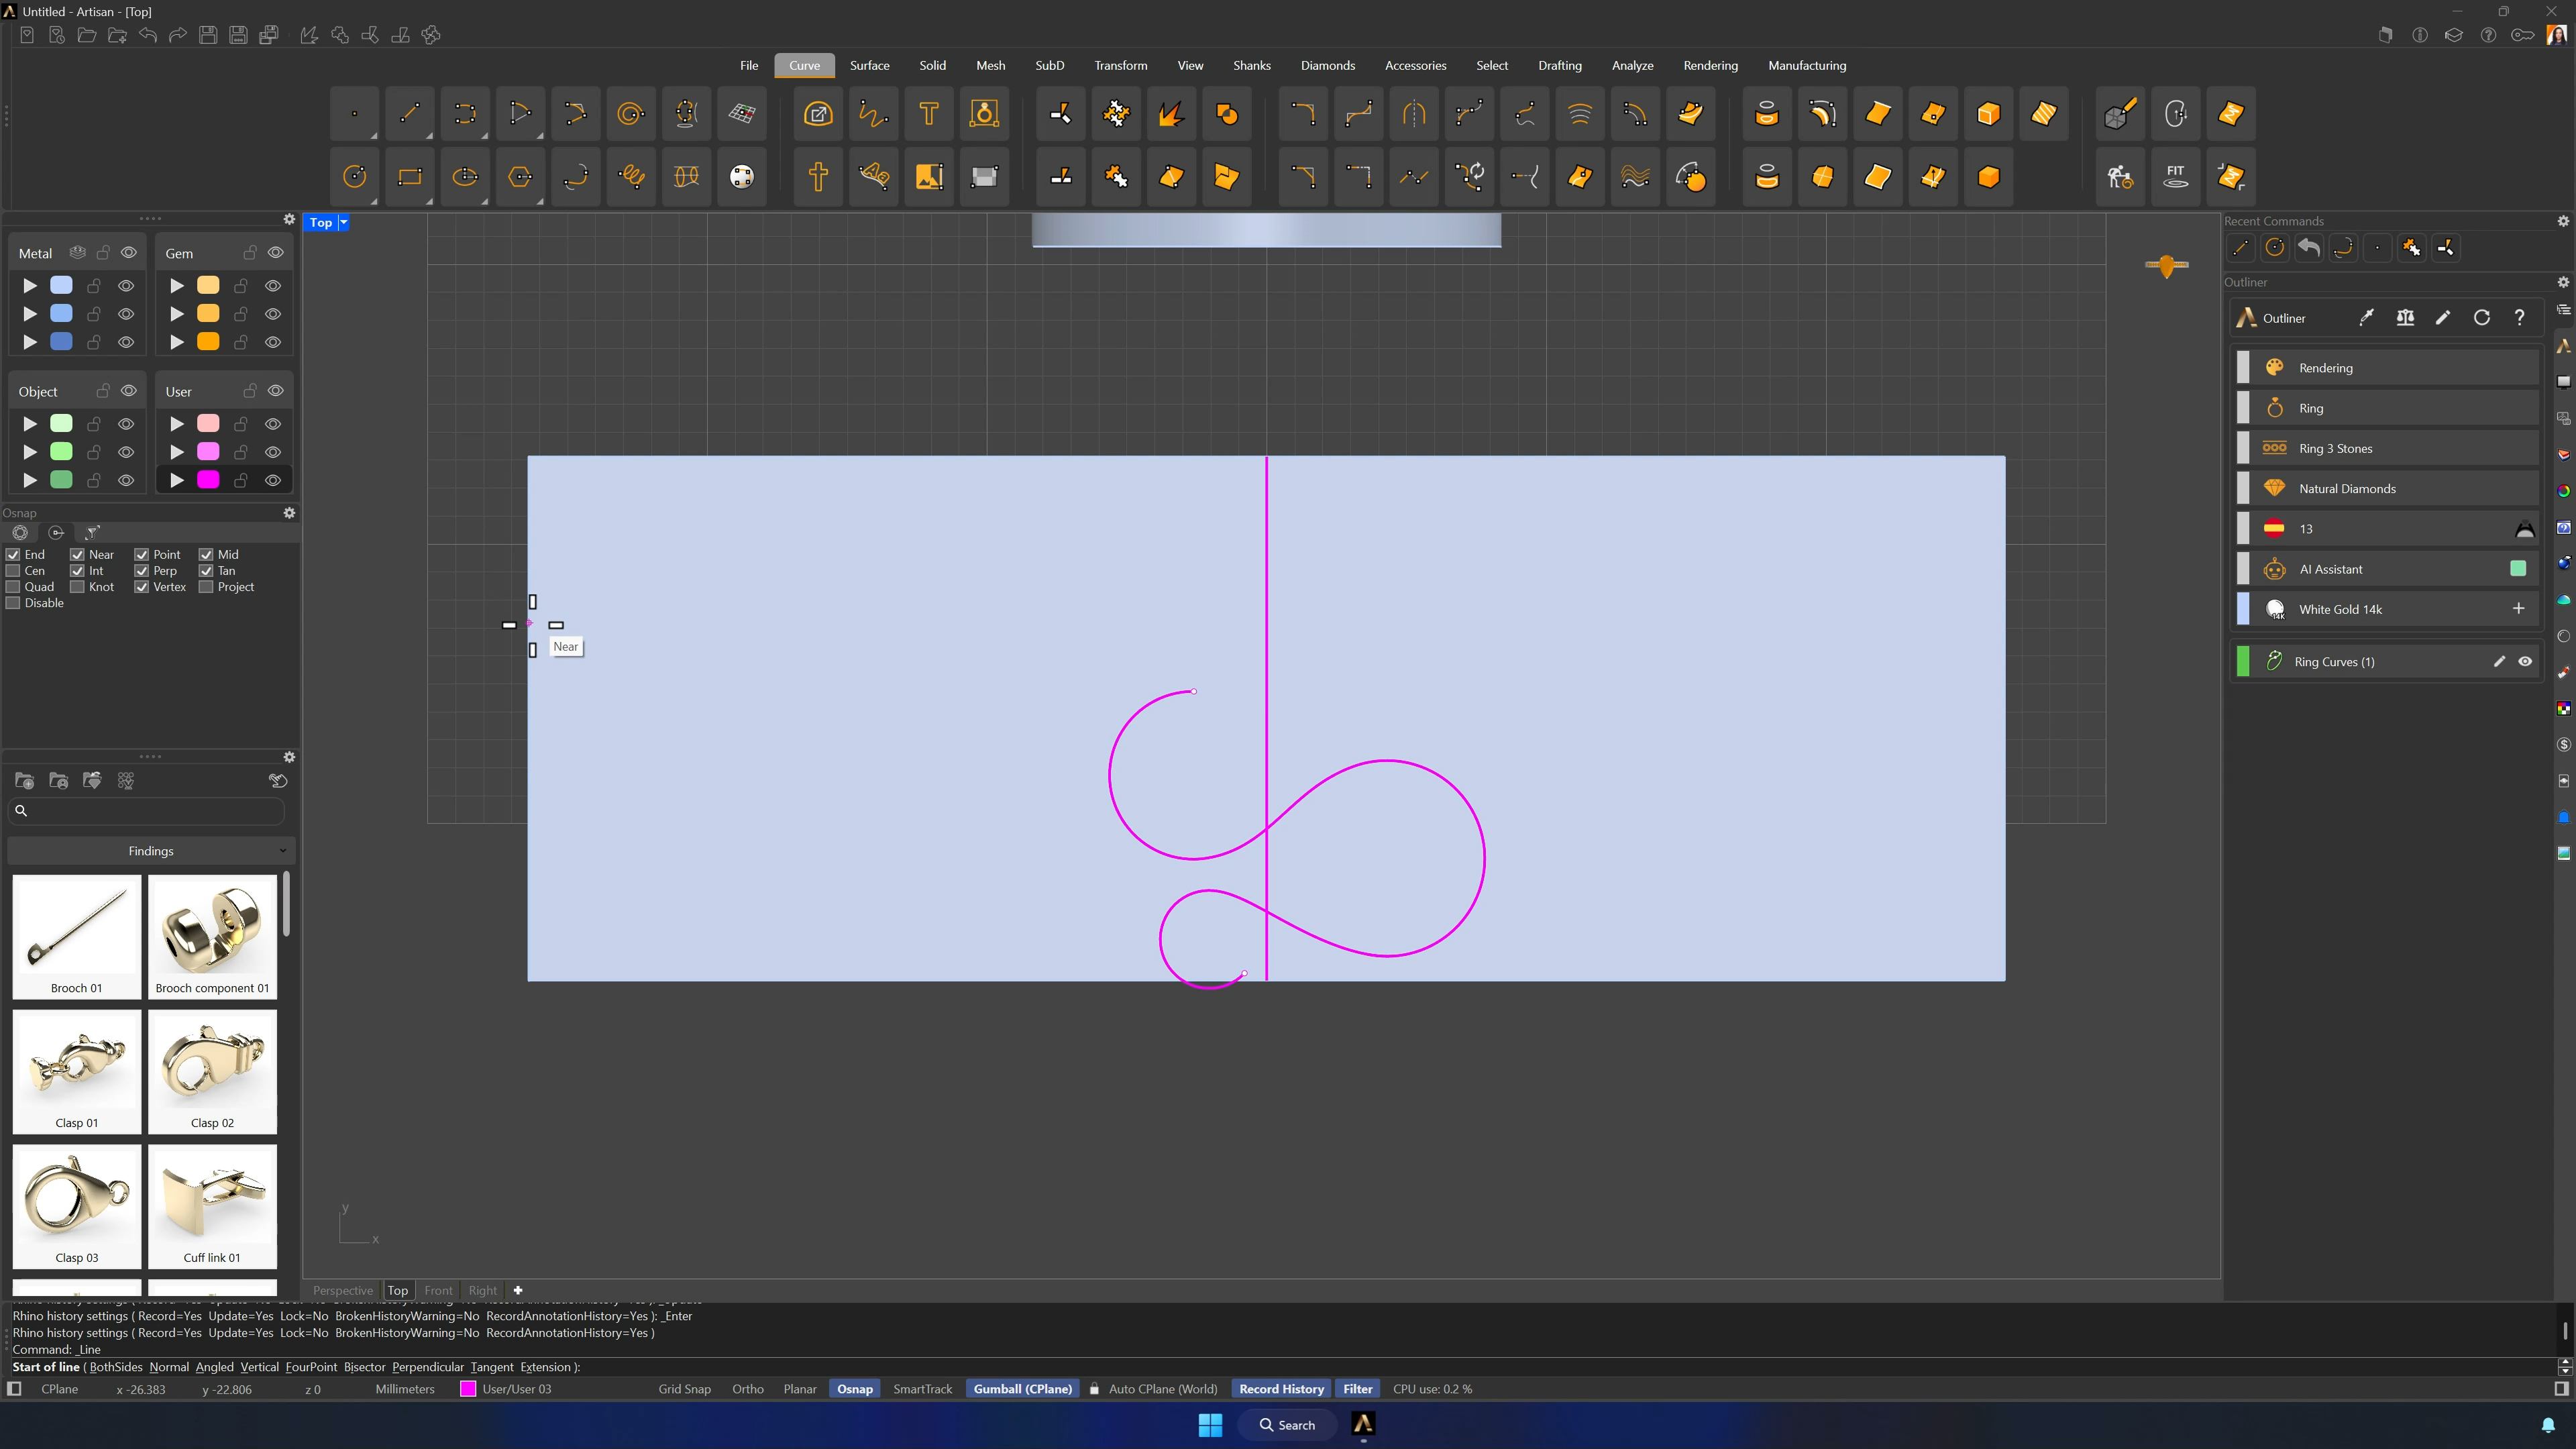
5. Trim the guide curves and create the ring-length reference line
Place trim helper points — one at the top of the large circle, one lower-right on the small circle with Near OSNAP — and Trim the surplus segments. Then draw a straight reference line matching the ring circumference (Shift keeps it true) and confirm with Analyze that line and ring curve measure the same.
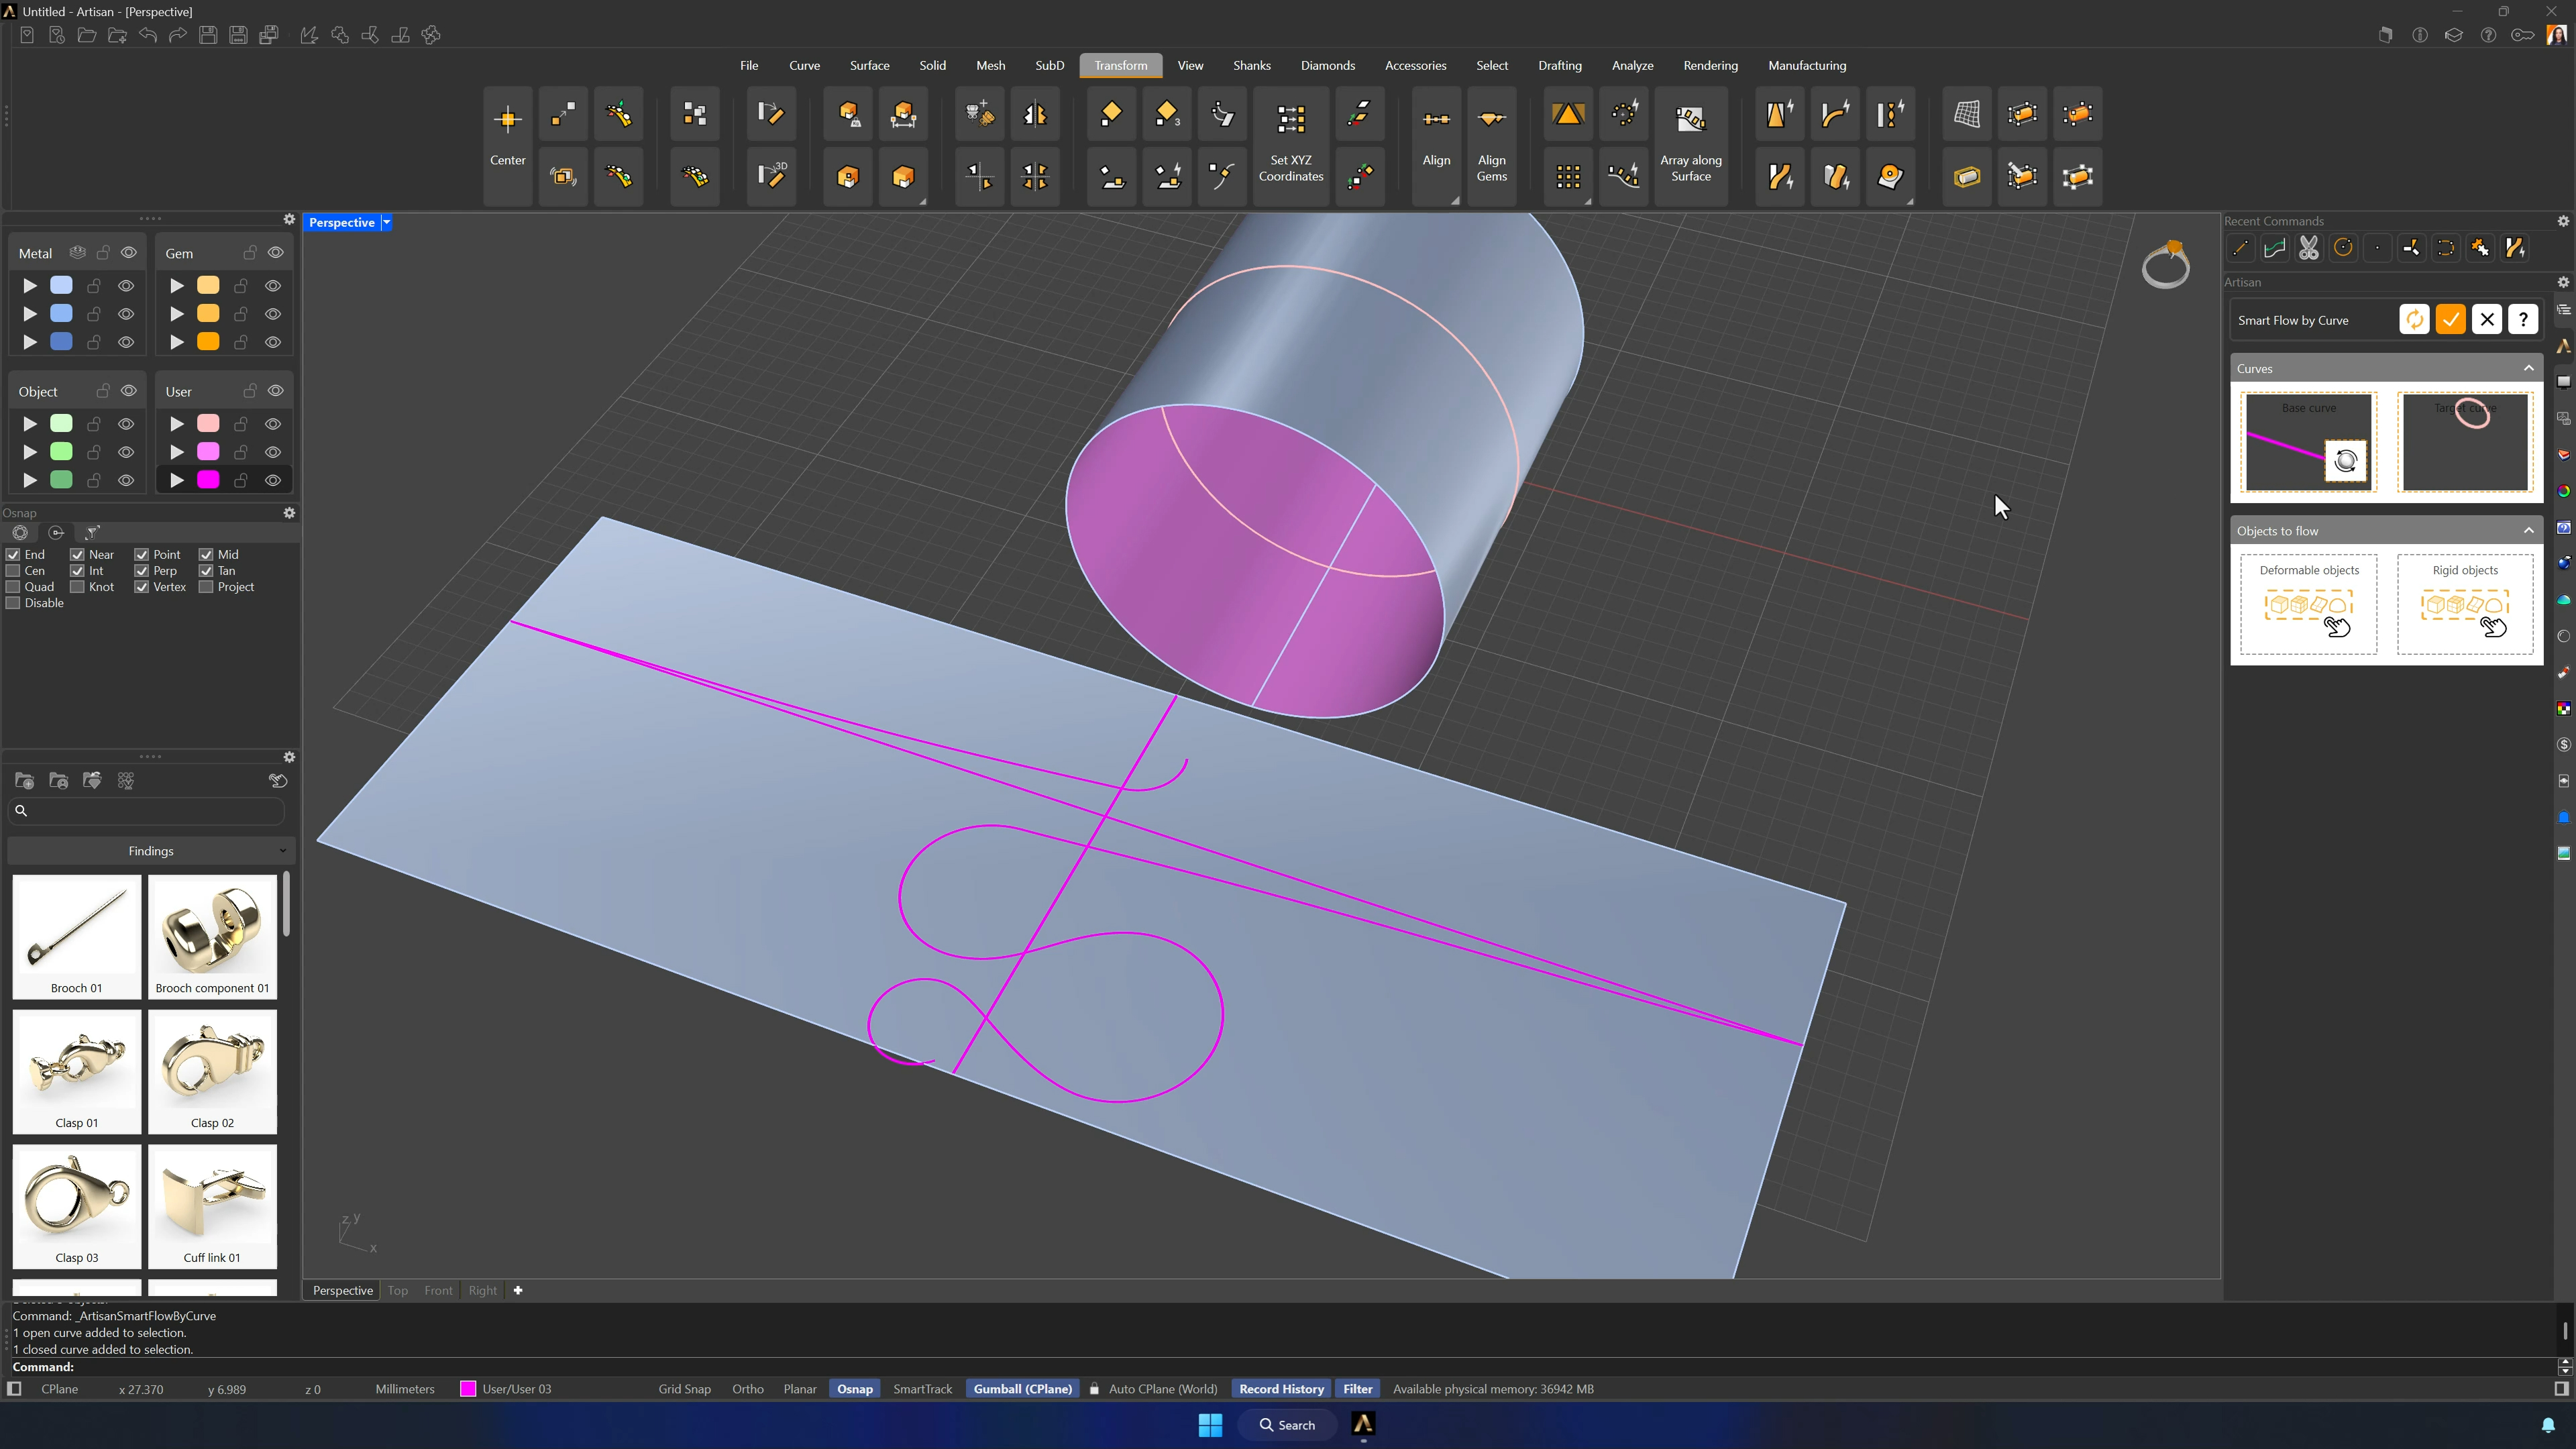
6. Complete the snake body curve and refine the head shape
Connect the top of the design to the end of the reference line with a gradually adjusted curve and Join everything — if it comes back as two curves, fix the missing connection before moving on. A new 3.5 mm circle at the top center becomes the head: trim it into shape with helper points, connect it to the long curve, and smooth the junction by removing its control point.
Almost there — you still have some lessons to complete. Jump to the next one →
Impersonating — progress and reviews are disabled.
Course completed
You've completed Living Jewels: SubD Creature Sculpting 🎉
Great work. Get your certificate of completion and, if you have a minute, let other jewelers know what you thought of the course.