Stud Earrings
Lesson 13 of 43
Choosing the Basket Setting
Sign in to access this lesson
This lesson is part of Kickstart: From idea to Creation, which can come bundled with a RhinoArtisan Commercial license subject to current promotions. Log in with your customer account, or get in touch and we'll set you up.
Customers only
Solo para clientes
This lesson is part of Kickstart: From idea to Creation, which can be included with a RhinoArtisan Commercial license subject to current promotions. If you've already purchased and don't see it in your account, get in touch.
Objective: Learn how to create and adjust a curved basket setting for a half-carat diamond using RhinoArtisan.
In this lesson, we will design a curved basket setting for your diamond. RhinoArtisan offers a variety of pre-designed basket models that you can customize to fit your needs. Let’s explore the steps involved in selecting and customizing your basket setting.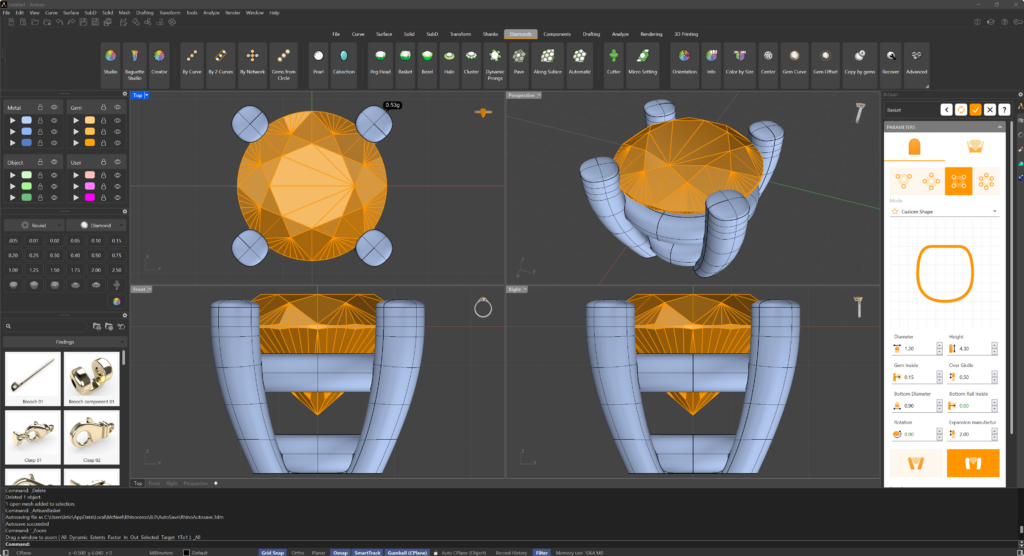
Basket Command
Begin by select the gem and then navigate to the toolbar and select the “Diamonds” tab (1). Select the “Basket” command (2). This will open a library of pre-designed basket models.

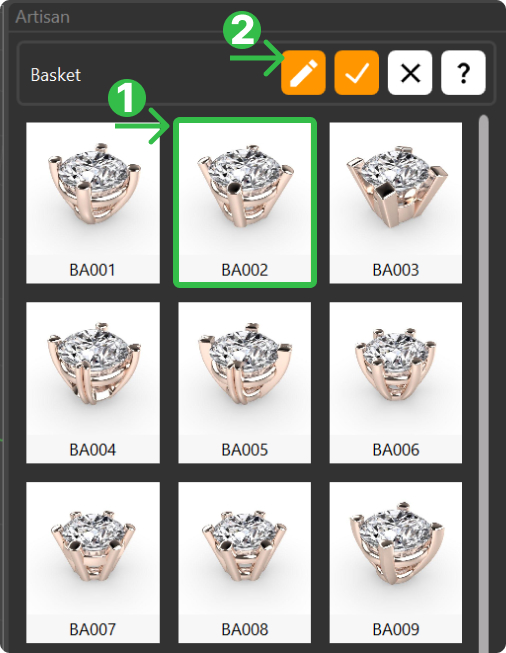
Basket Library
From the library, choose the BA002 (1) basket model. This model is ideal for this tutorial as it allows us to create a curved design, which is both functional and aesthetically pleasing.
Click on the pencil icon (2) at the top of the library to open the editing panel. This will allow you to adjust the various parameters of the basket.
Since the half-carat stone has a diameter larger than 5 millimeters, it’s crucial to ensure that the prongs securely hold the diamond.
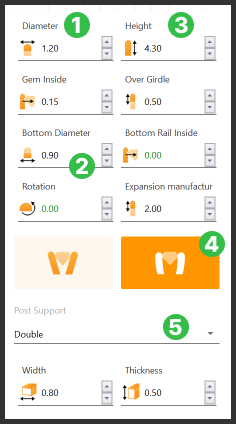
Parameters
-
Set the prong diameter to 1.20.
-
To enhance the design and add detail, set the bottom diameter of the lower part of the basket to 0.90. This will ensure that the basket is both sturdy and visually appealing.
-
Long earrings can affect balance when worn, so it’s important to get the height right. Set the height of the basket to 4.3. This height is optimal for setting the stone securely while leaving enough space for the setting.
-
Change the prong mode to curved for a more elegant design.
-
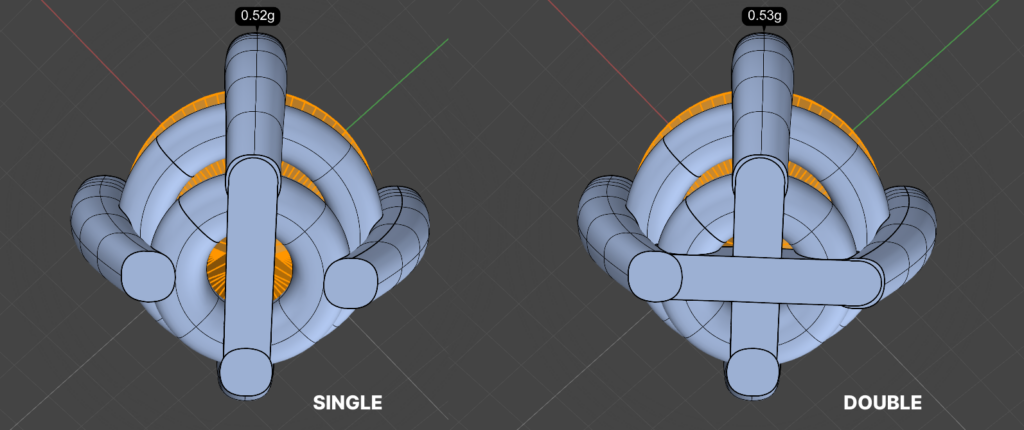
Set the post support to Double to provide additional stability for the setting.
Next Steps
In the next lesson, we will cover the steps to adjust the prongs Rails.