Introduction to RhinoArtisan
Lesson 3 of 43
Customizing the Interface in Rhino
Video lesson · 2:00
Sign in to access this lesson
This lesson is part of Kickstart: From idea to Creation, which can come bundled with a RhinoArtisan Commercial license subject to current promotions. Log in with your customer account, or get in touch and we'll set you up.
Customers only
Solo para clientes
This lesson is part of Kickstart: From idea to Creation, which can be included with a RhinoArtisan Commercial license subject to current promotions. If you've already purchased and don't see it in your account, get in touch.
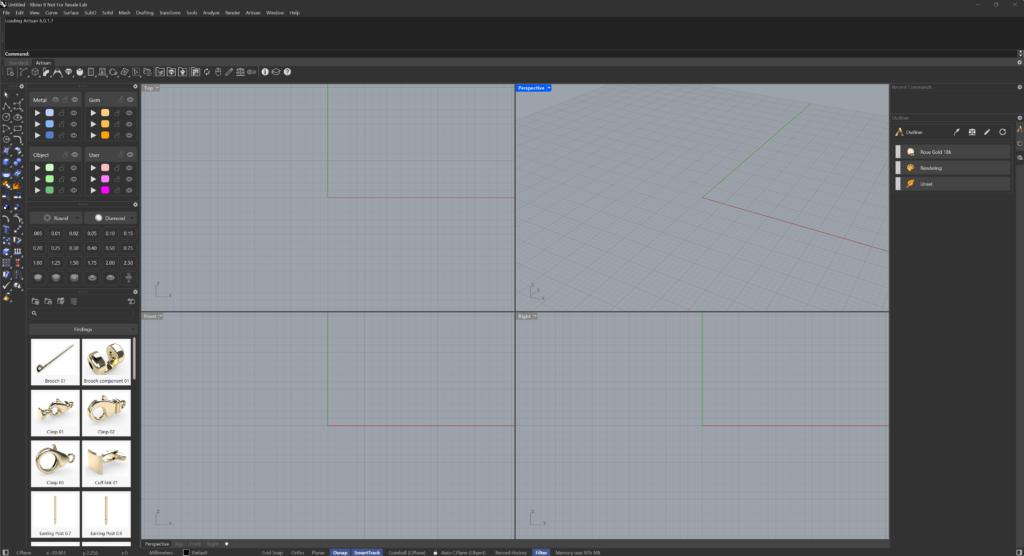
When you open Rhino for the first time after installing RhinoArtisan, you’ll see the Rhino interface with some new panels.

The interface is fully customizable. To place a panel in a new location, simply drag it to the edge where you’d like it to be positioned. Blue boxes will appear, showing the possible placements for the panel. By dragging and releasing, the panel will snap into its new position.

You can also stack panels in the same location by dragging one panel over another. Drag the panel by its name, and it will overlay with the other panel, allowing you to switch between them using a tabbed system.

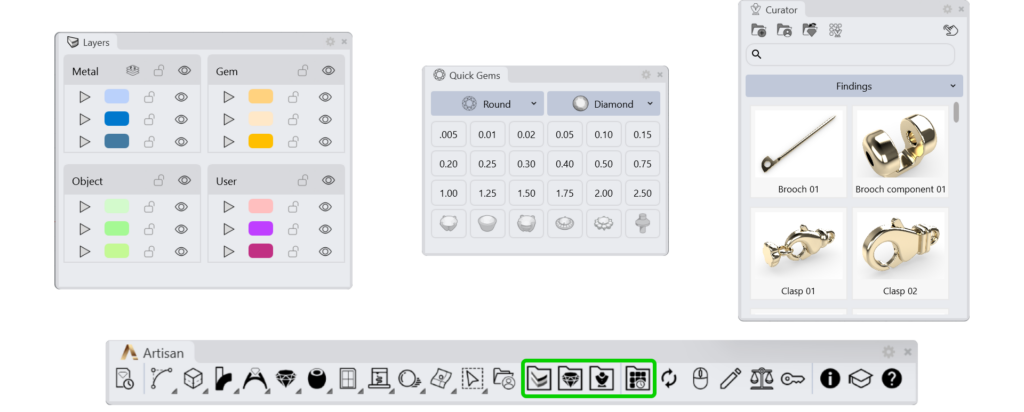
To reopen any panels that aren’t displayed by default or that you’ve closed, go to the RhinoArtisan toolbar and click each panel button to display it again.
To switch to Dark Mode (recommended by RhinoArtisan):
- Go to File > Properties > Appearance > Colors > Dark.
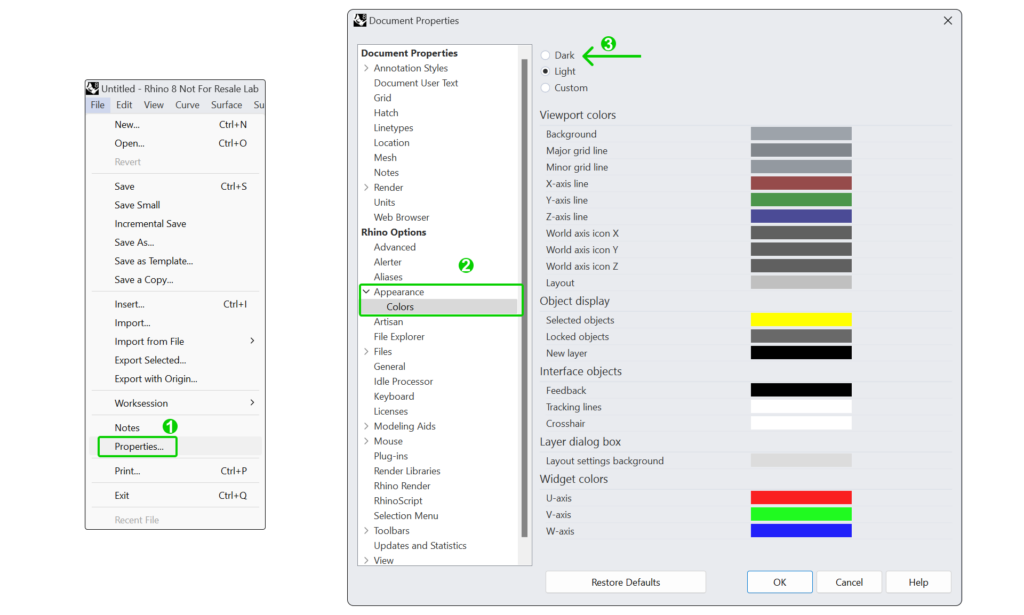
- Restart Rhino to ensure all settings are applied correctly.
We recommend the following panel configuration: