Tension Ring
Lesson 28 of 43
Lesson Overview
Sign in to access this lesson
This lesson is part of Kickstart: From idea to Creation, which can come bundled with a RhinoArtisan Commercial license subject to current promotions. Log in with your customer account, or get in touch and we'll set you up.
Customers only
Solo para clientes
This lesson is part of Kickstart: From idea to Creation, which can be included with a RhinoArtisan Commercial license subject to current promotions. If you've already purchased and don't see it in your account, get in touch.
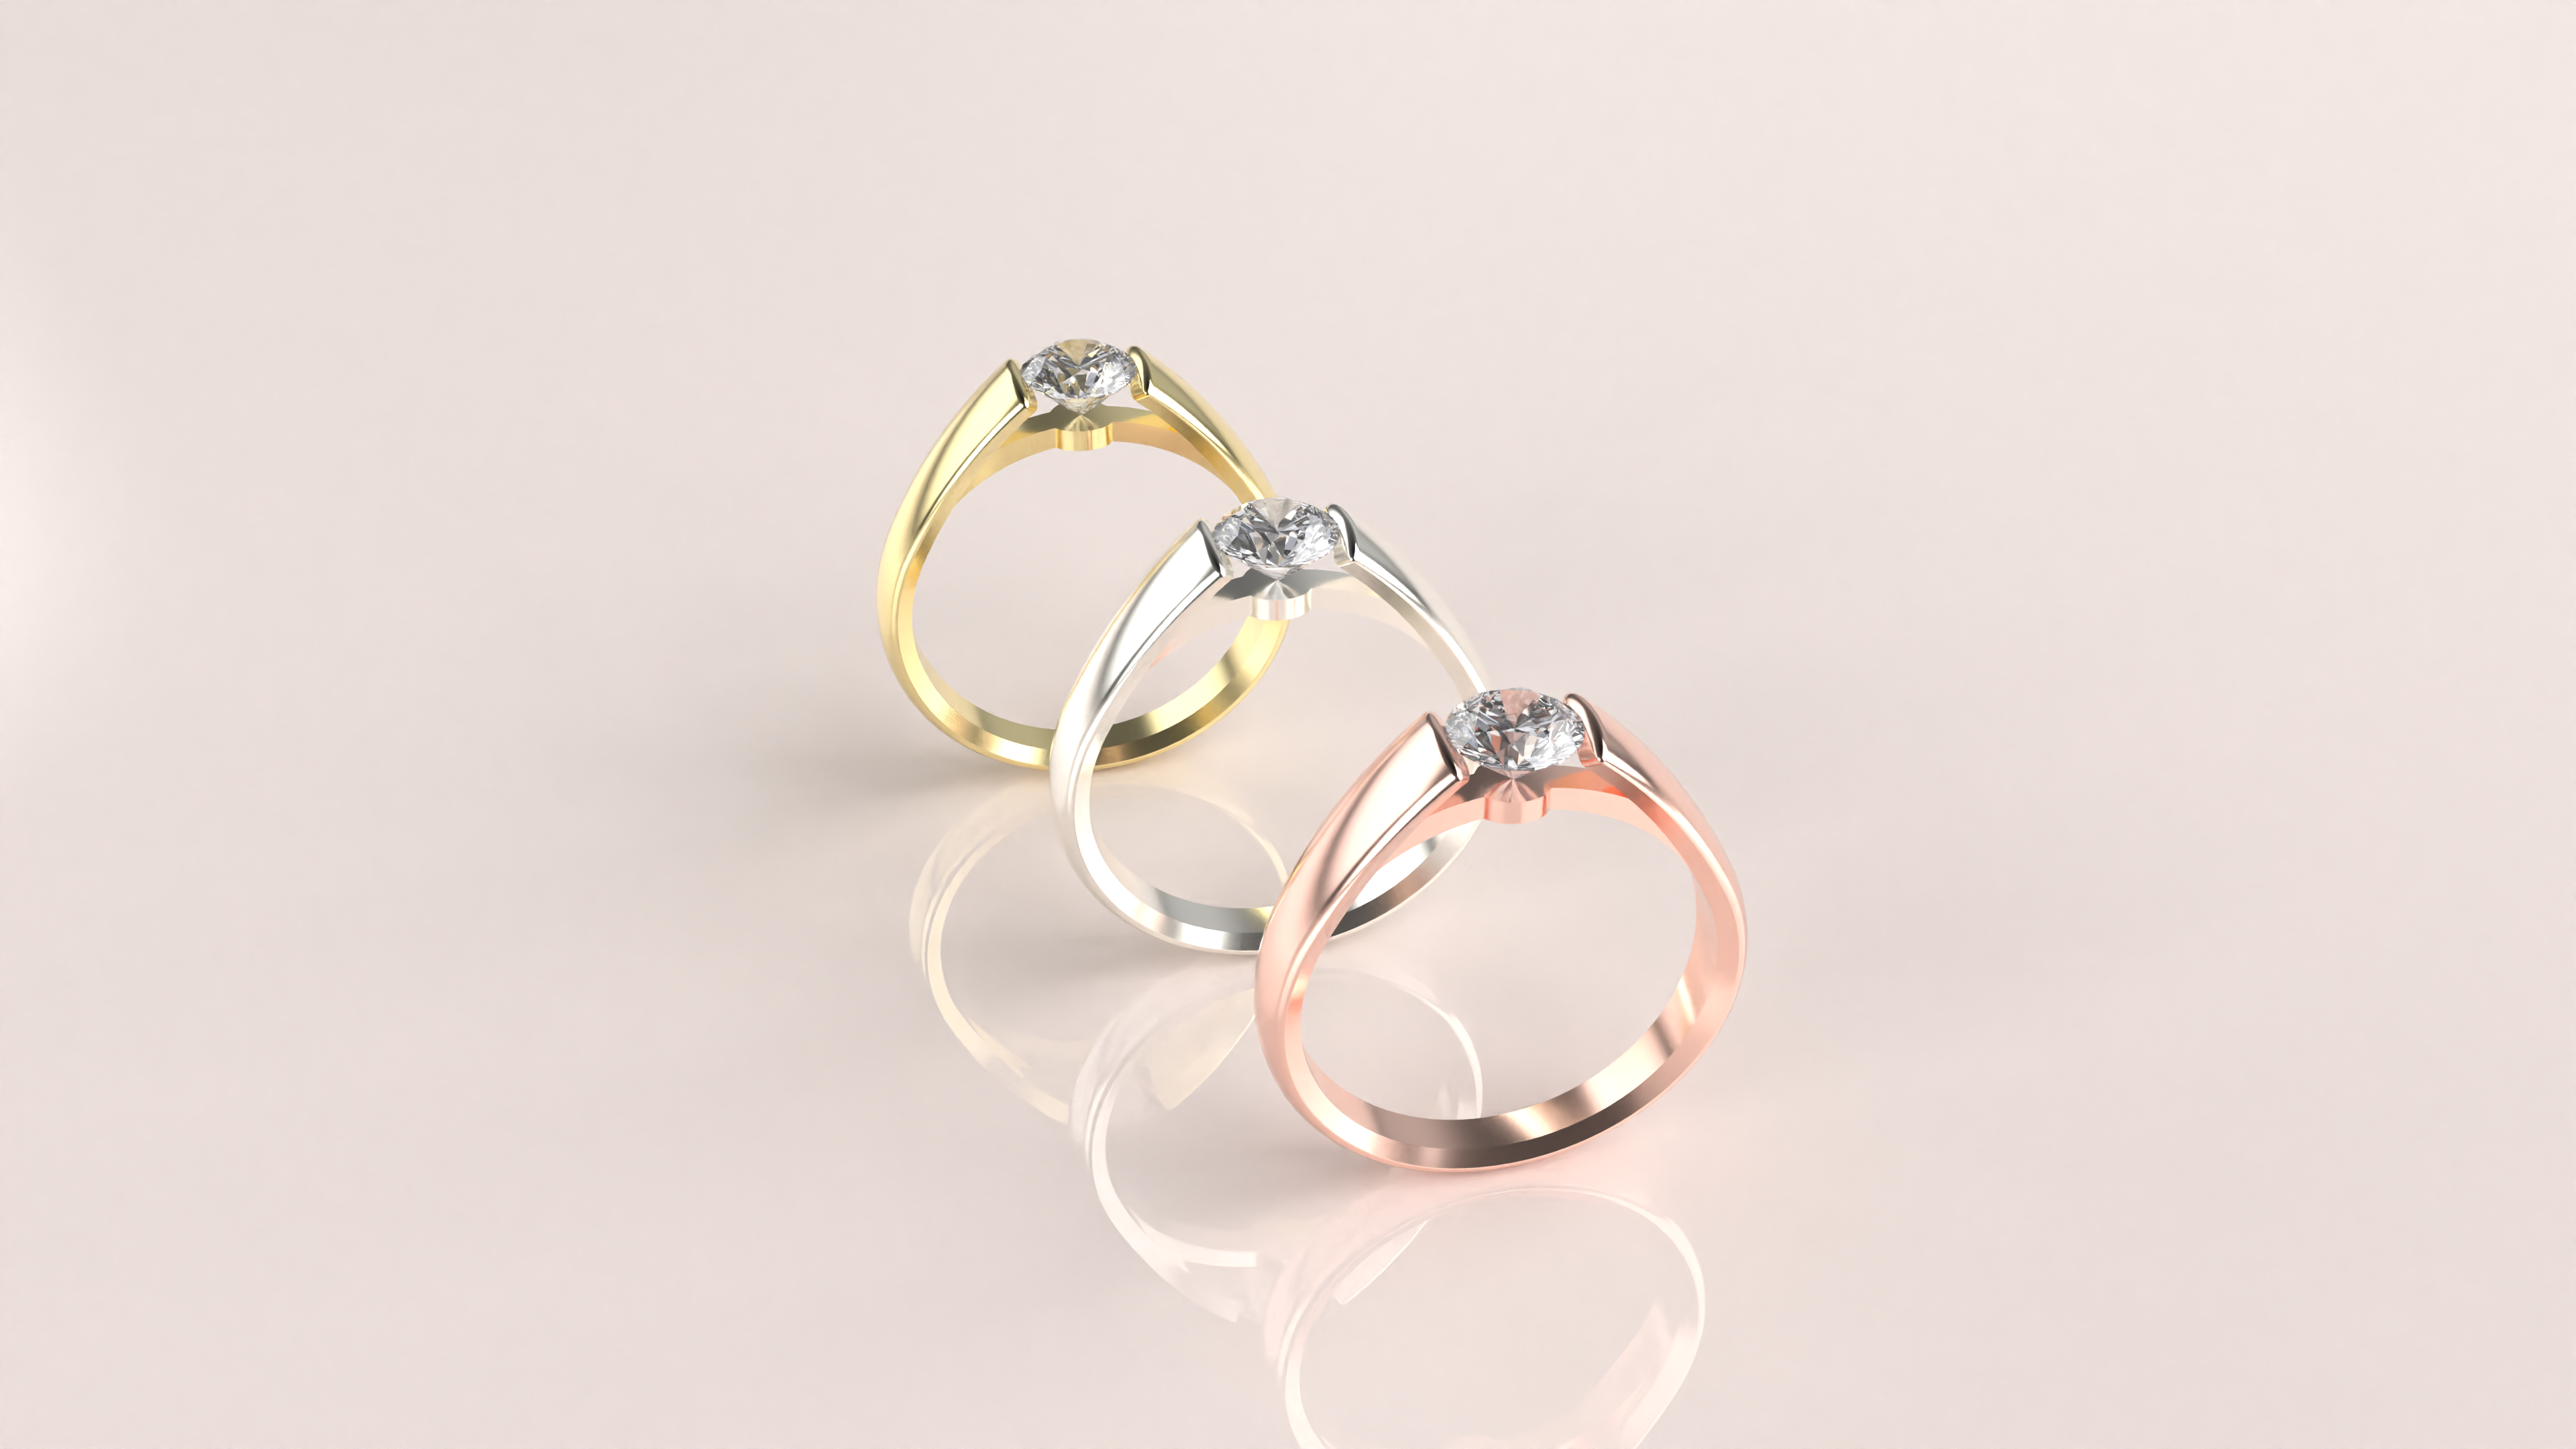
In this hands-on course, you’ll master the art of creating exquisite tension rings using RhinoArtisan. Step-by-step, you’ll configure the shank, fine-tune dimensions, set gemstones, and craft a polished, professional render. By the end of the course, you’ll have a refined, showcase-ready tension ring collection and the skills to create more!
What You’ll Learn
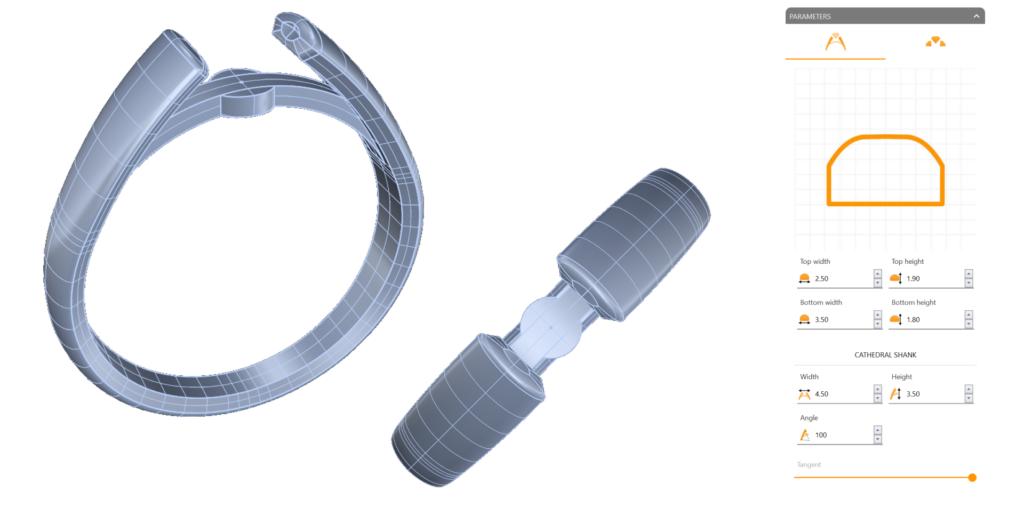
Shank Configuration for a Seamless Fit
Begin by designing a striking cathedral shank with customized proportions and fluid profiles to form the foundational style of your tension ring.
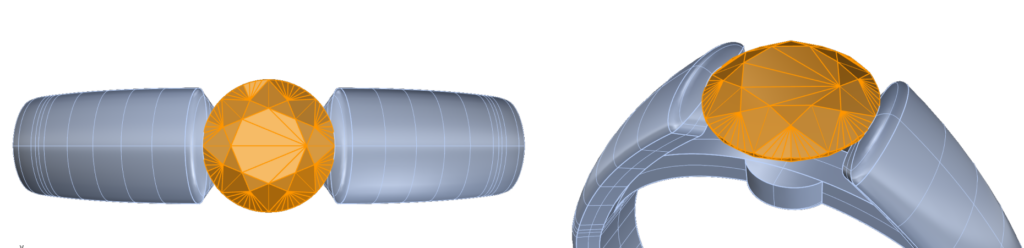
Precision Gem Setting
Add and position a gemstone with exactitude, adjusting the cut to ensure a perfect fit. Discover how to work with cutters for a snug, visually balanced gemstone placement.
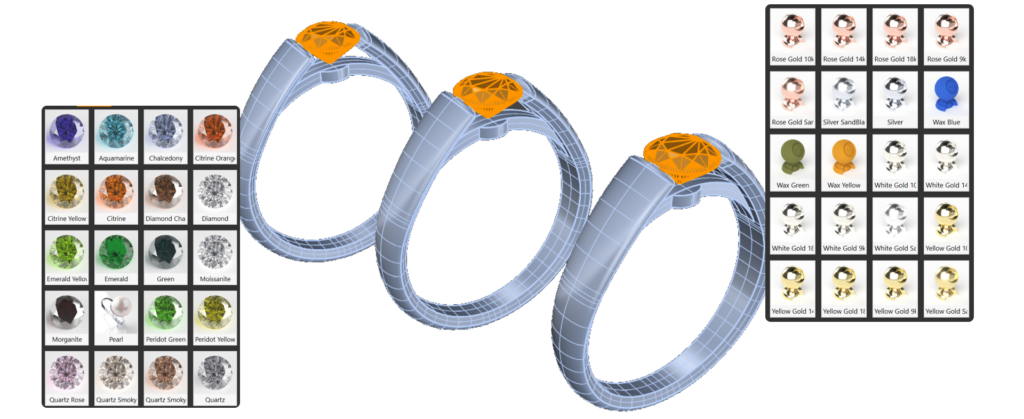
Expand Your Collection
Replicate your ring to create a trio in varied metal finishes, positioning each one dynamically to showcase the collection’s diversity and elegance.
Render for Realism and Beauty
Apply realistic materials to each ring—Yellow Gold, White Gold, and Rose Gold—to bring your designs to life. Fine-tune your render settings to achieve professional, high-quality imagery that captures every intricate detail.
What You’ll Need
You’ll only need RhinoArtisan installed. We’ll guide you through every step, helping you master each tool with confidence and ease.