Domed Pavé Signet Ring
Lesson 26 of 34
Hollowing the Ring
Sign in to access this lesson
This lesson is part of Pavé Perfection: Gemstone Detailing & Setting, which can come bundled with a RhinoArtisan Commercial license subject to current promotions. Log in with your customer account, or get in touch and we'll set you up.
Customers only
Solo para clientes
This lesson is part of Pavé Perfection: Gemstone Detailing & Setting, which can be included with a RhinoArtisan Commercial license subject to current promotions. If you've already purchased and don't see it in your account, get in touch.
5. Offset and fit curves for the inner hollow surface
Offset each curve 0.8 mm inward, making sure the bottom points of the offsets touch so the surface can close. Reduce curve complexity first with Fit at 0.1, then align the endpoints with O-Snap — End guides in one direction, Mid in the other — from the Top view.
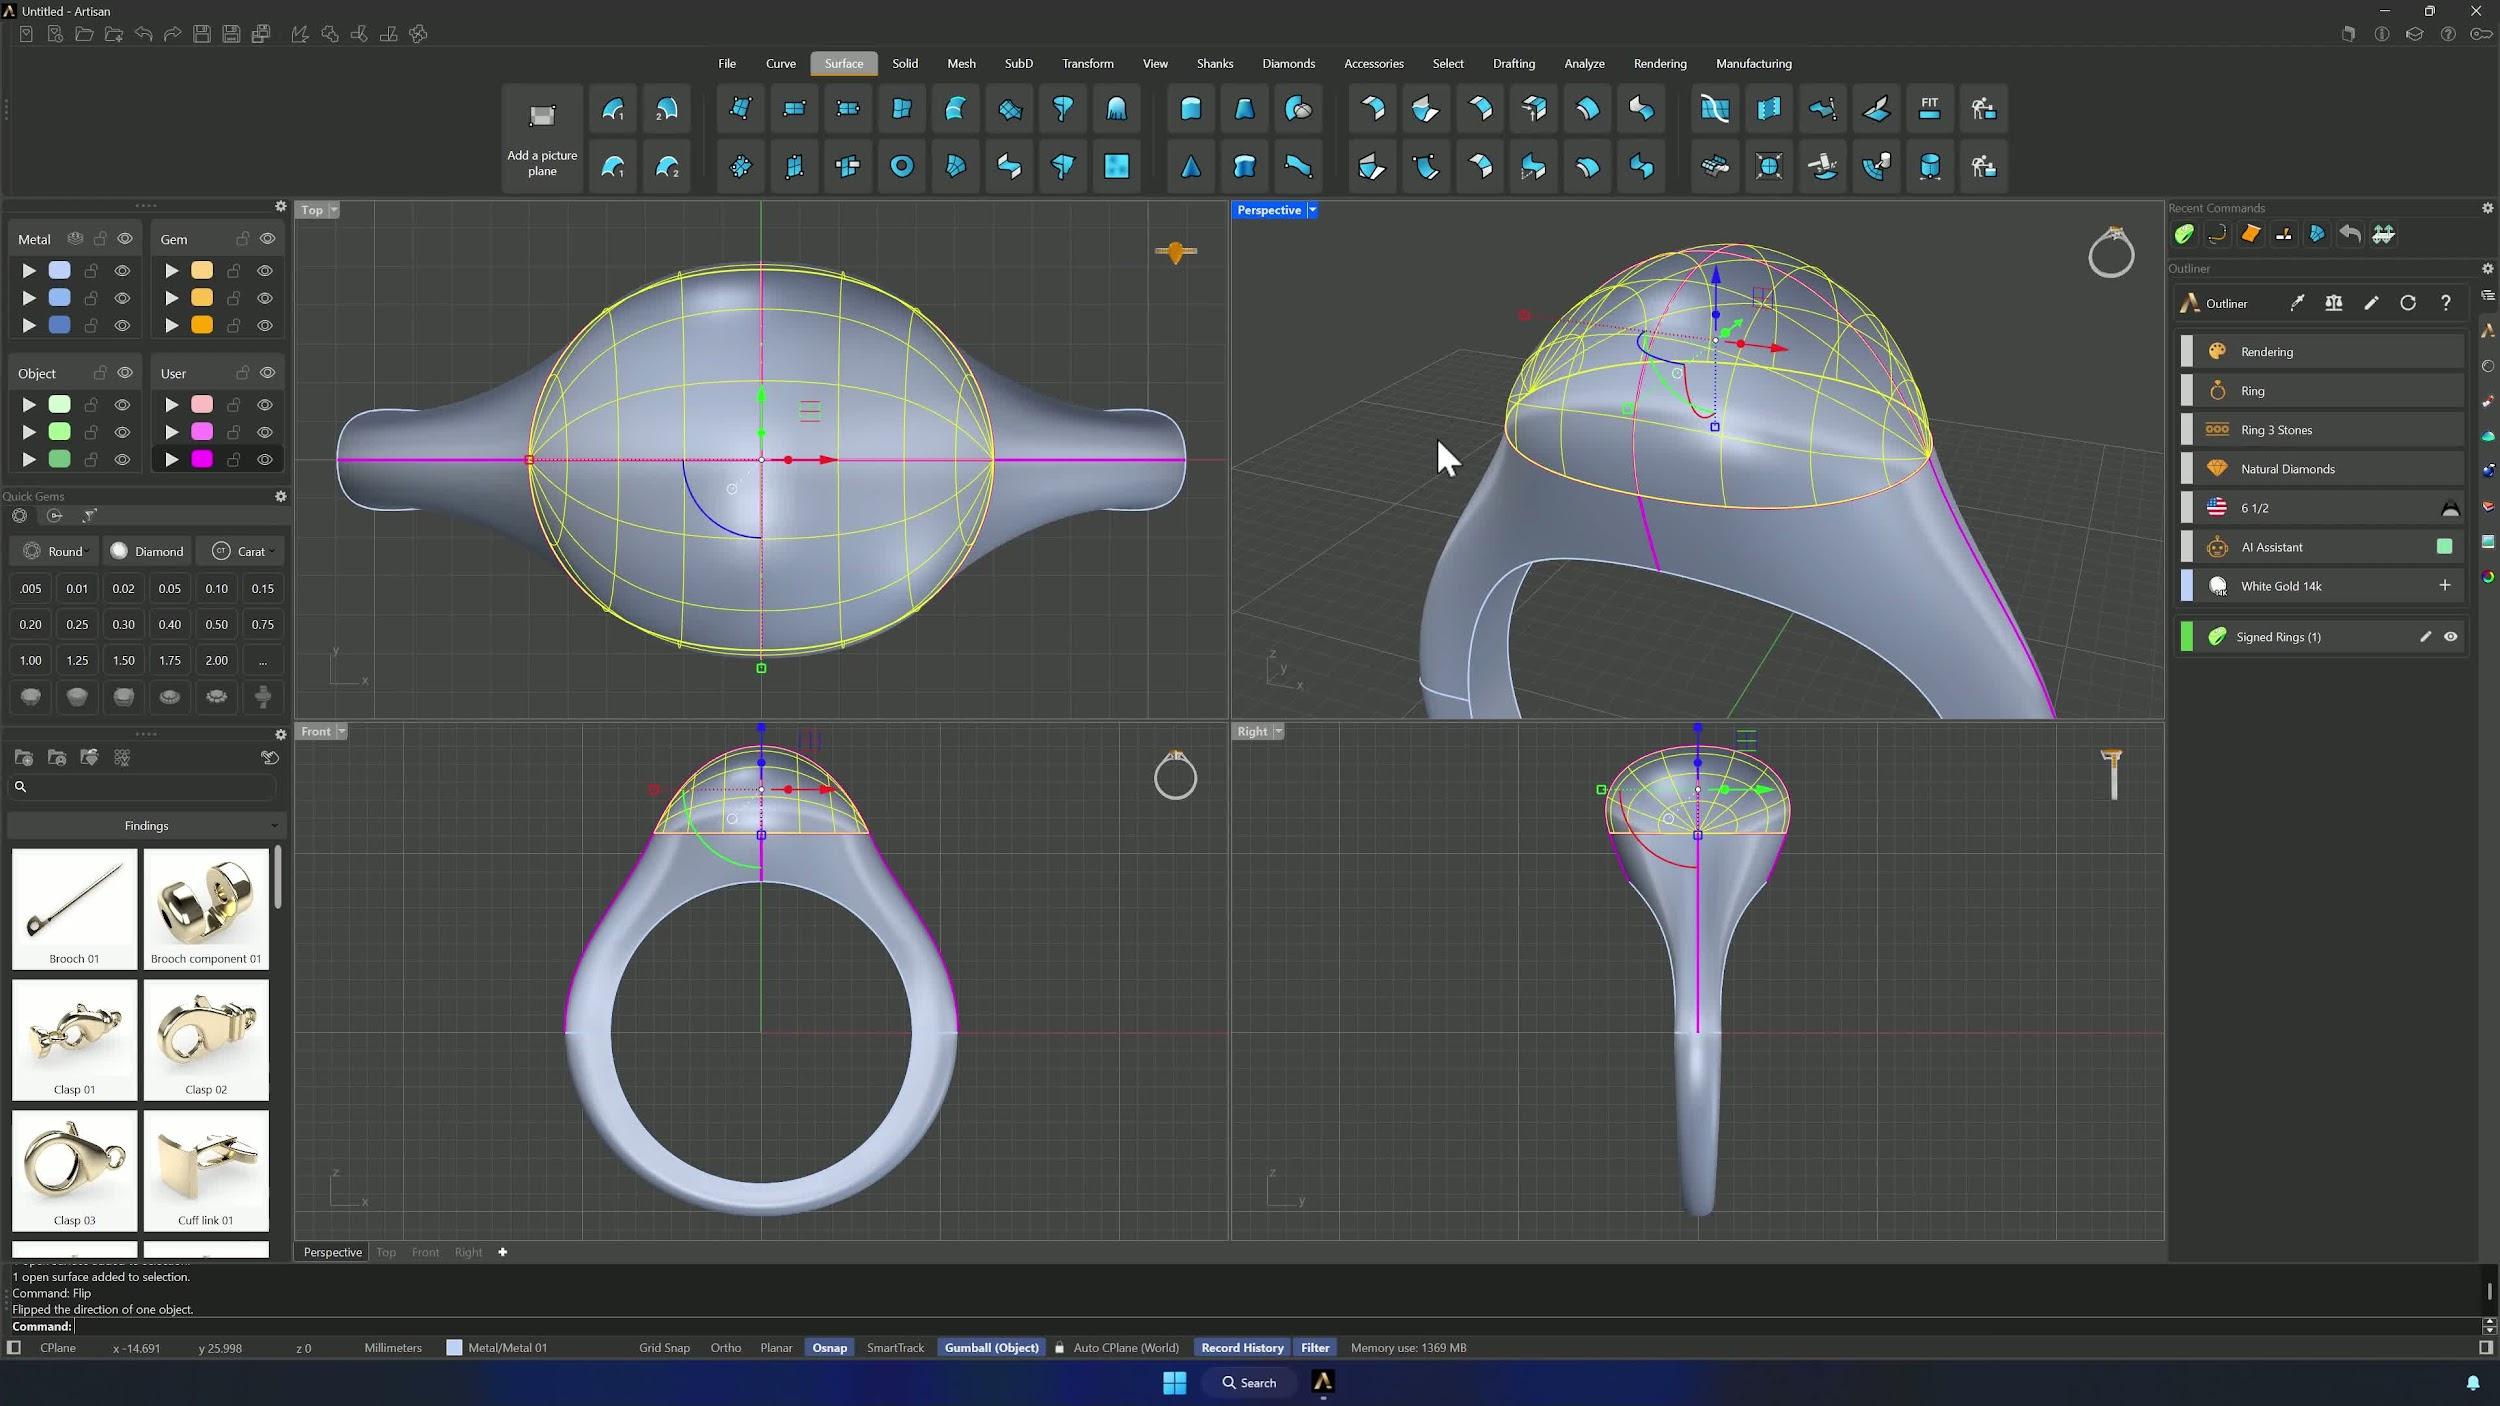
6. Build the inner network surface and prepare the hollow shank
Run Network Surface again on the inner curves (Flip if needed) and confirm the two surfaces sit 0.8 mm apart. Then Copy the shank with Inplace enabled: one copy goes to a hidden layer as backup, and the visible one becomes the hollowing insert — 0.8 mm smaller on every side.
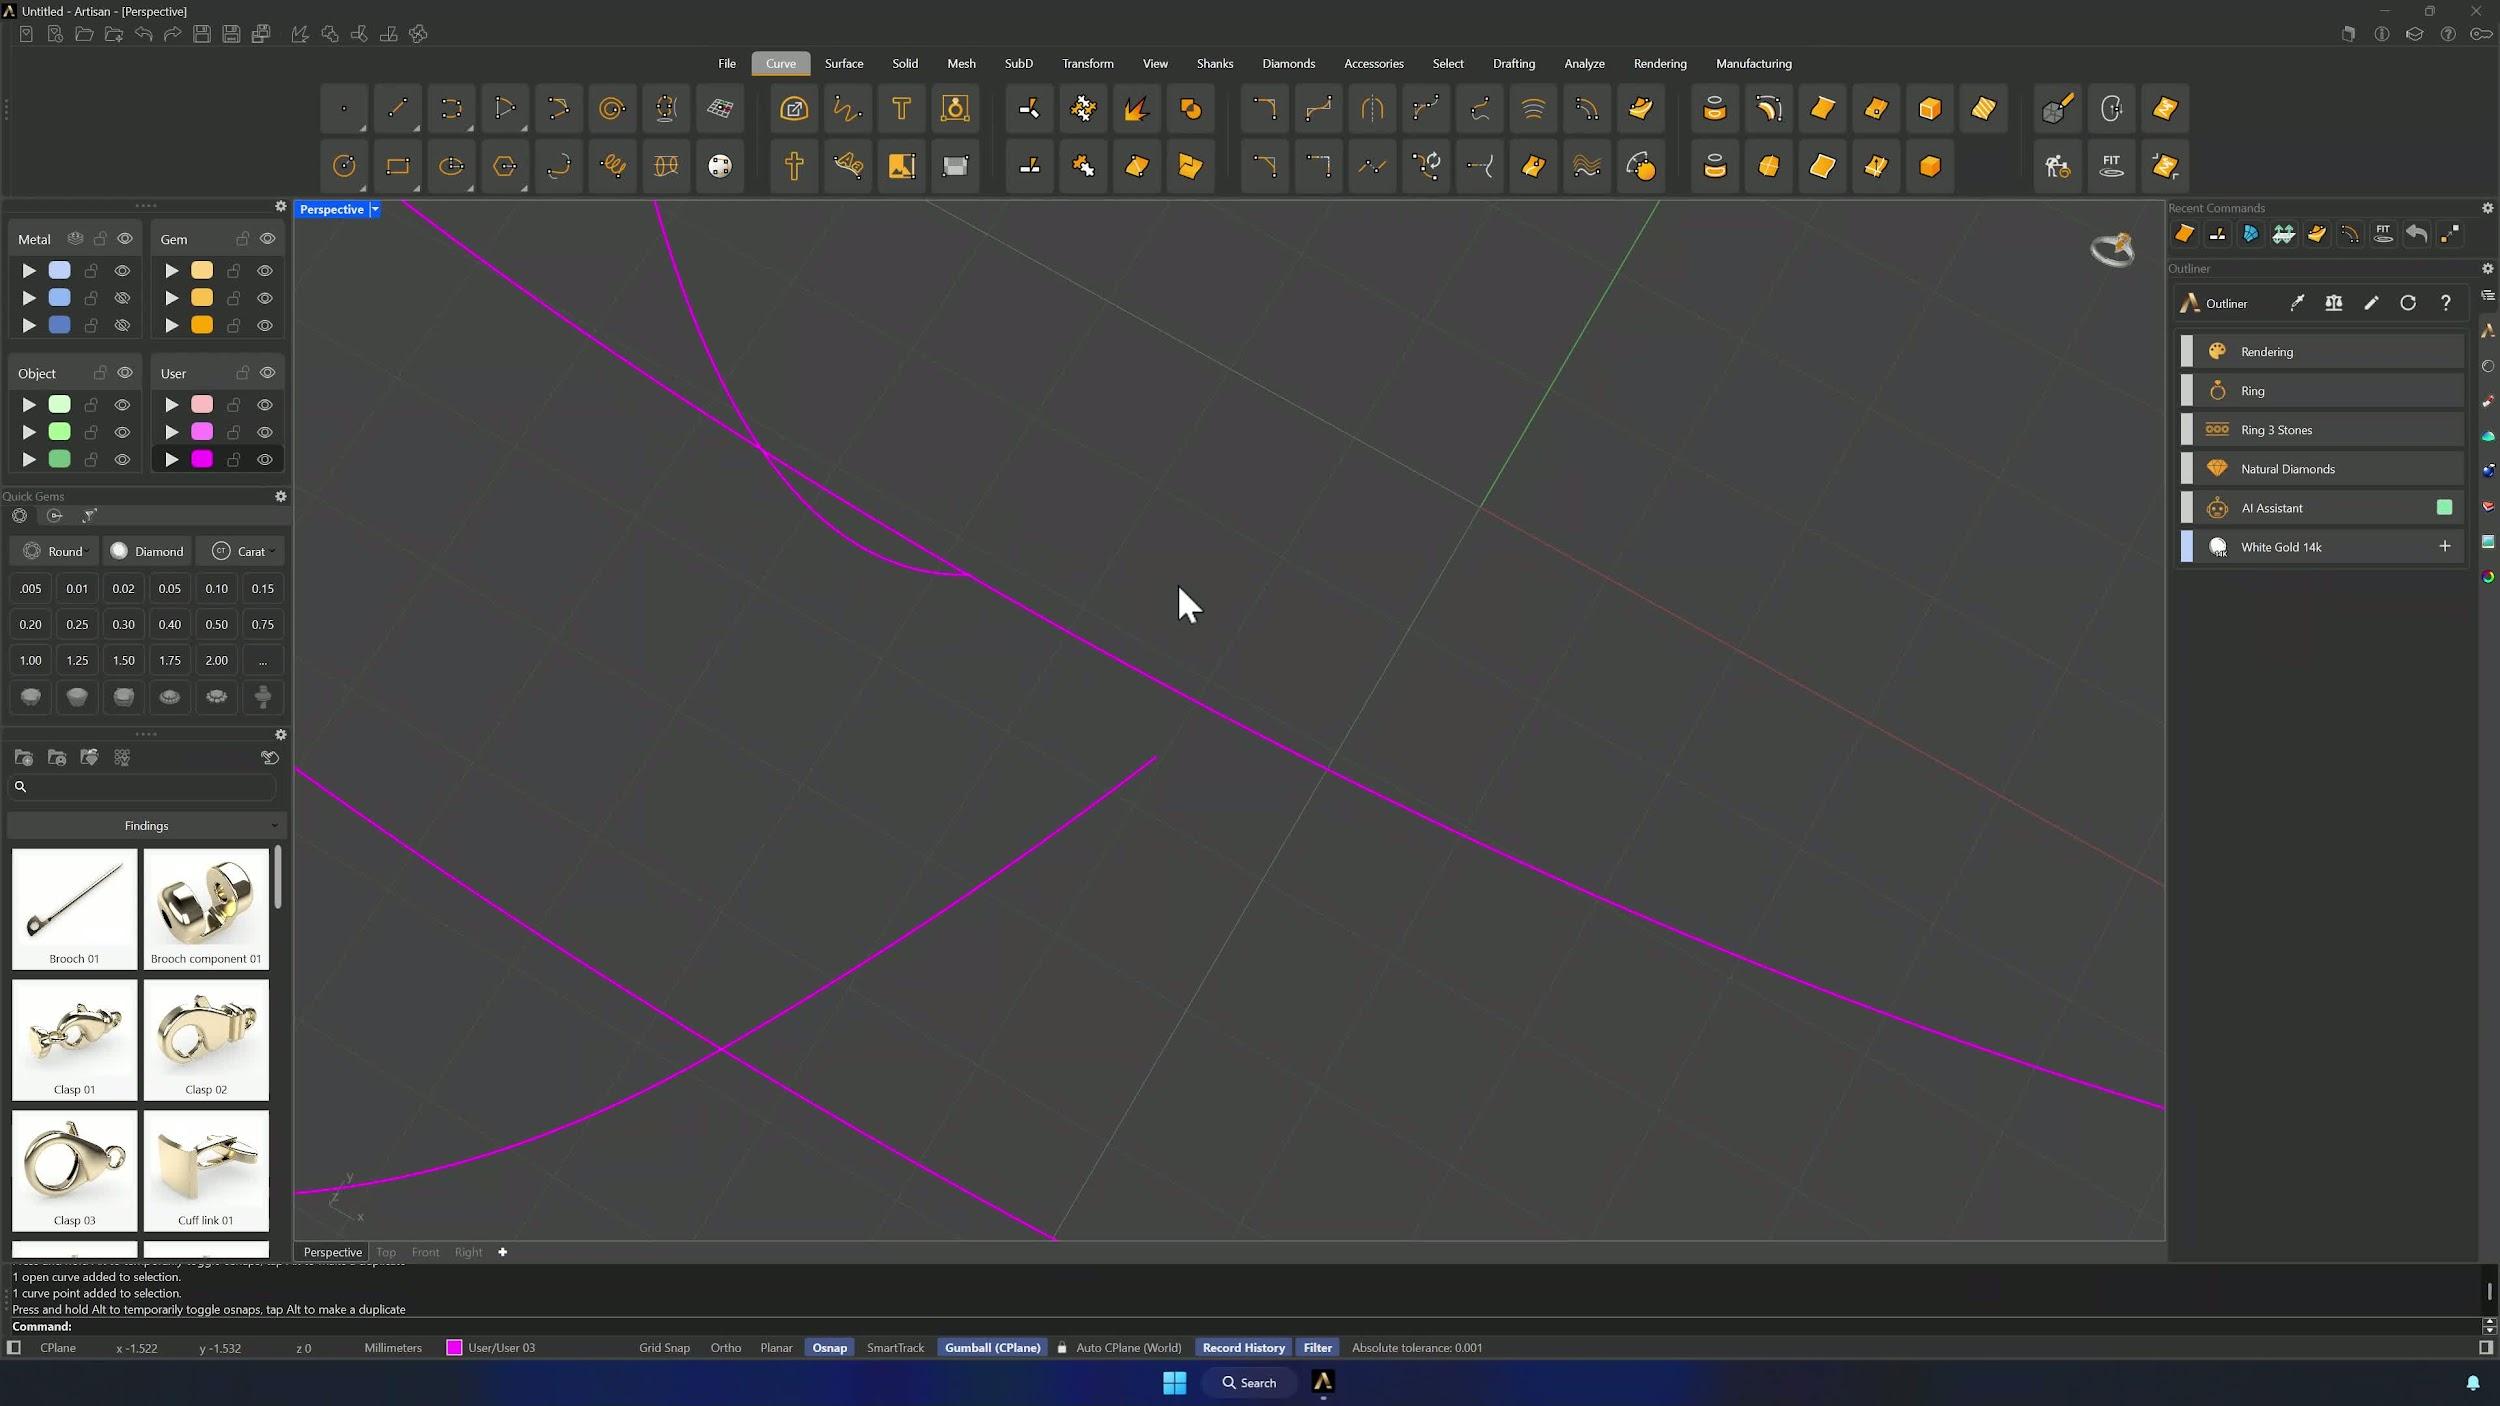
7. Resize the inner shank to match the hollowing offset
The example shank measures 16.92 mm in diameter, so subtract 1.6 mm (0.8 per side) and pick the closest available size — 15.30 mm. Match the rest: width 10.40 mm, height 8.24 mm, bottom profile 0.15 × 1.00 mm, middle profile 0.92 × 0.90 mm. Align the inner shank to the outer with Align > Line Top from the Front view, and check the hollowing will touch only the upper portion, leaving the bottom intact.
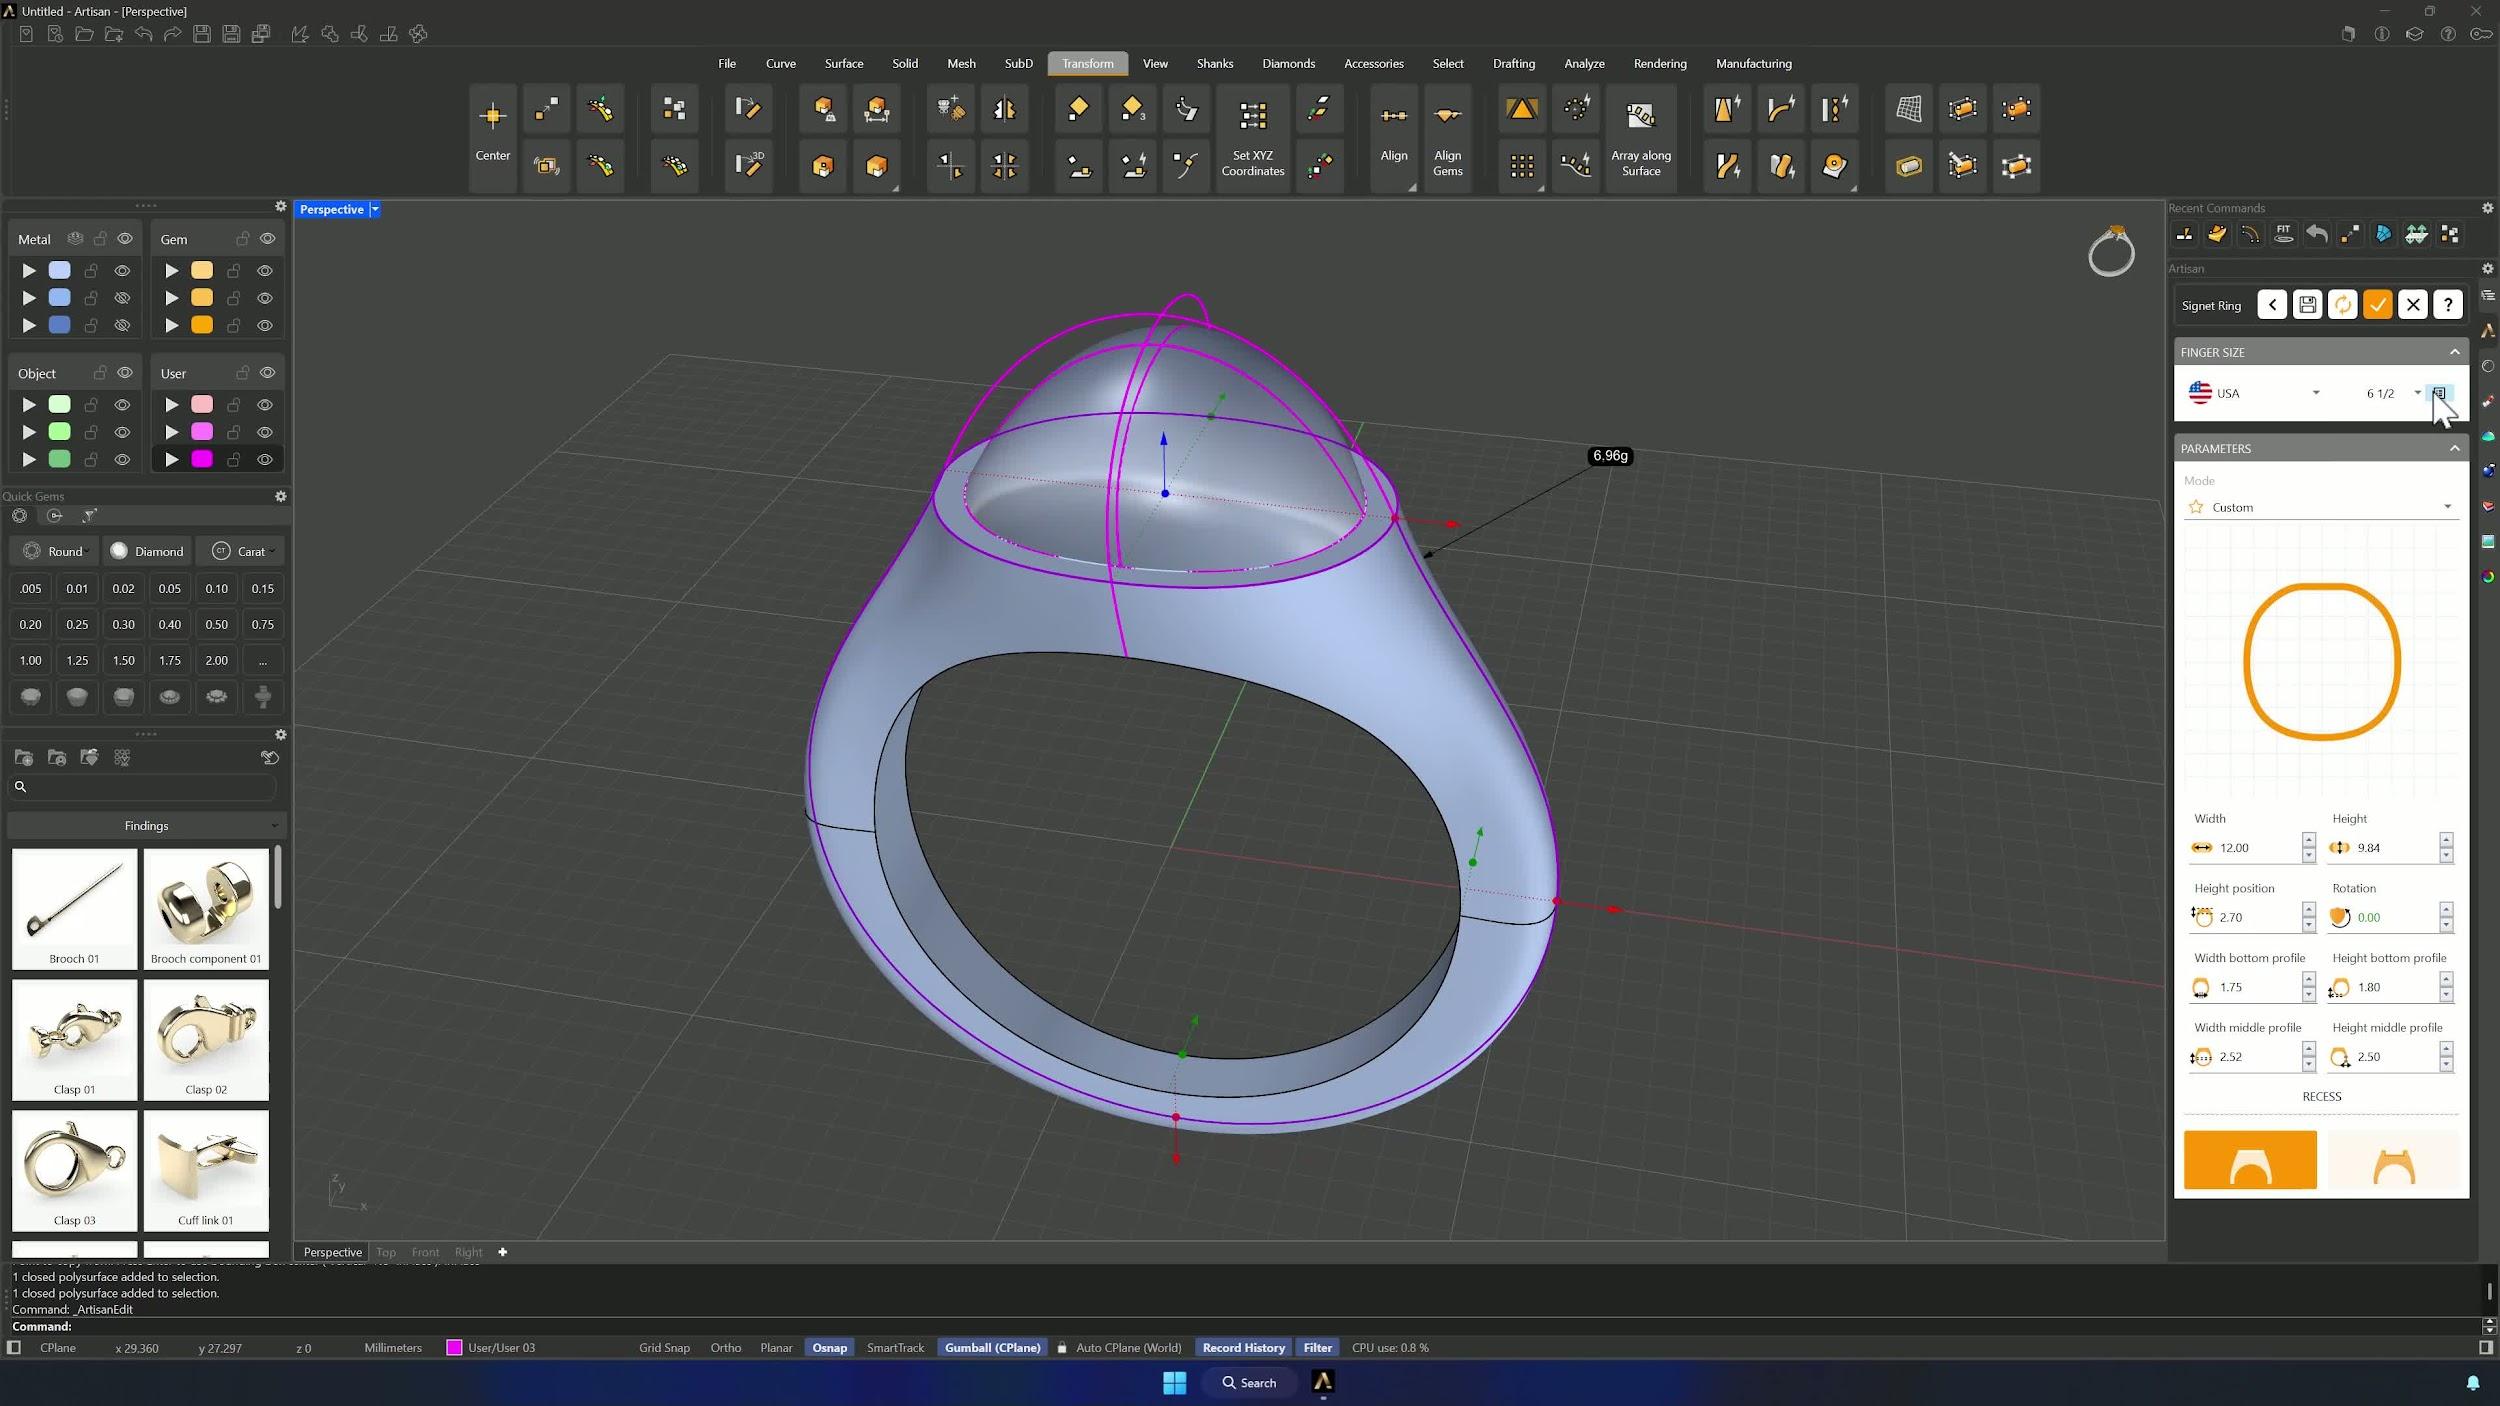
8. Join the shank surfaces into solids
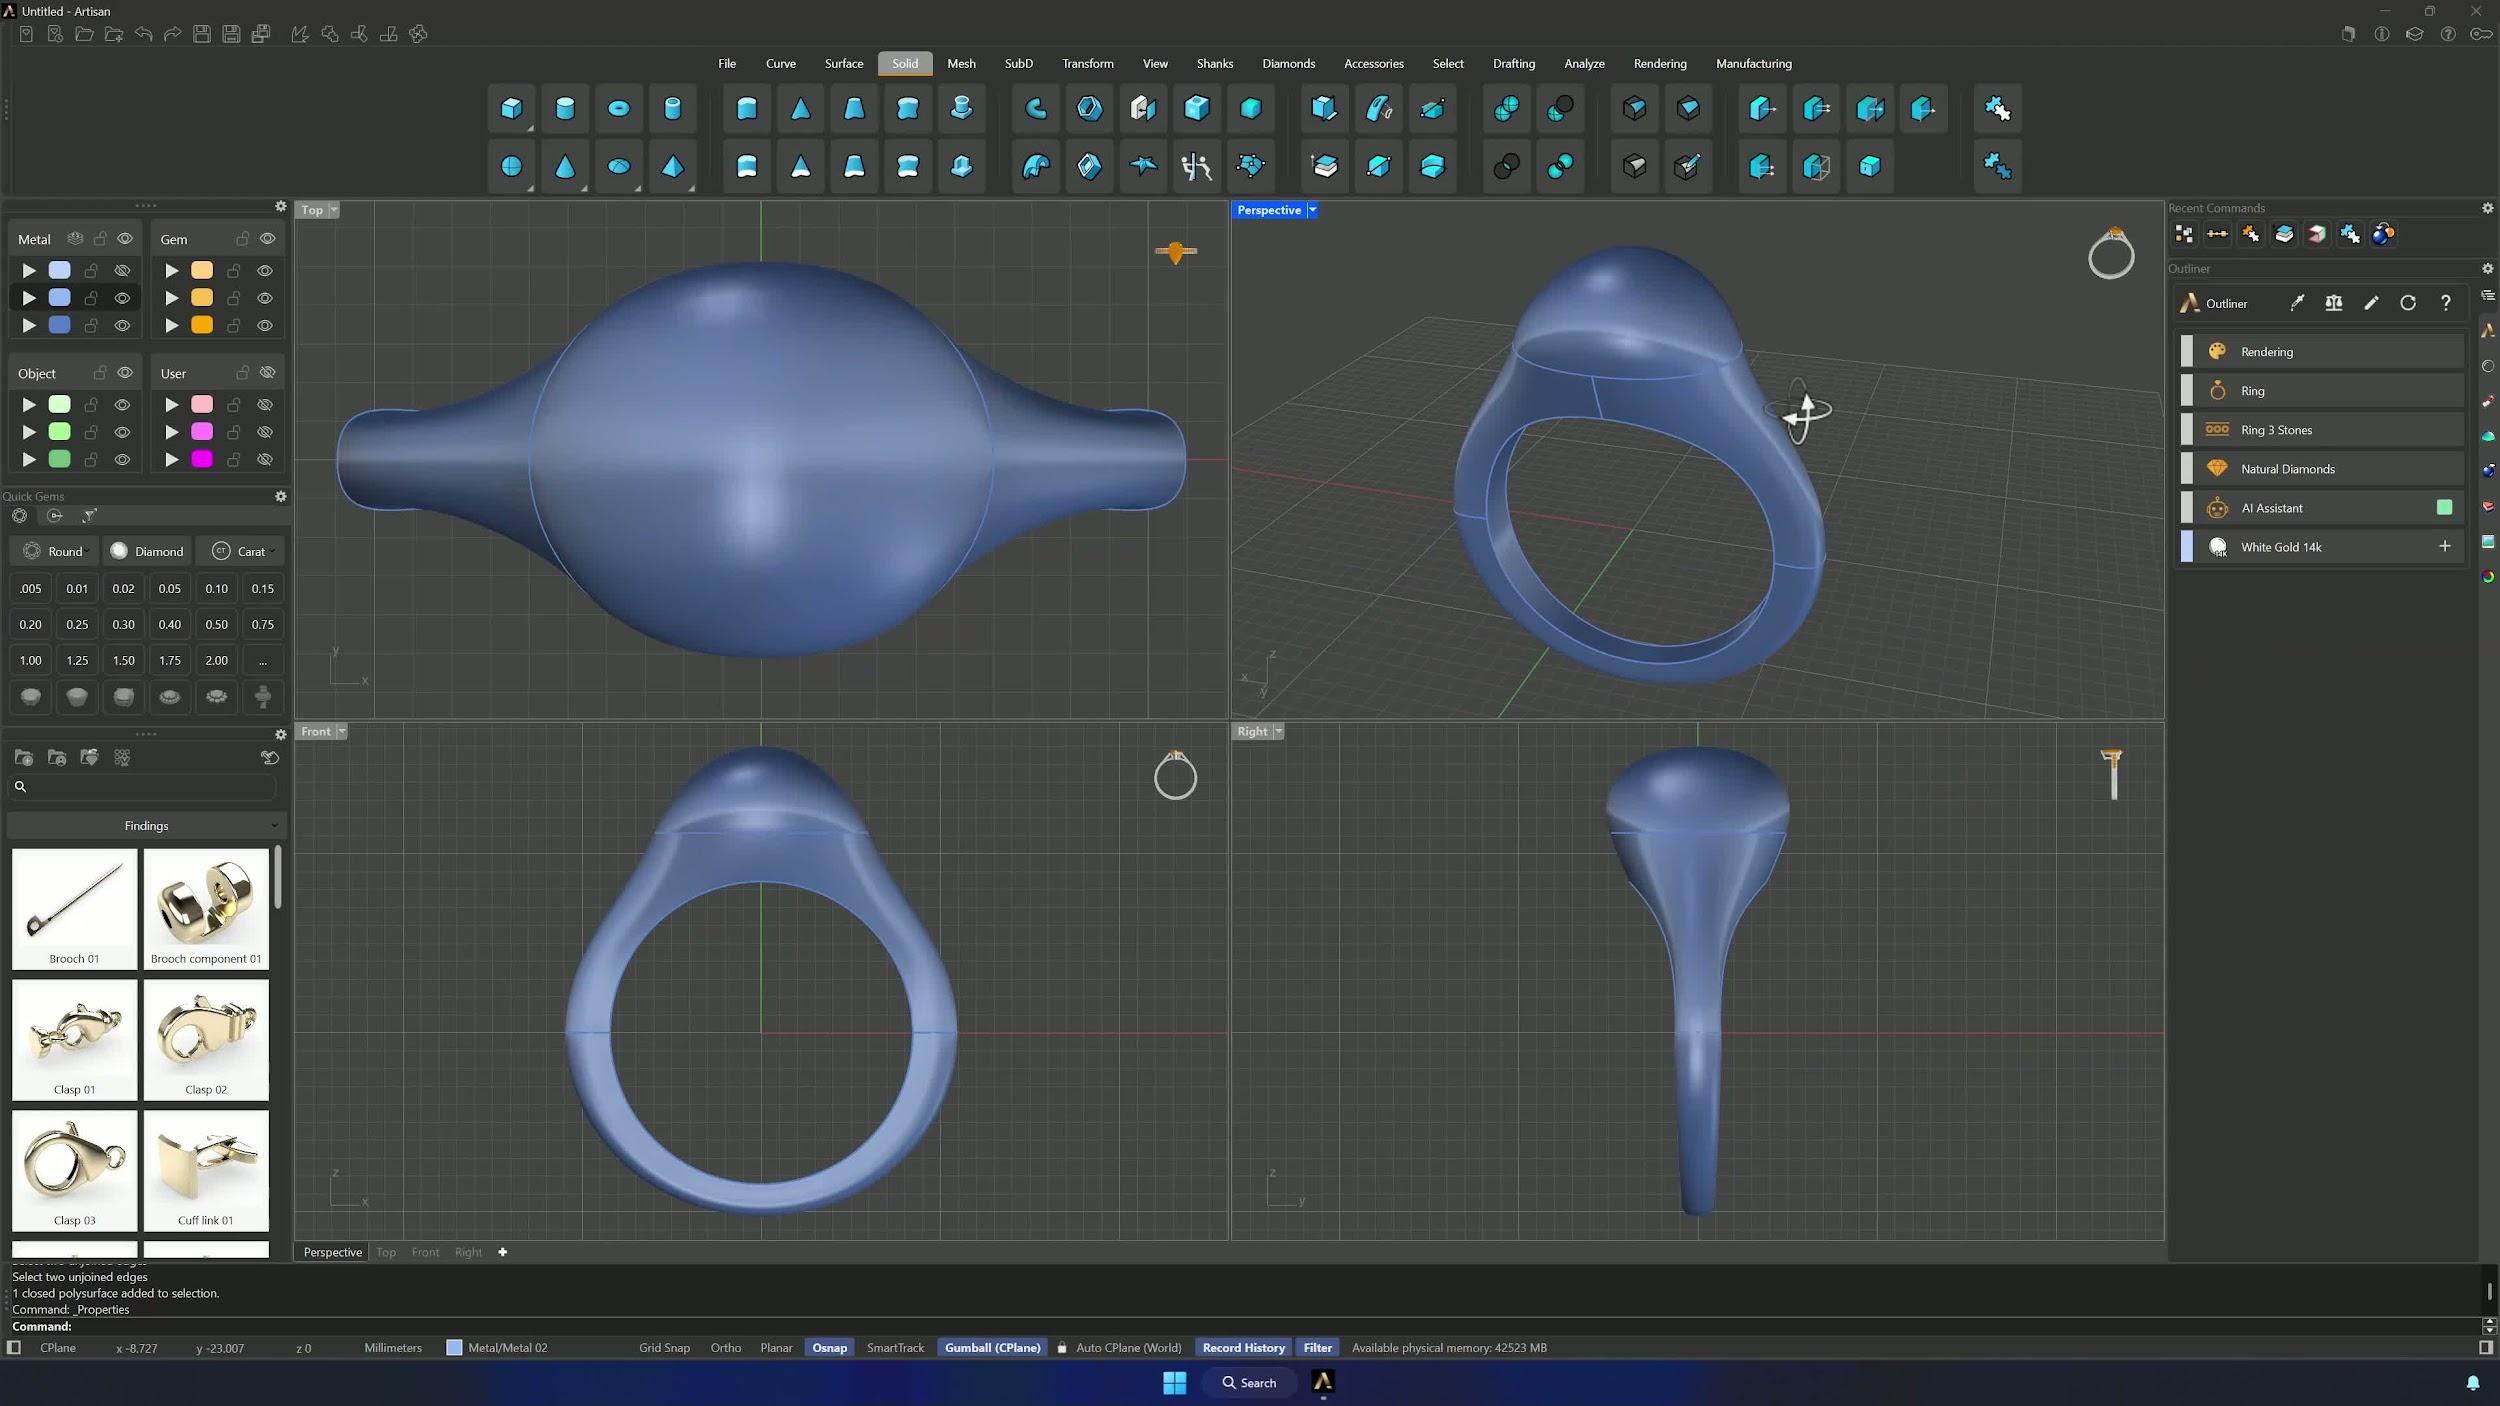
Use Extract Surface (Copy = No) to remove the face each dome replaces, then Join the dome to its body. If Join fails, Join Edge closes the missing edges — Show Edges in the Analyze tab points you to the gaps. Press F3 and confirm each object reads as a closed solid polysurface, then repeat for the other pair of surfaces.
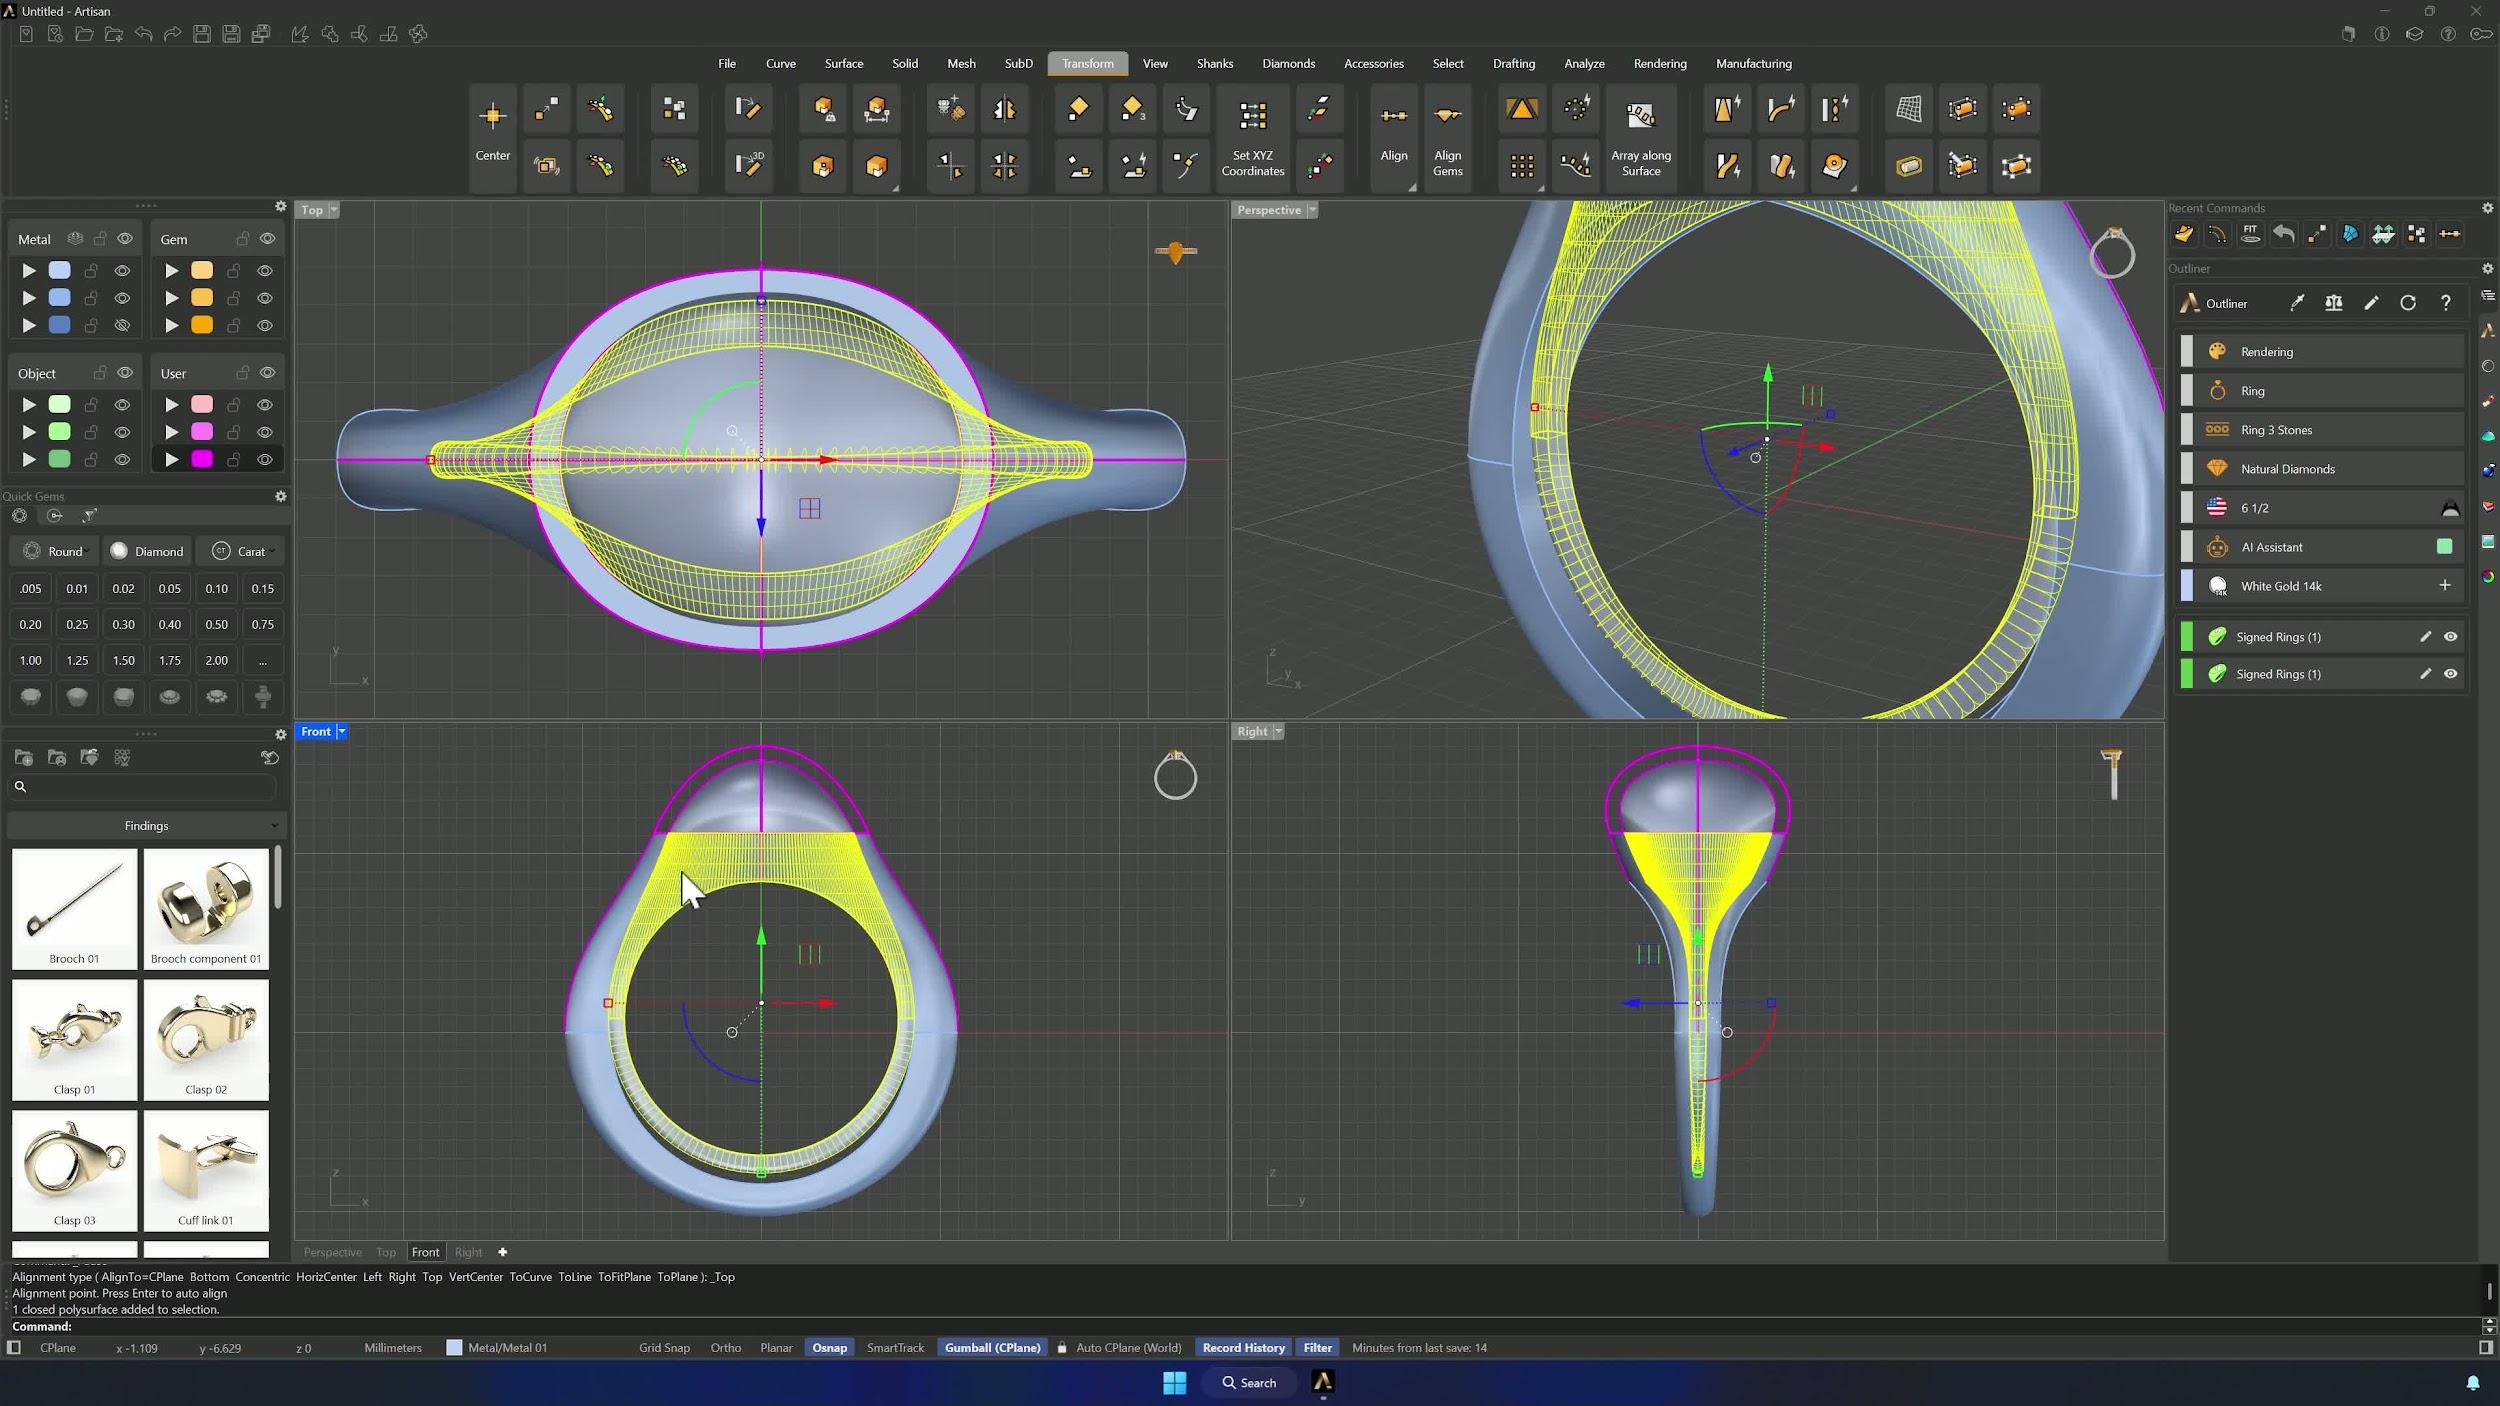
9. Hollow the ring using Boolean Difference
Show both ring bodies and run Boolean Difference: outer ring first, Enter, inner ring, Enter. The ring is now hollow — verify the bottom structure and overall shape survived exactly as intended.
Almost there — you still have some lessons to complete. Jump to the next one →
Impersonating — progress and reviews are disabled.
Course completed
You've completed Pavé Perfection: Gemstone Detailing & Setting 🎉
Great work. Get your certificate of completion and, if you have a minute, let other jewelers know what you thought of the course.