Pavé Pendant
Lesson 20 of 34
Pavé, Prongs & Cutters
Sign in to access this lesson
This lesson is part of Pavé Perfection: Gemstone Detailing & Setting, which can come bundled with a RhinoArtisan Commercial license subject to current promotions. Log in with your customer account, or get in touch and we'll set you up.
Customers only
Solo para clientes
This lesson is part of Pavé Perfection: Gemstone Detailing & Setting, which can be included with a RhinoArtisan Commercial license subject to current promotions. If you've already purchased and don't see it in your account, get in touch.
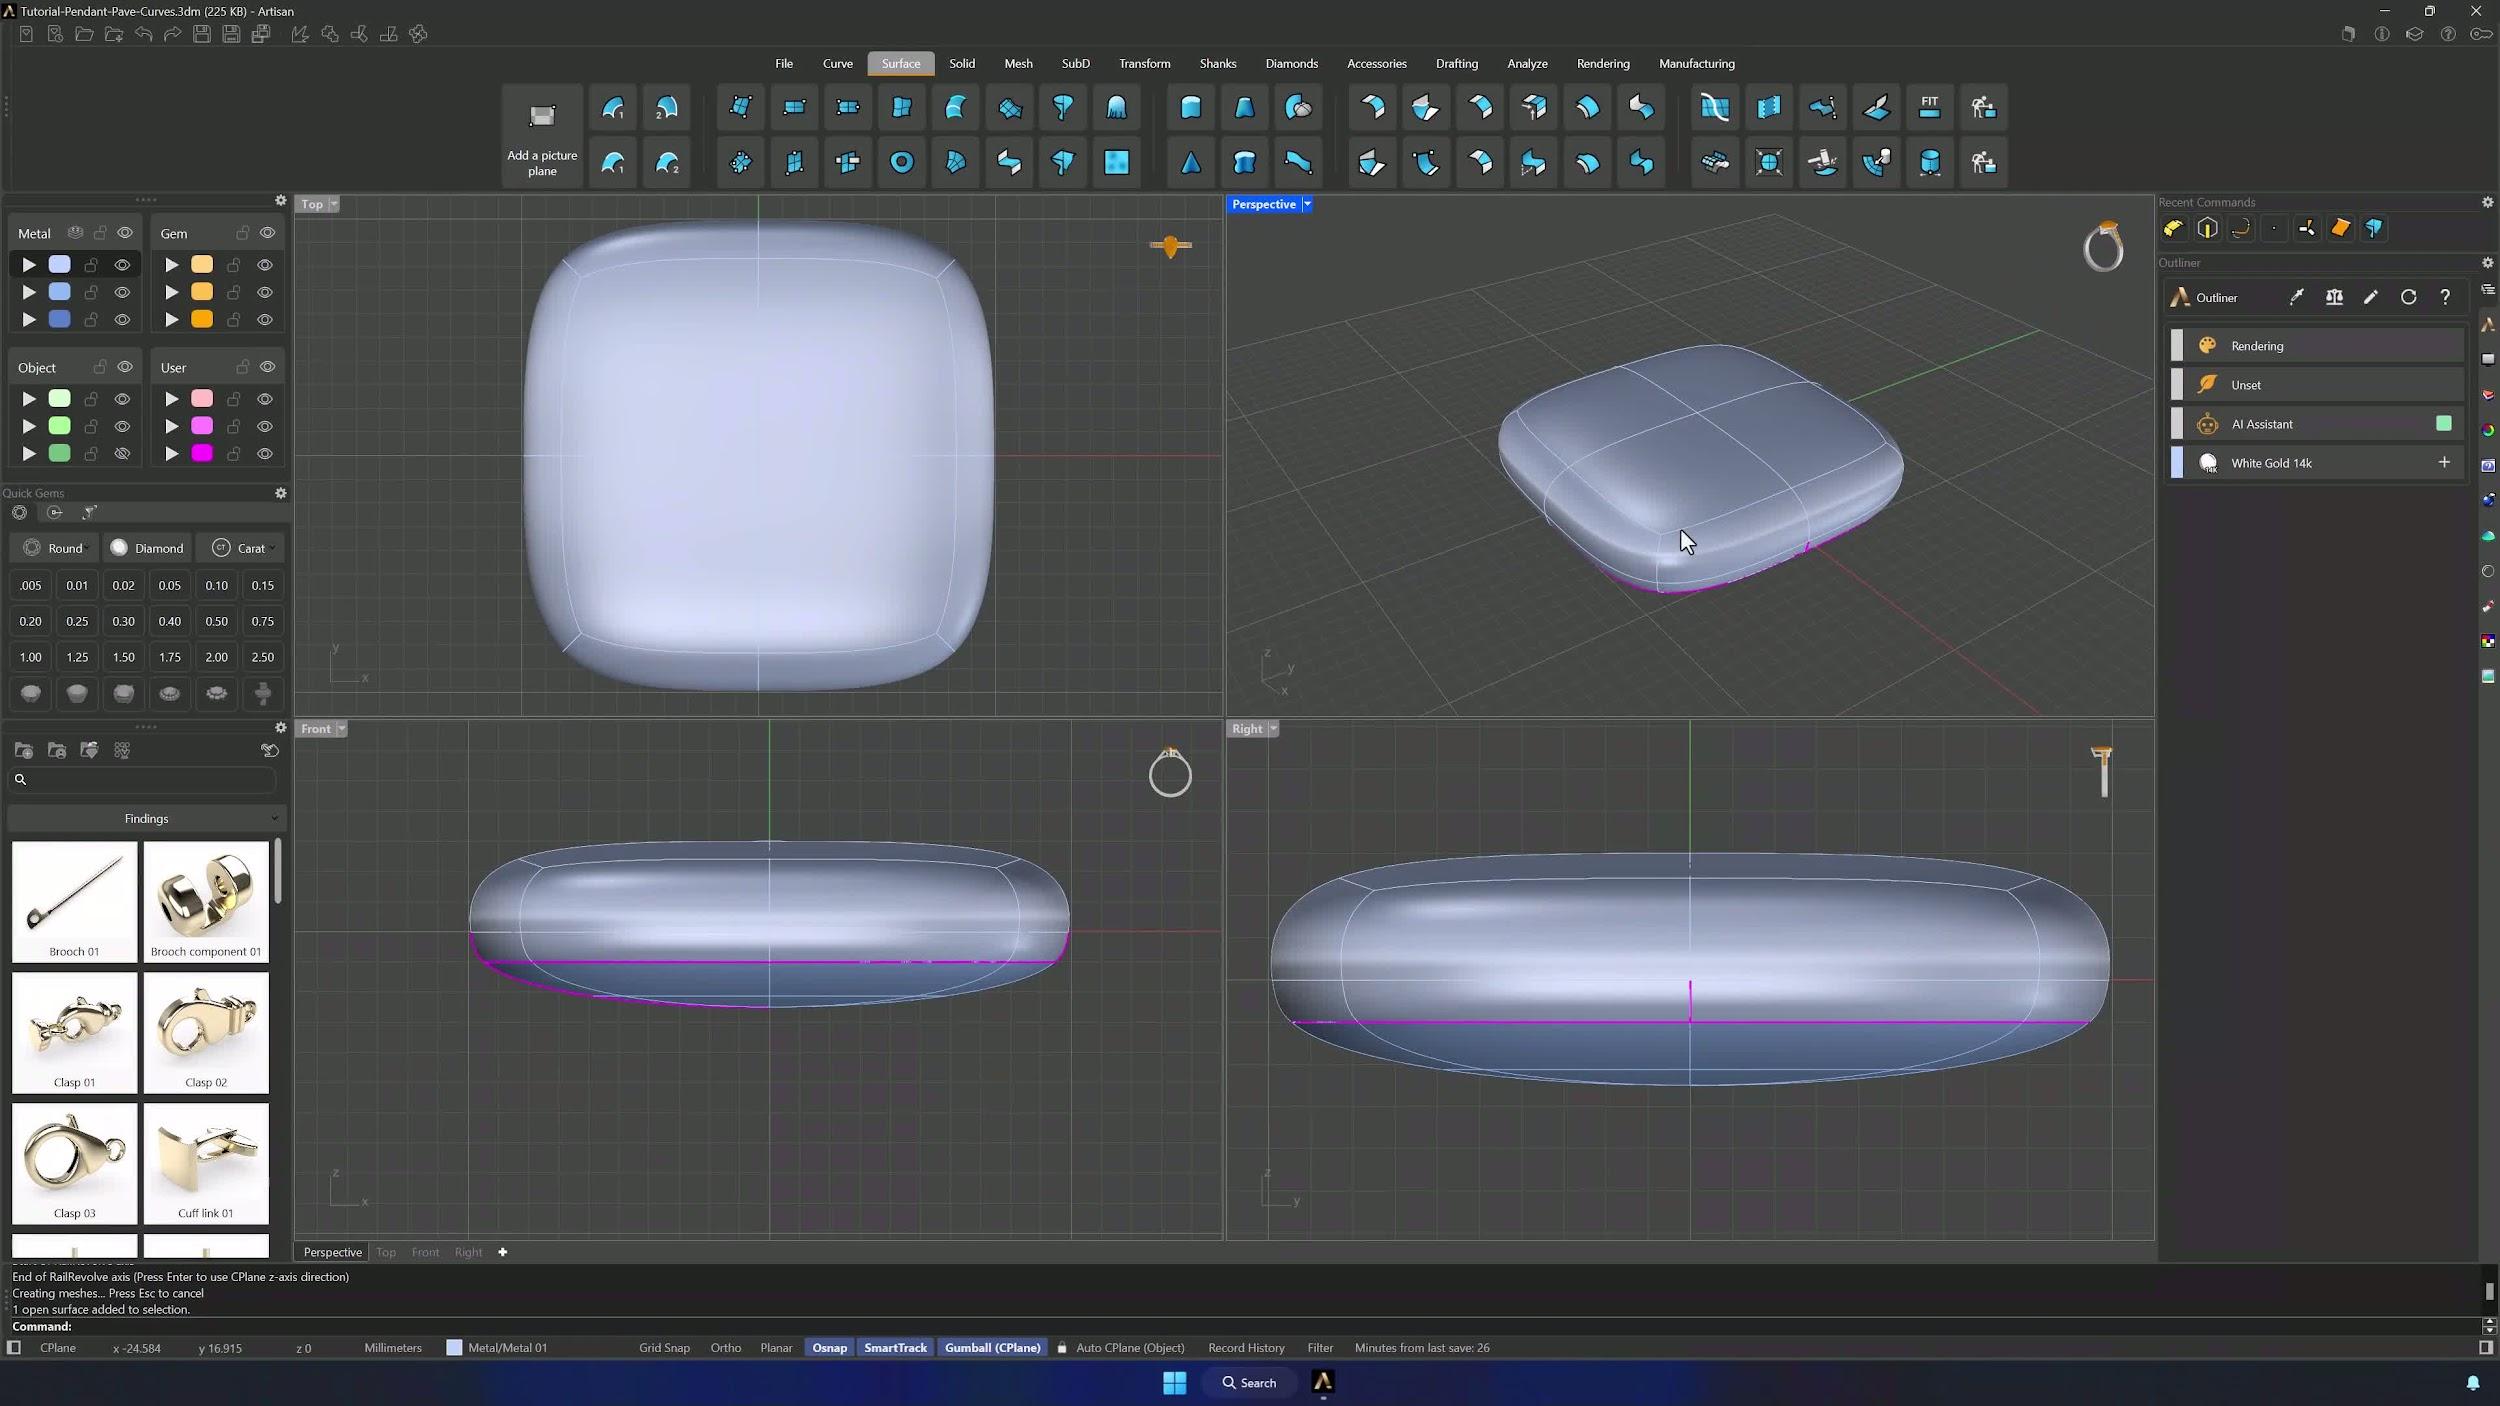
10. Create the gemstone pave pattern
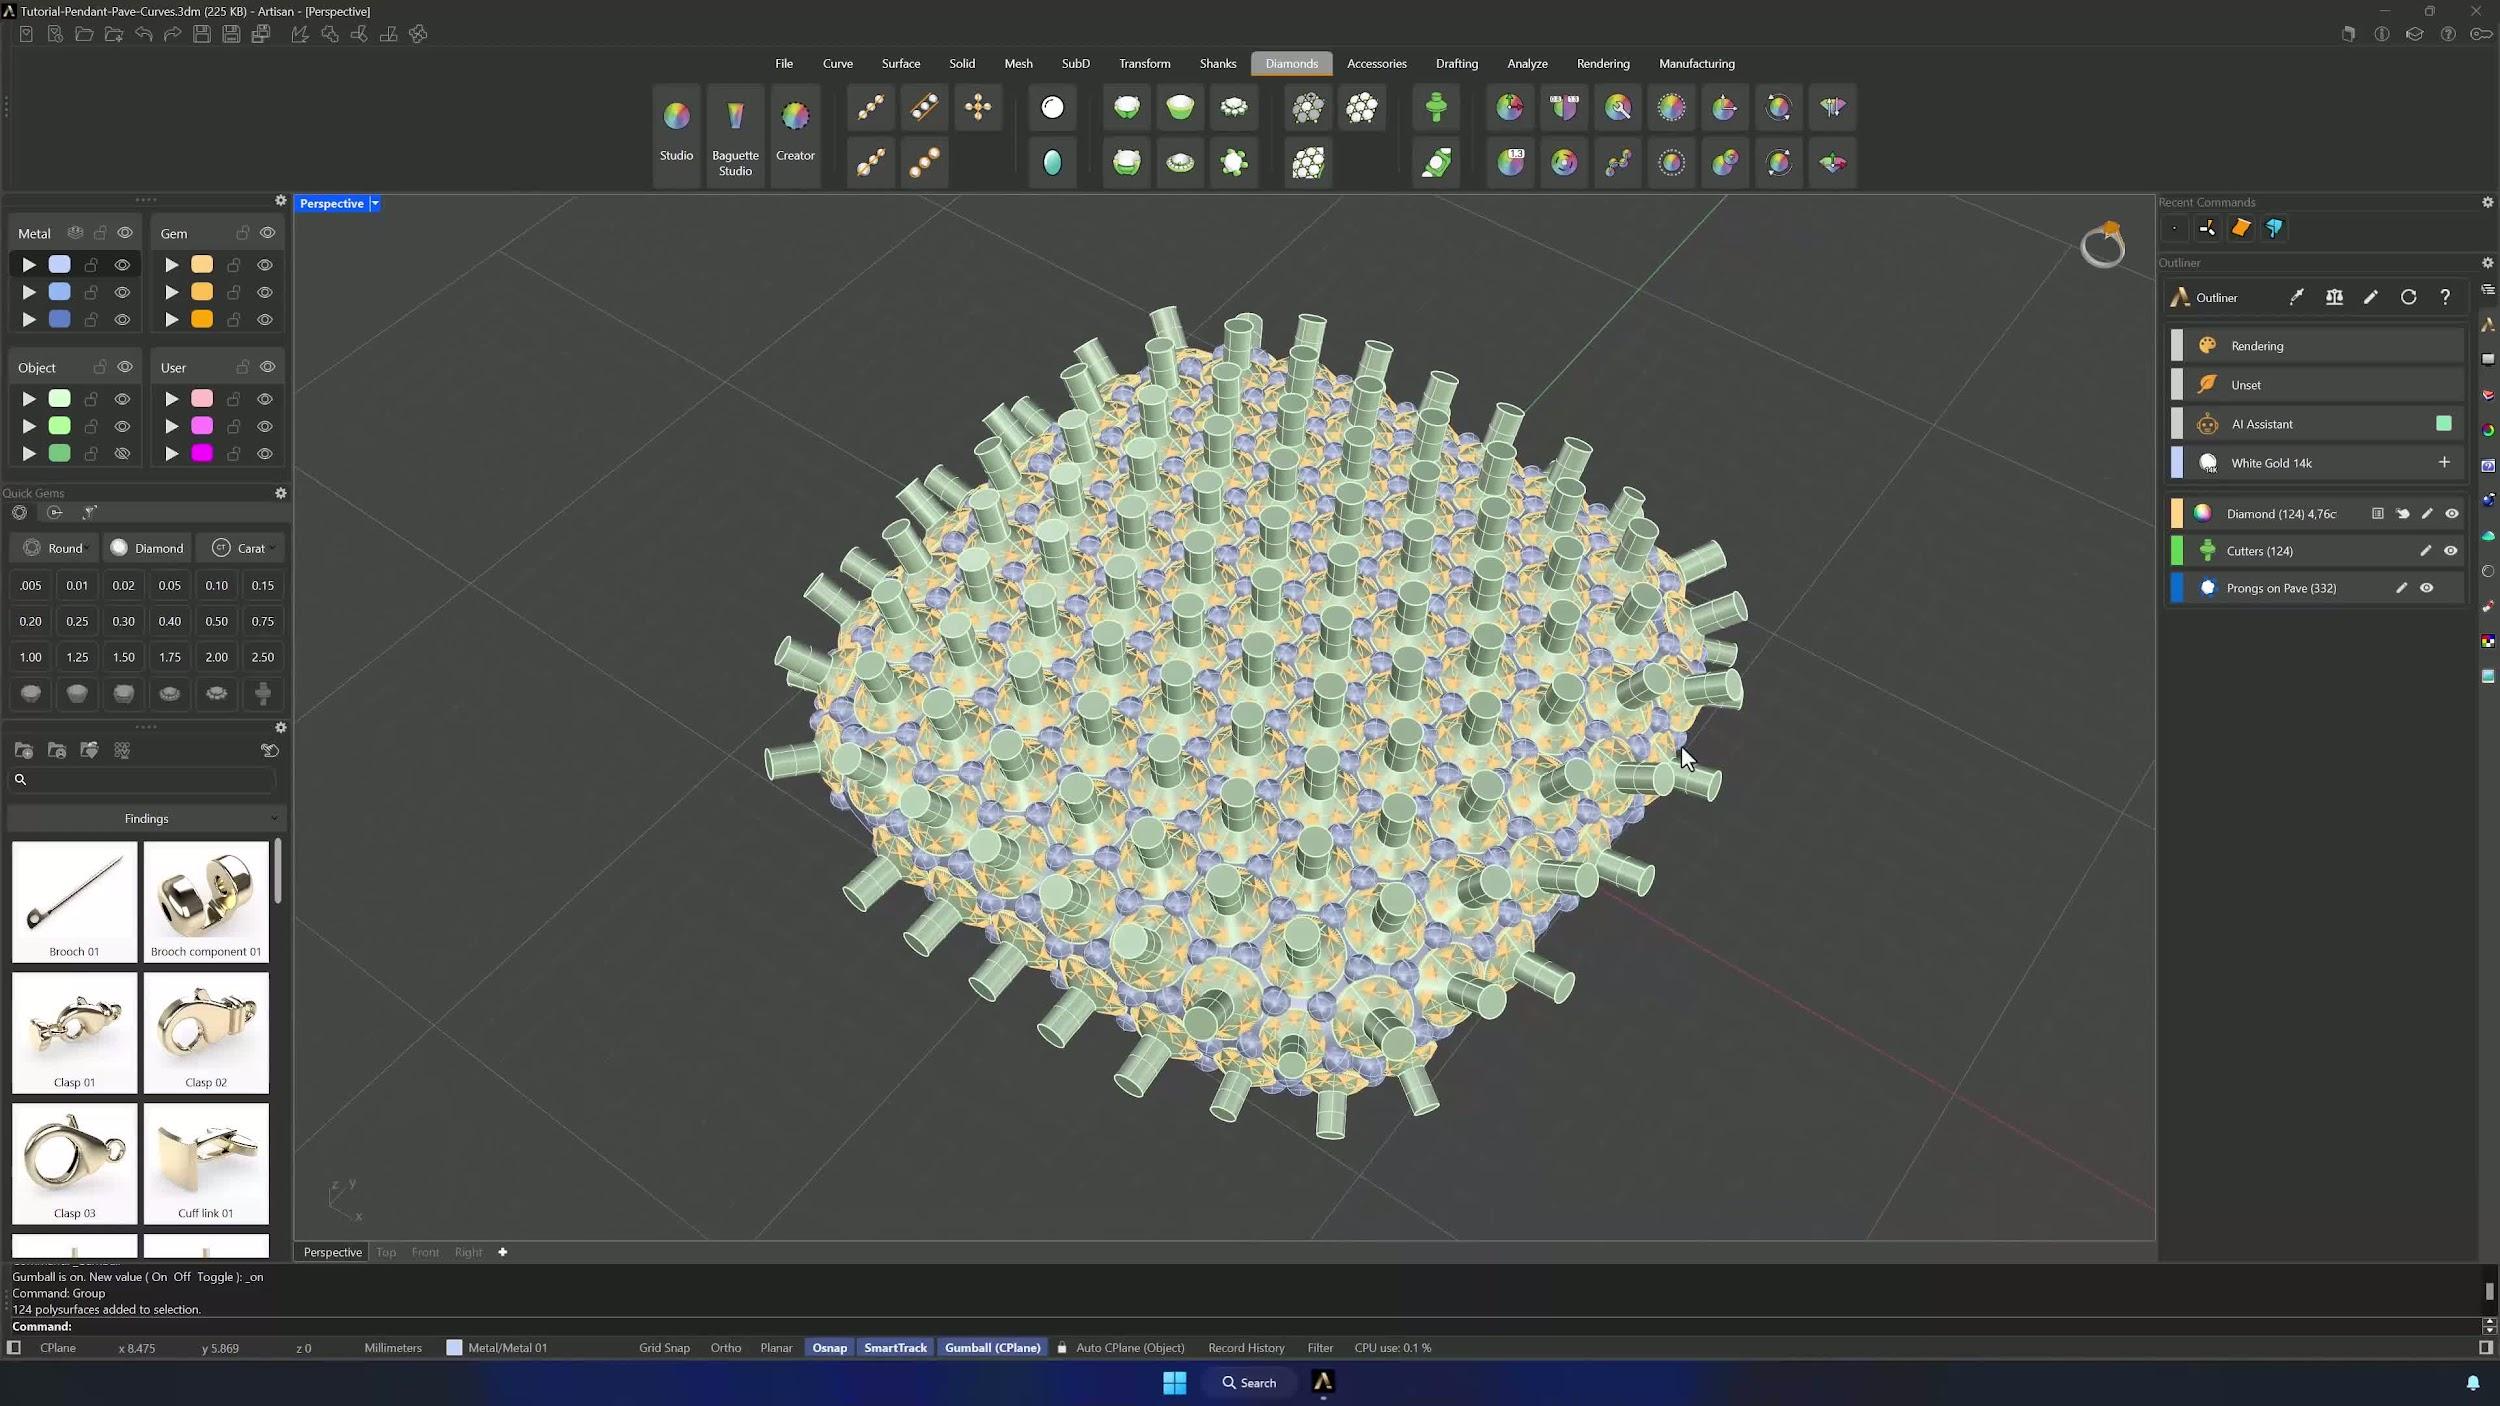
Run Automatic Pave on the surface with stone sizes 1.6 and 2.0 mm (remove the 1.3 default). Enable 4-way symmetry and Gem Display, add a start point, choose Center in the command bar and let the pave compute — topping up with extra gems where needed.
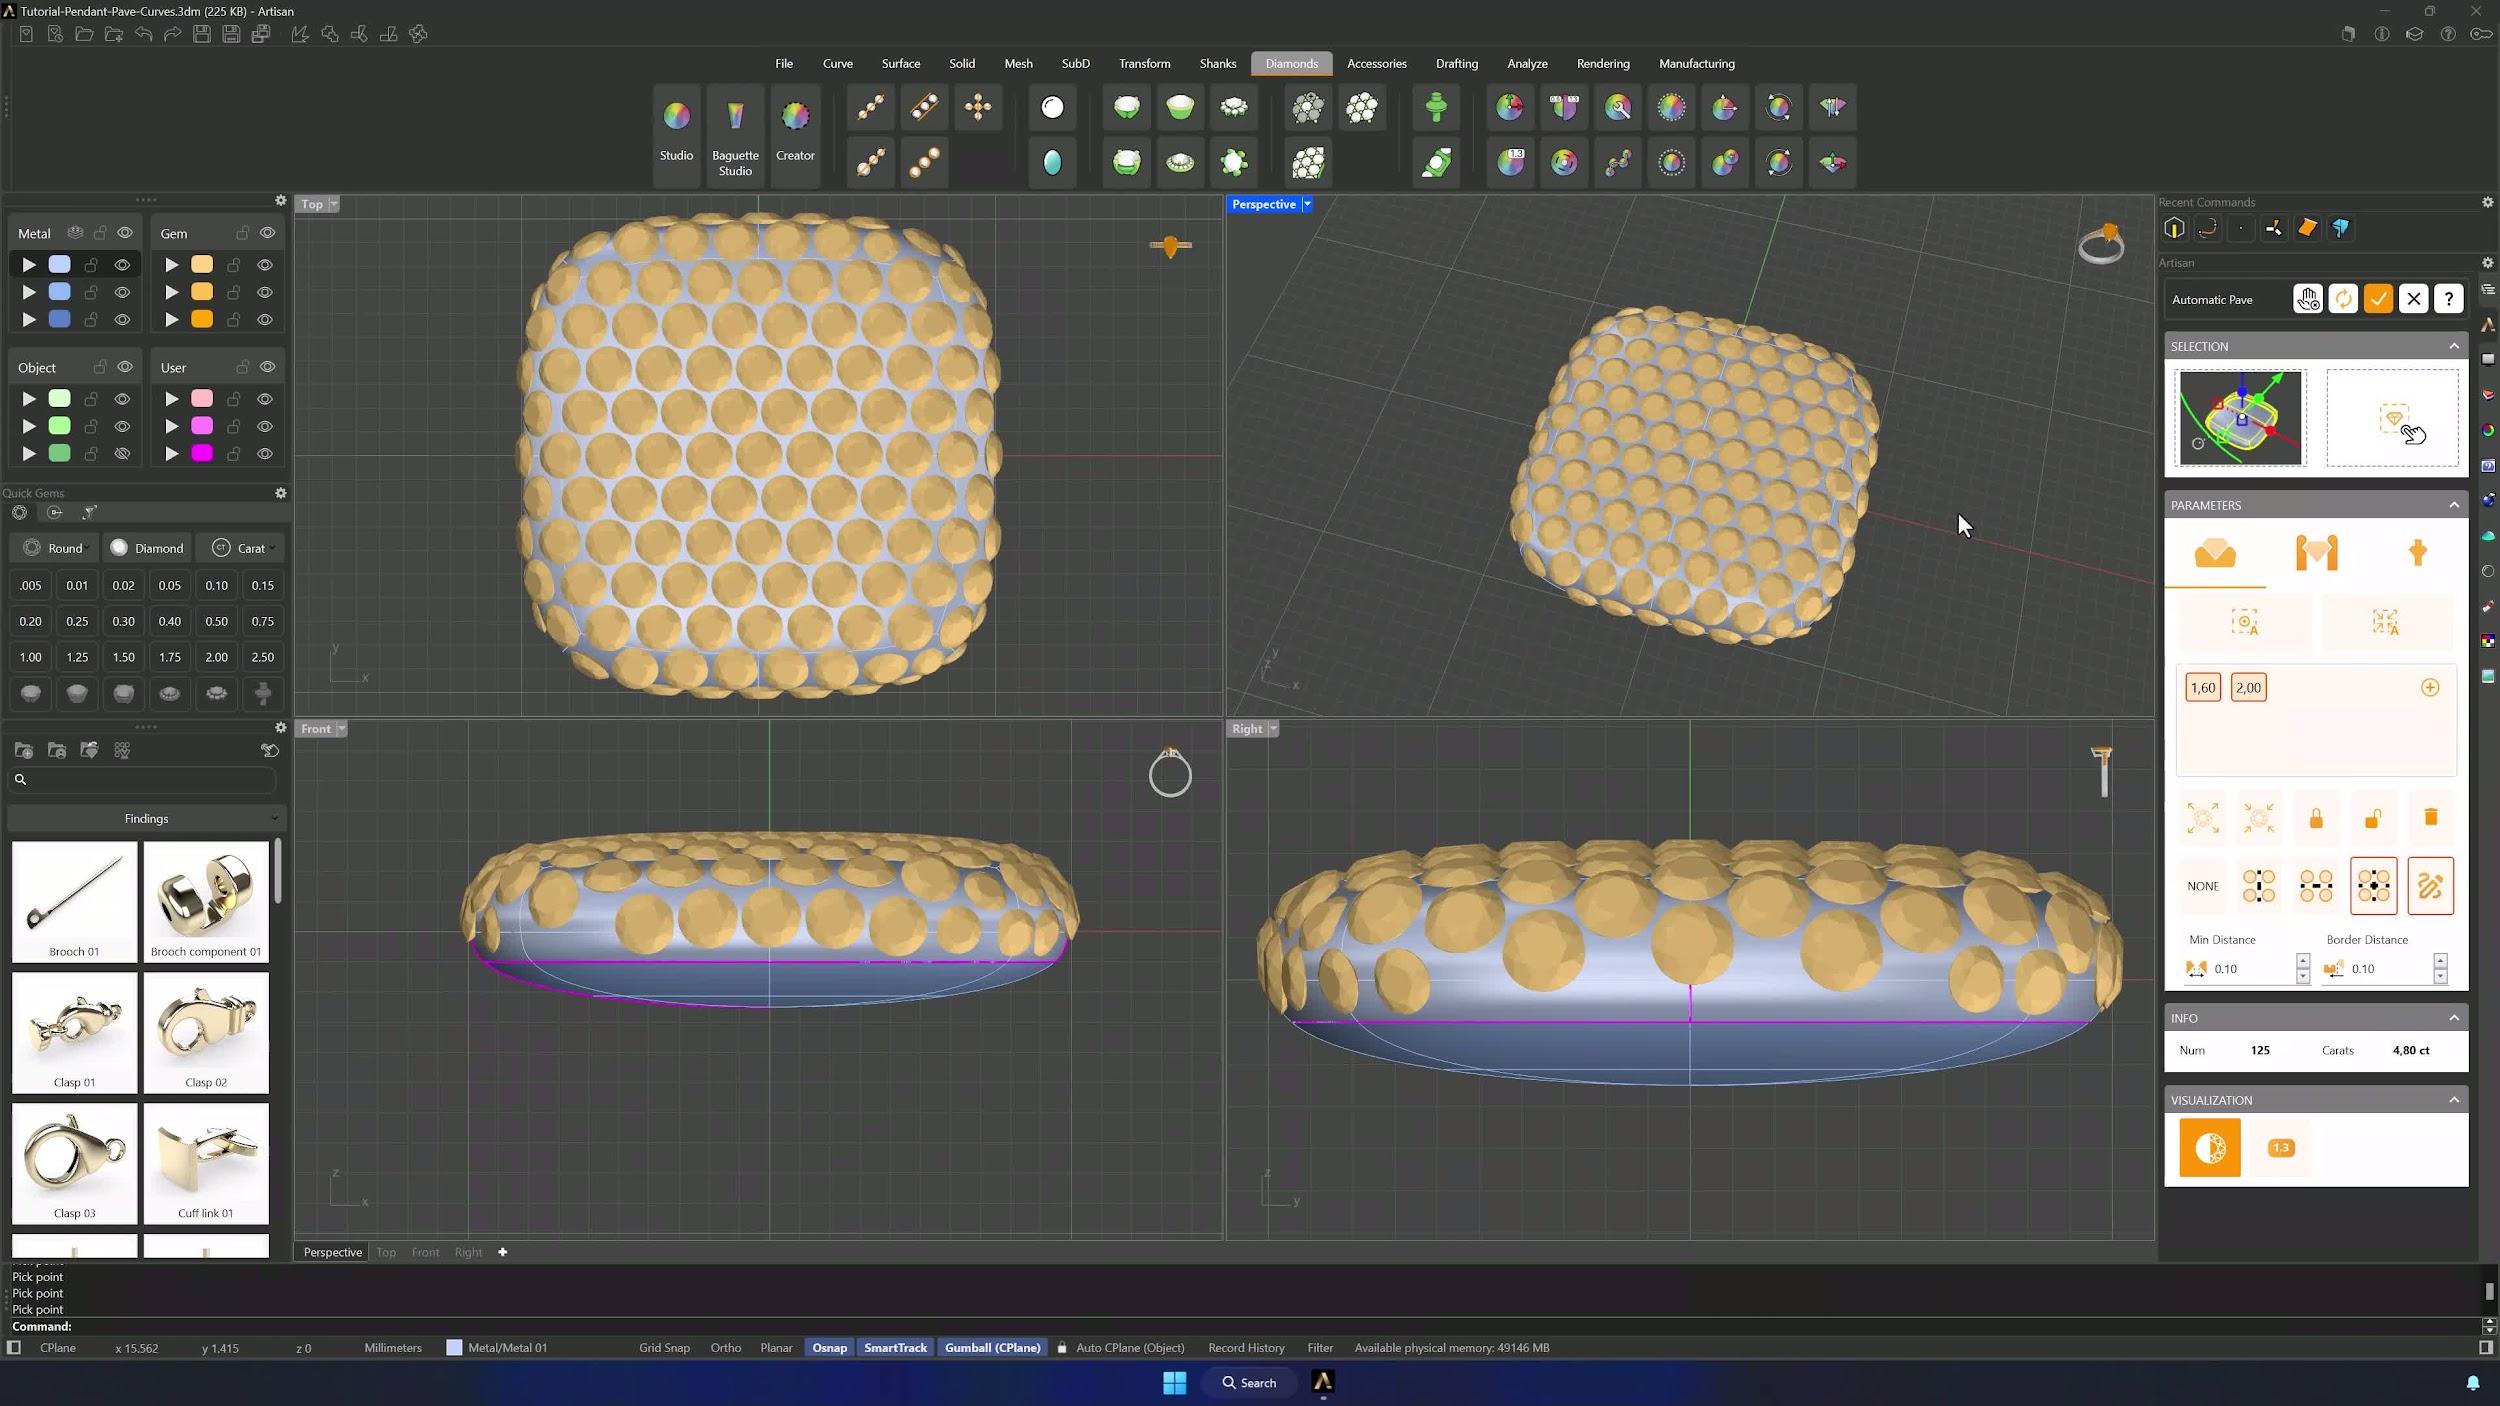
11. Configure and generate prongs
In the Prongs tab set diameter 0.75 mm, height over girdle 0.3 mm, height under girdle 0.5 mm and a 0.3 mm manufacturing extension, then Add Automatically and refine by hand where extra support is needed.
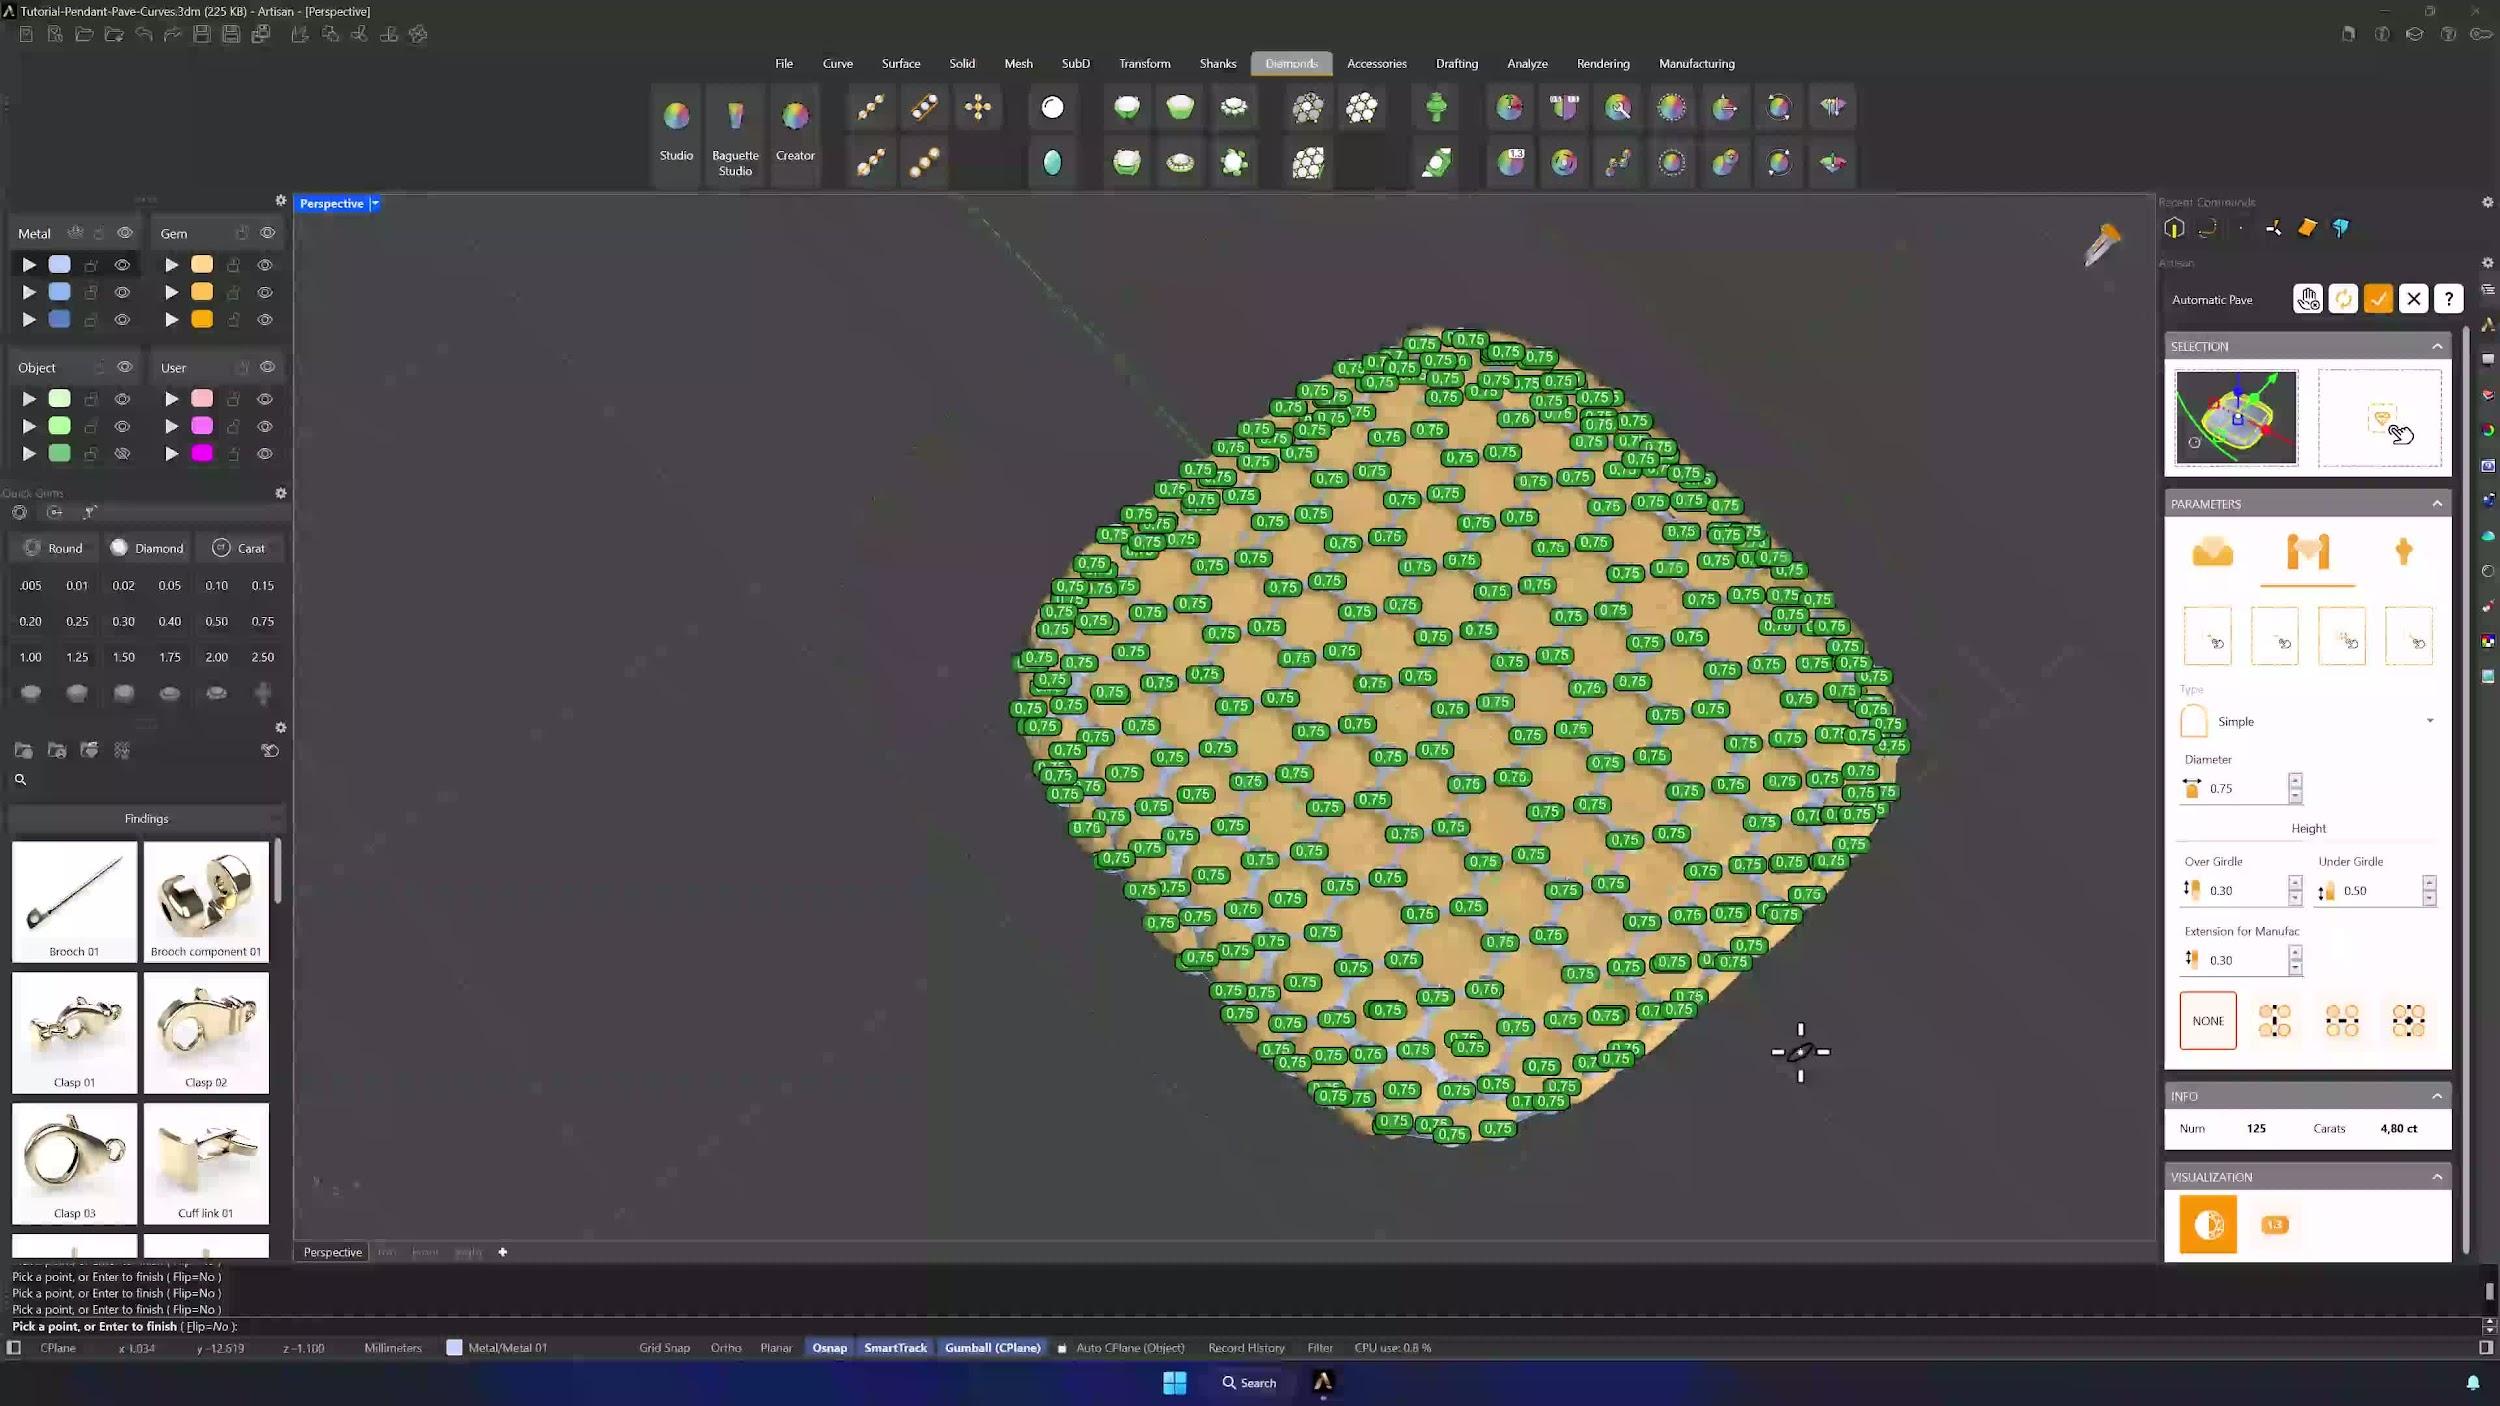
12. Activate cutters and clean up the center axis
Activate the cutters with default settings. Because this is a pendant, ungroup them and delete the cutter sitting on the Y axis (the green line) — and do the same with the gems: ungroup, and delete the Y-axis gem. That spot is where the bail will go.
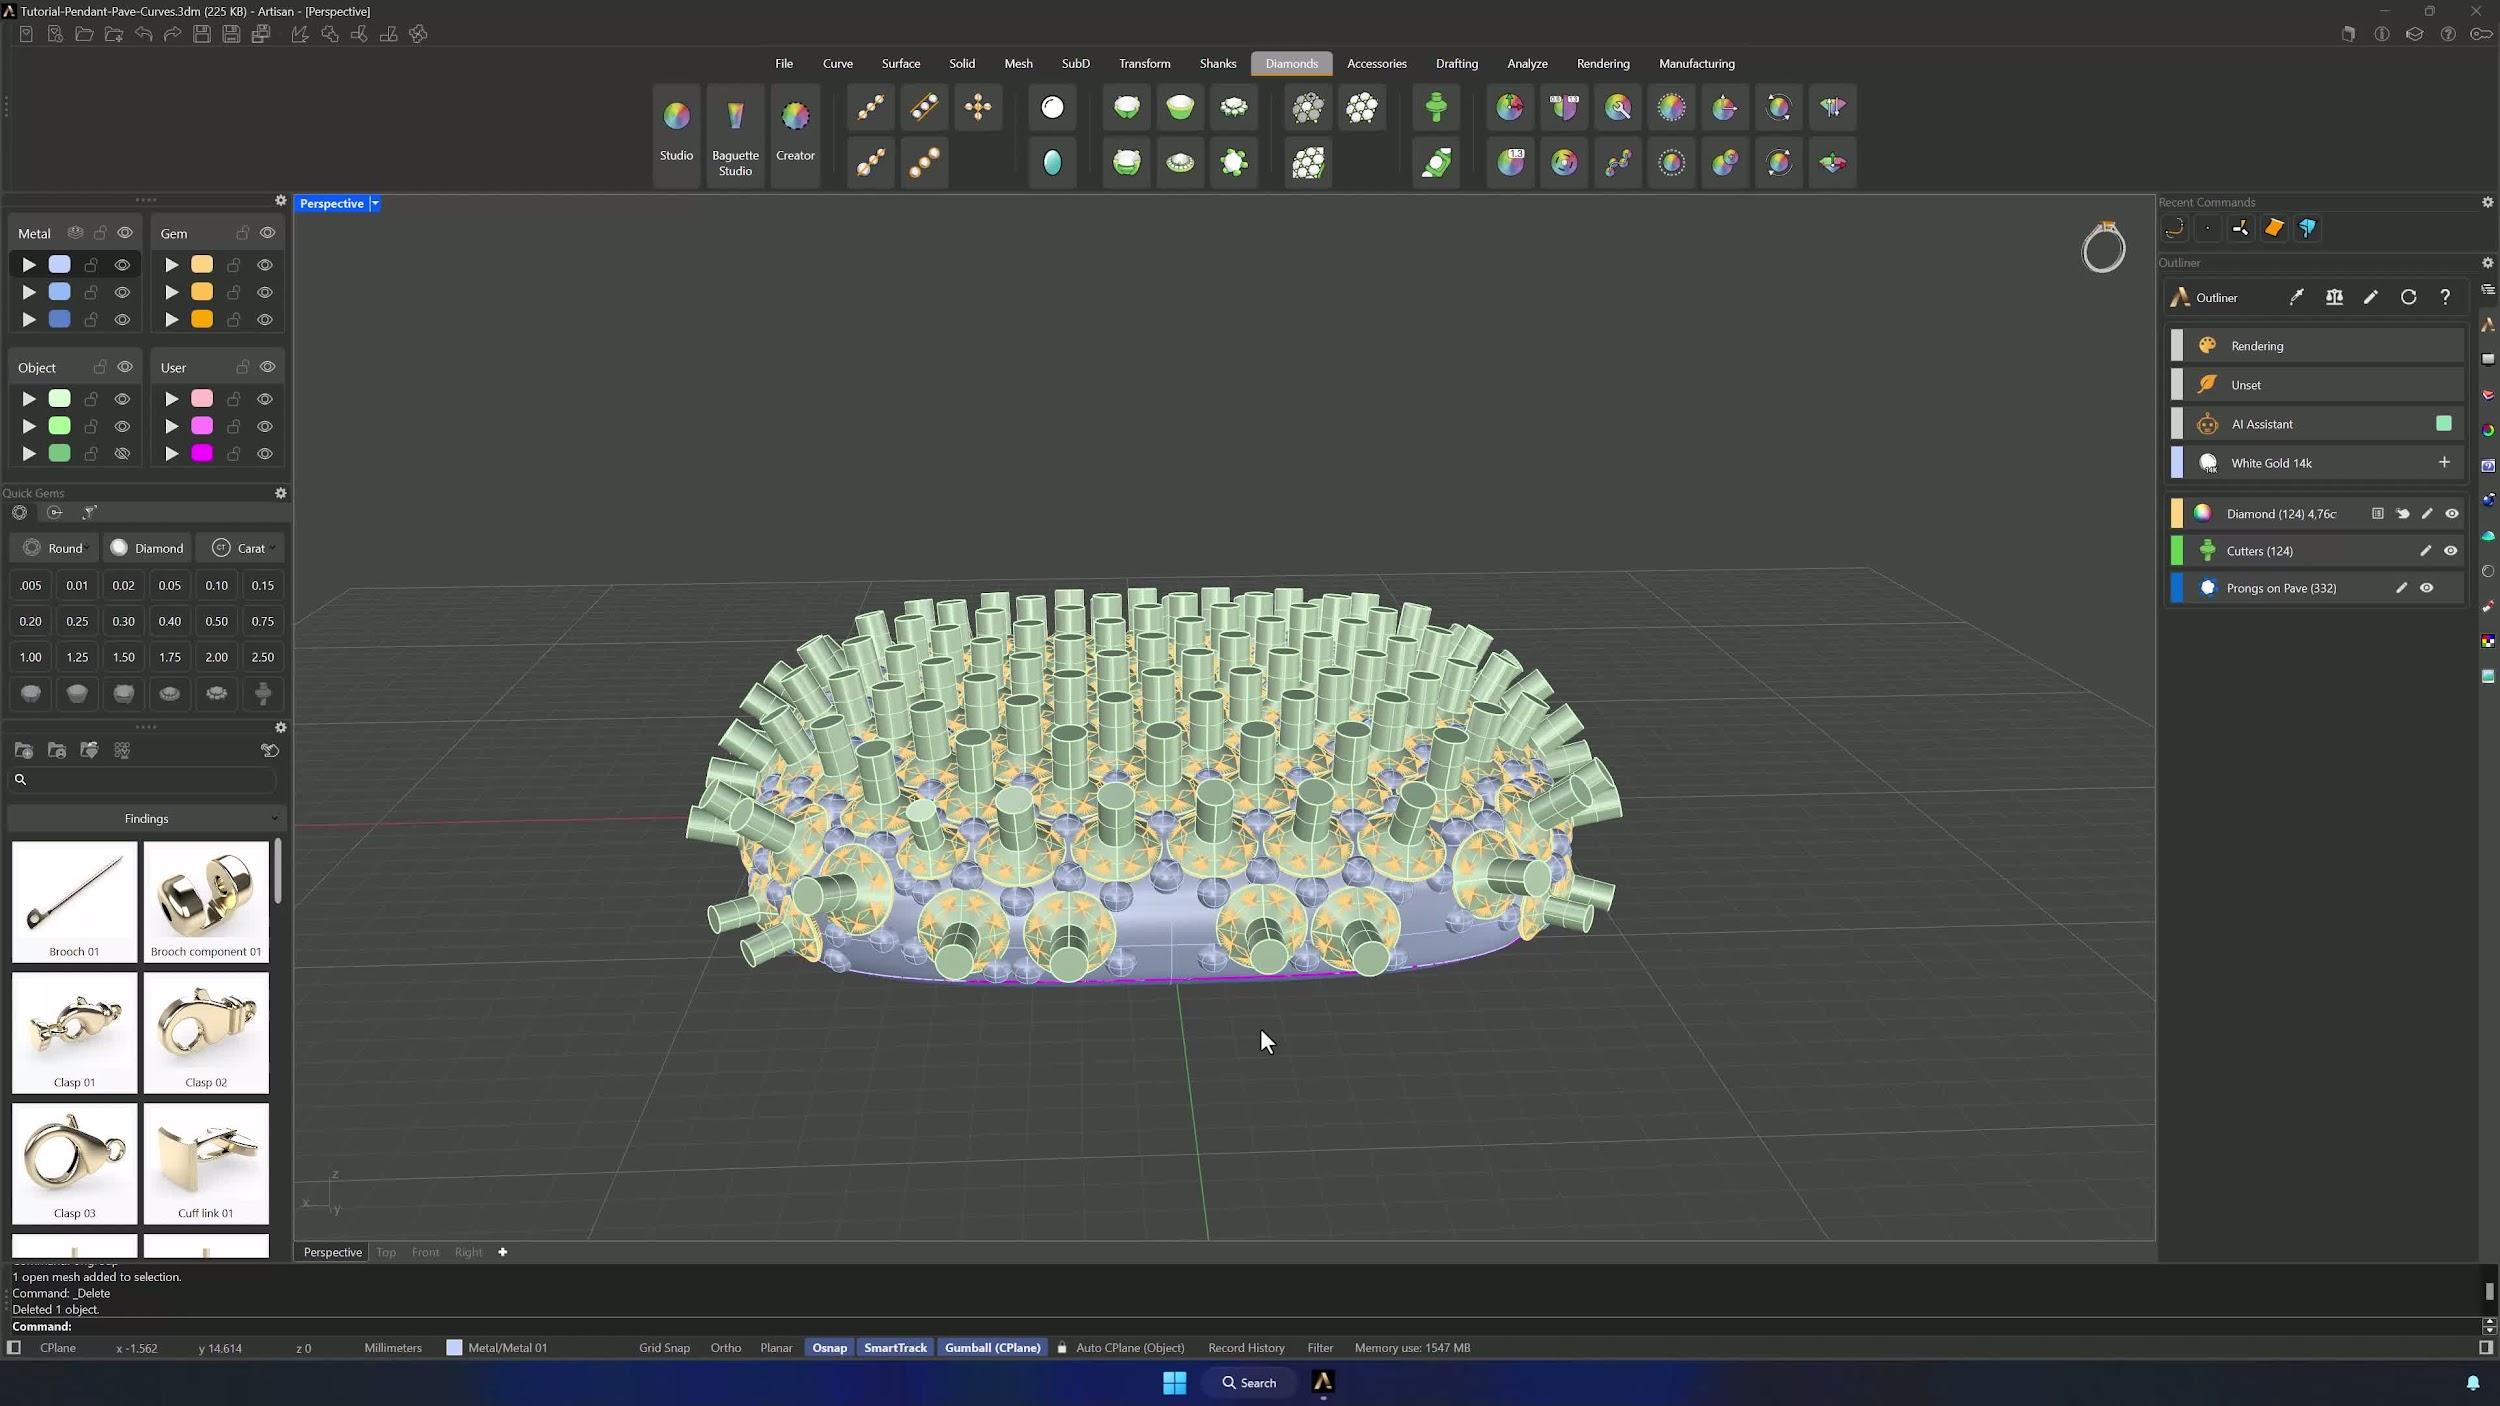
13. Regroup gems and cutters for organization
Reselect all gems from the Layer Panel and type group; repeat for the cutters. Grouped elements make every later edit faster.
14. Offset the main surface to create a solid body
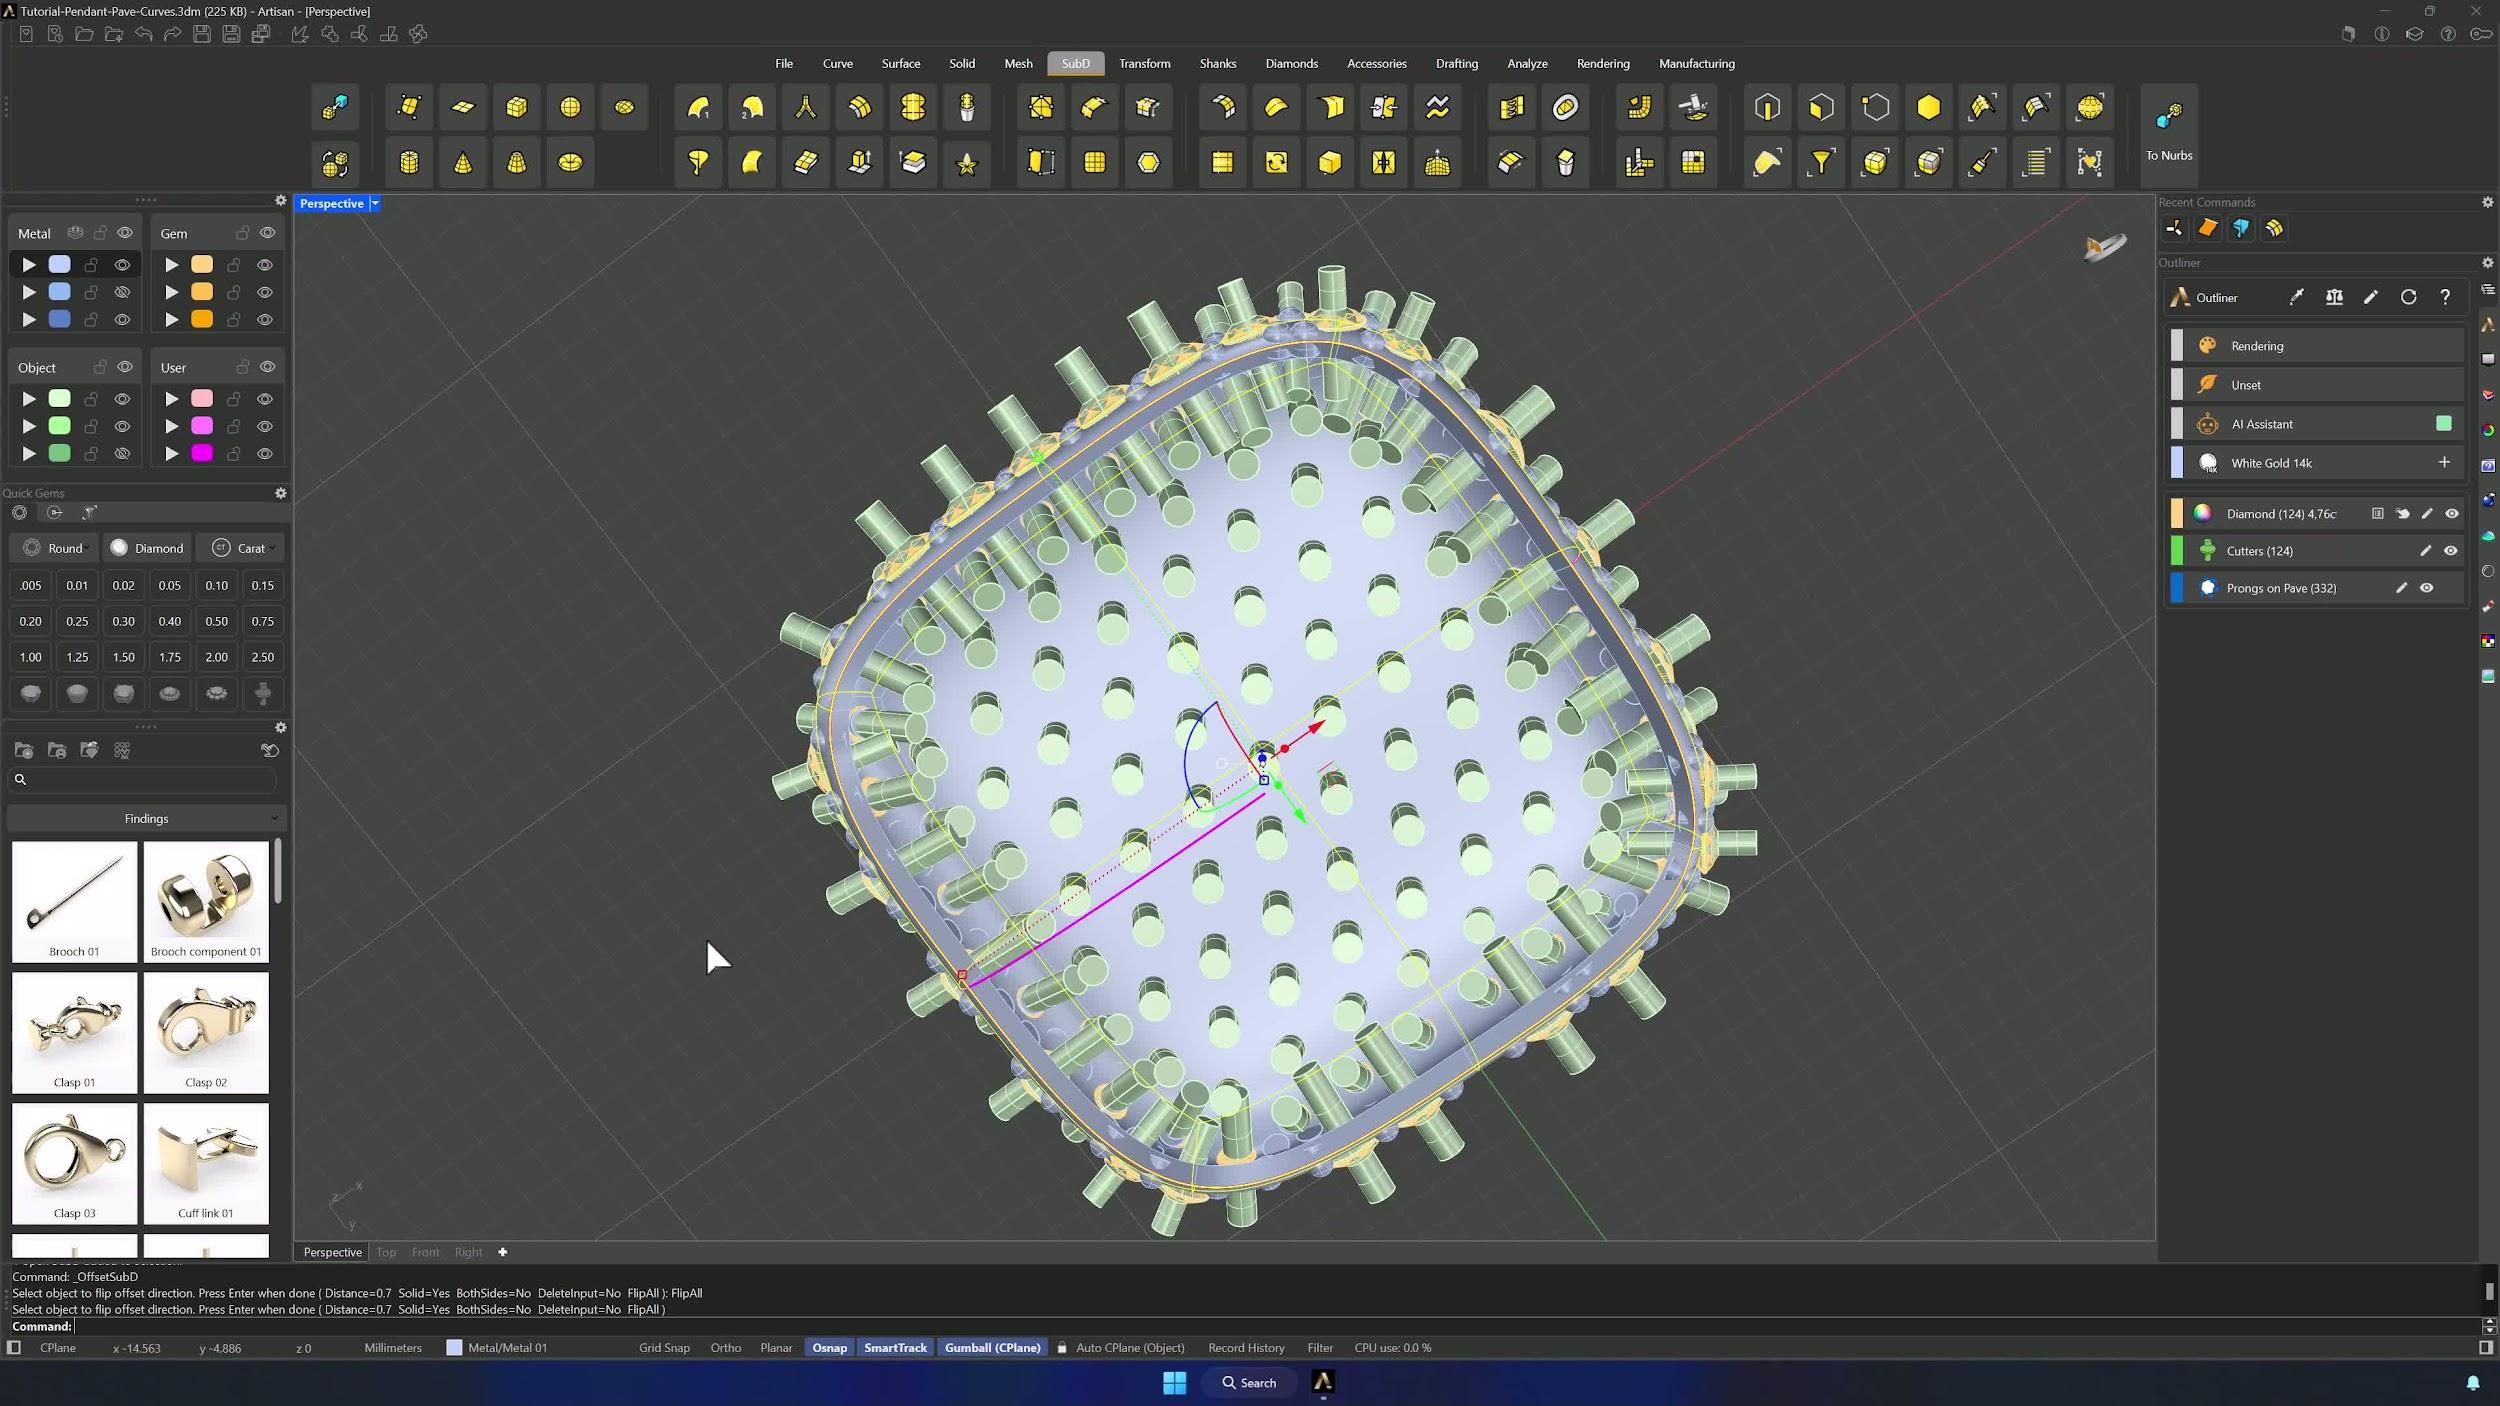
Hide the bottom part and offset the main surface from the SubD tab: thickness 0.7 mm, Solid = Yes, Both Sides = Off. If the offset points outward, Flip it before confirming.
15. Subtract prongs from the solid body
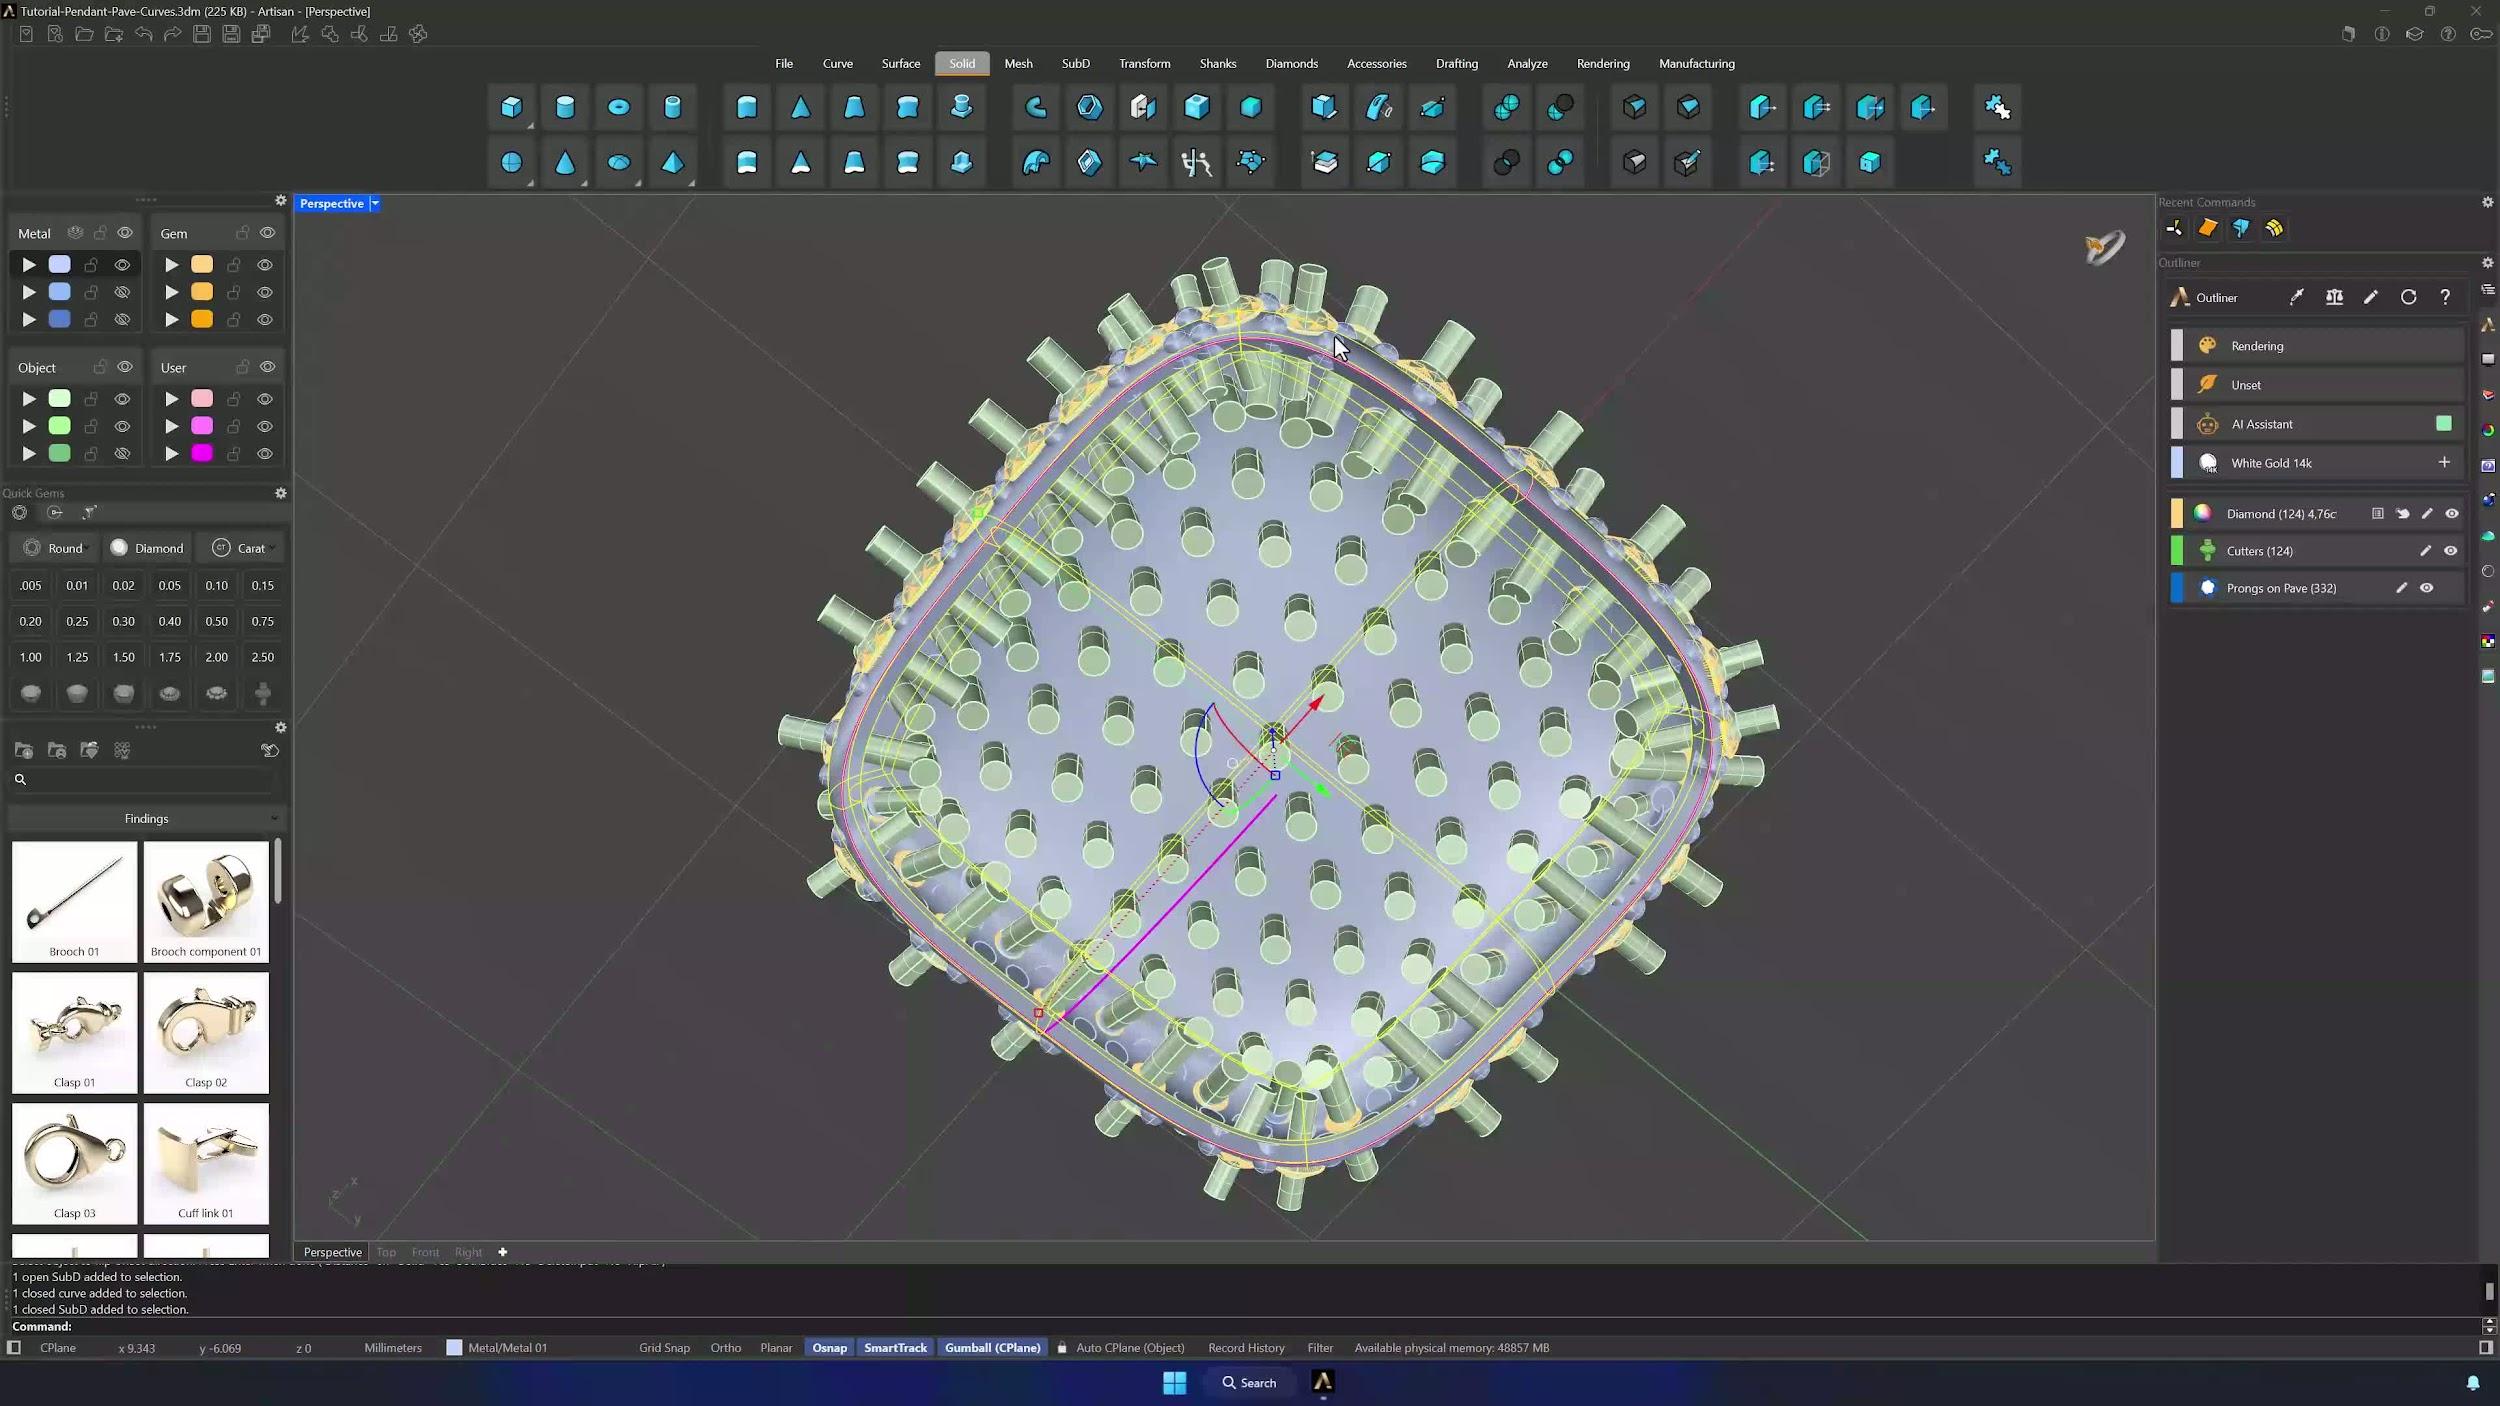
Move the original surface to another layer and hide it, then Boolean Difference: the solid first, Enter, the cutters, Enter. Check the cut before moving on.
16. Lift gems slightly for a better render
Select the gems and run Gem Move from the Diamonds tab, typing 0.1 to lift them slightly — a subtle shadow under each stone makes the render noticeably more realistic.
Almost there — you still have some lessons to complete. Jump to the next one →
Impersonating — progress and reviews are disabled.
Course completed
You've completed Pavé Perfection: Gemstone Detailing & Setting 🎉
Great work. Get your certificate of completion and, if you have a minute, let other jewelers know what you thought of the course.