Pavé Diamond Ring
Lesson 4 of 34
Pavé Layout
Sign in to access this lesson
This lesson is part of Pavé Perfection: Gemstone Detailing & Setting, which can come bundled with a RhinoArtisan Commercial license subject to current promotions. Log in with your customer account, or get in touch and we'll set you up.
Customers only
Solo para clientes
This lesson is part of Pavé Perfection: Gemstone Detailing & Setting, which can be included with a RhinoArtisan Commercial license subject to current promotions. If you've already purchased and don't see it in your account, get in touch.
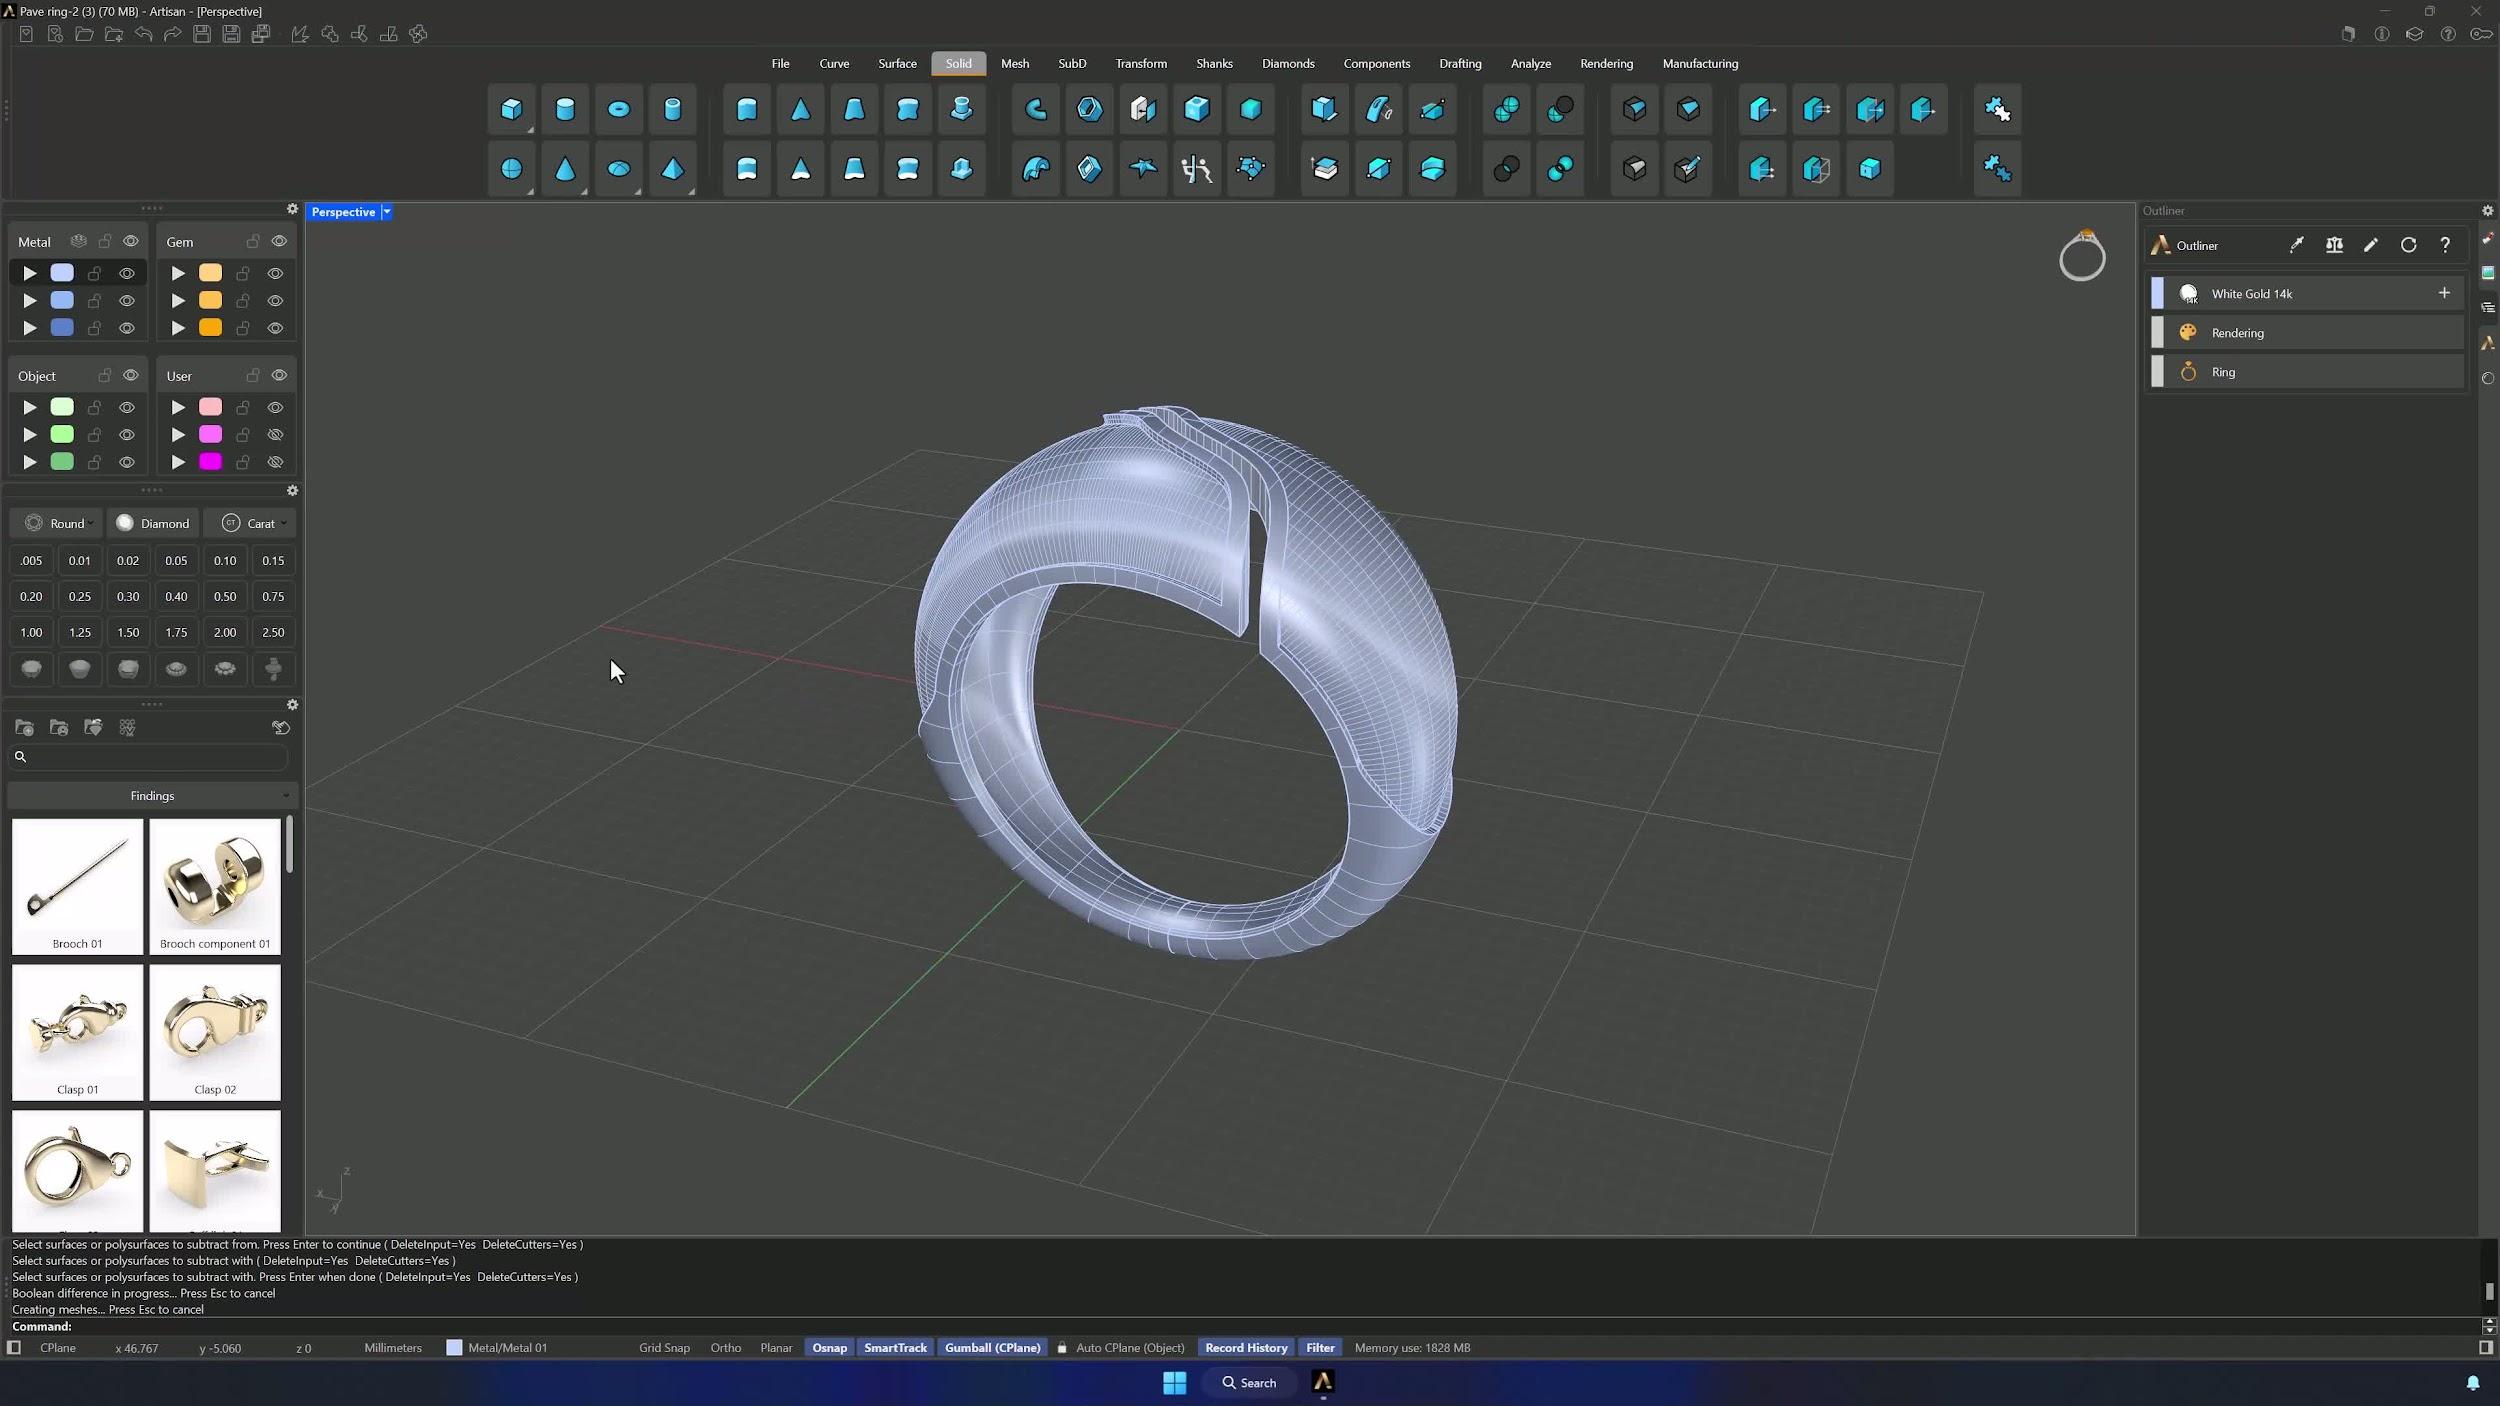
10. Extract faces for gem placement
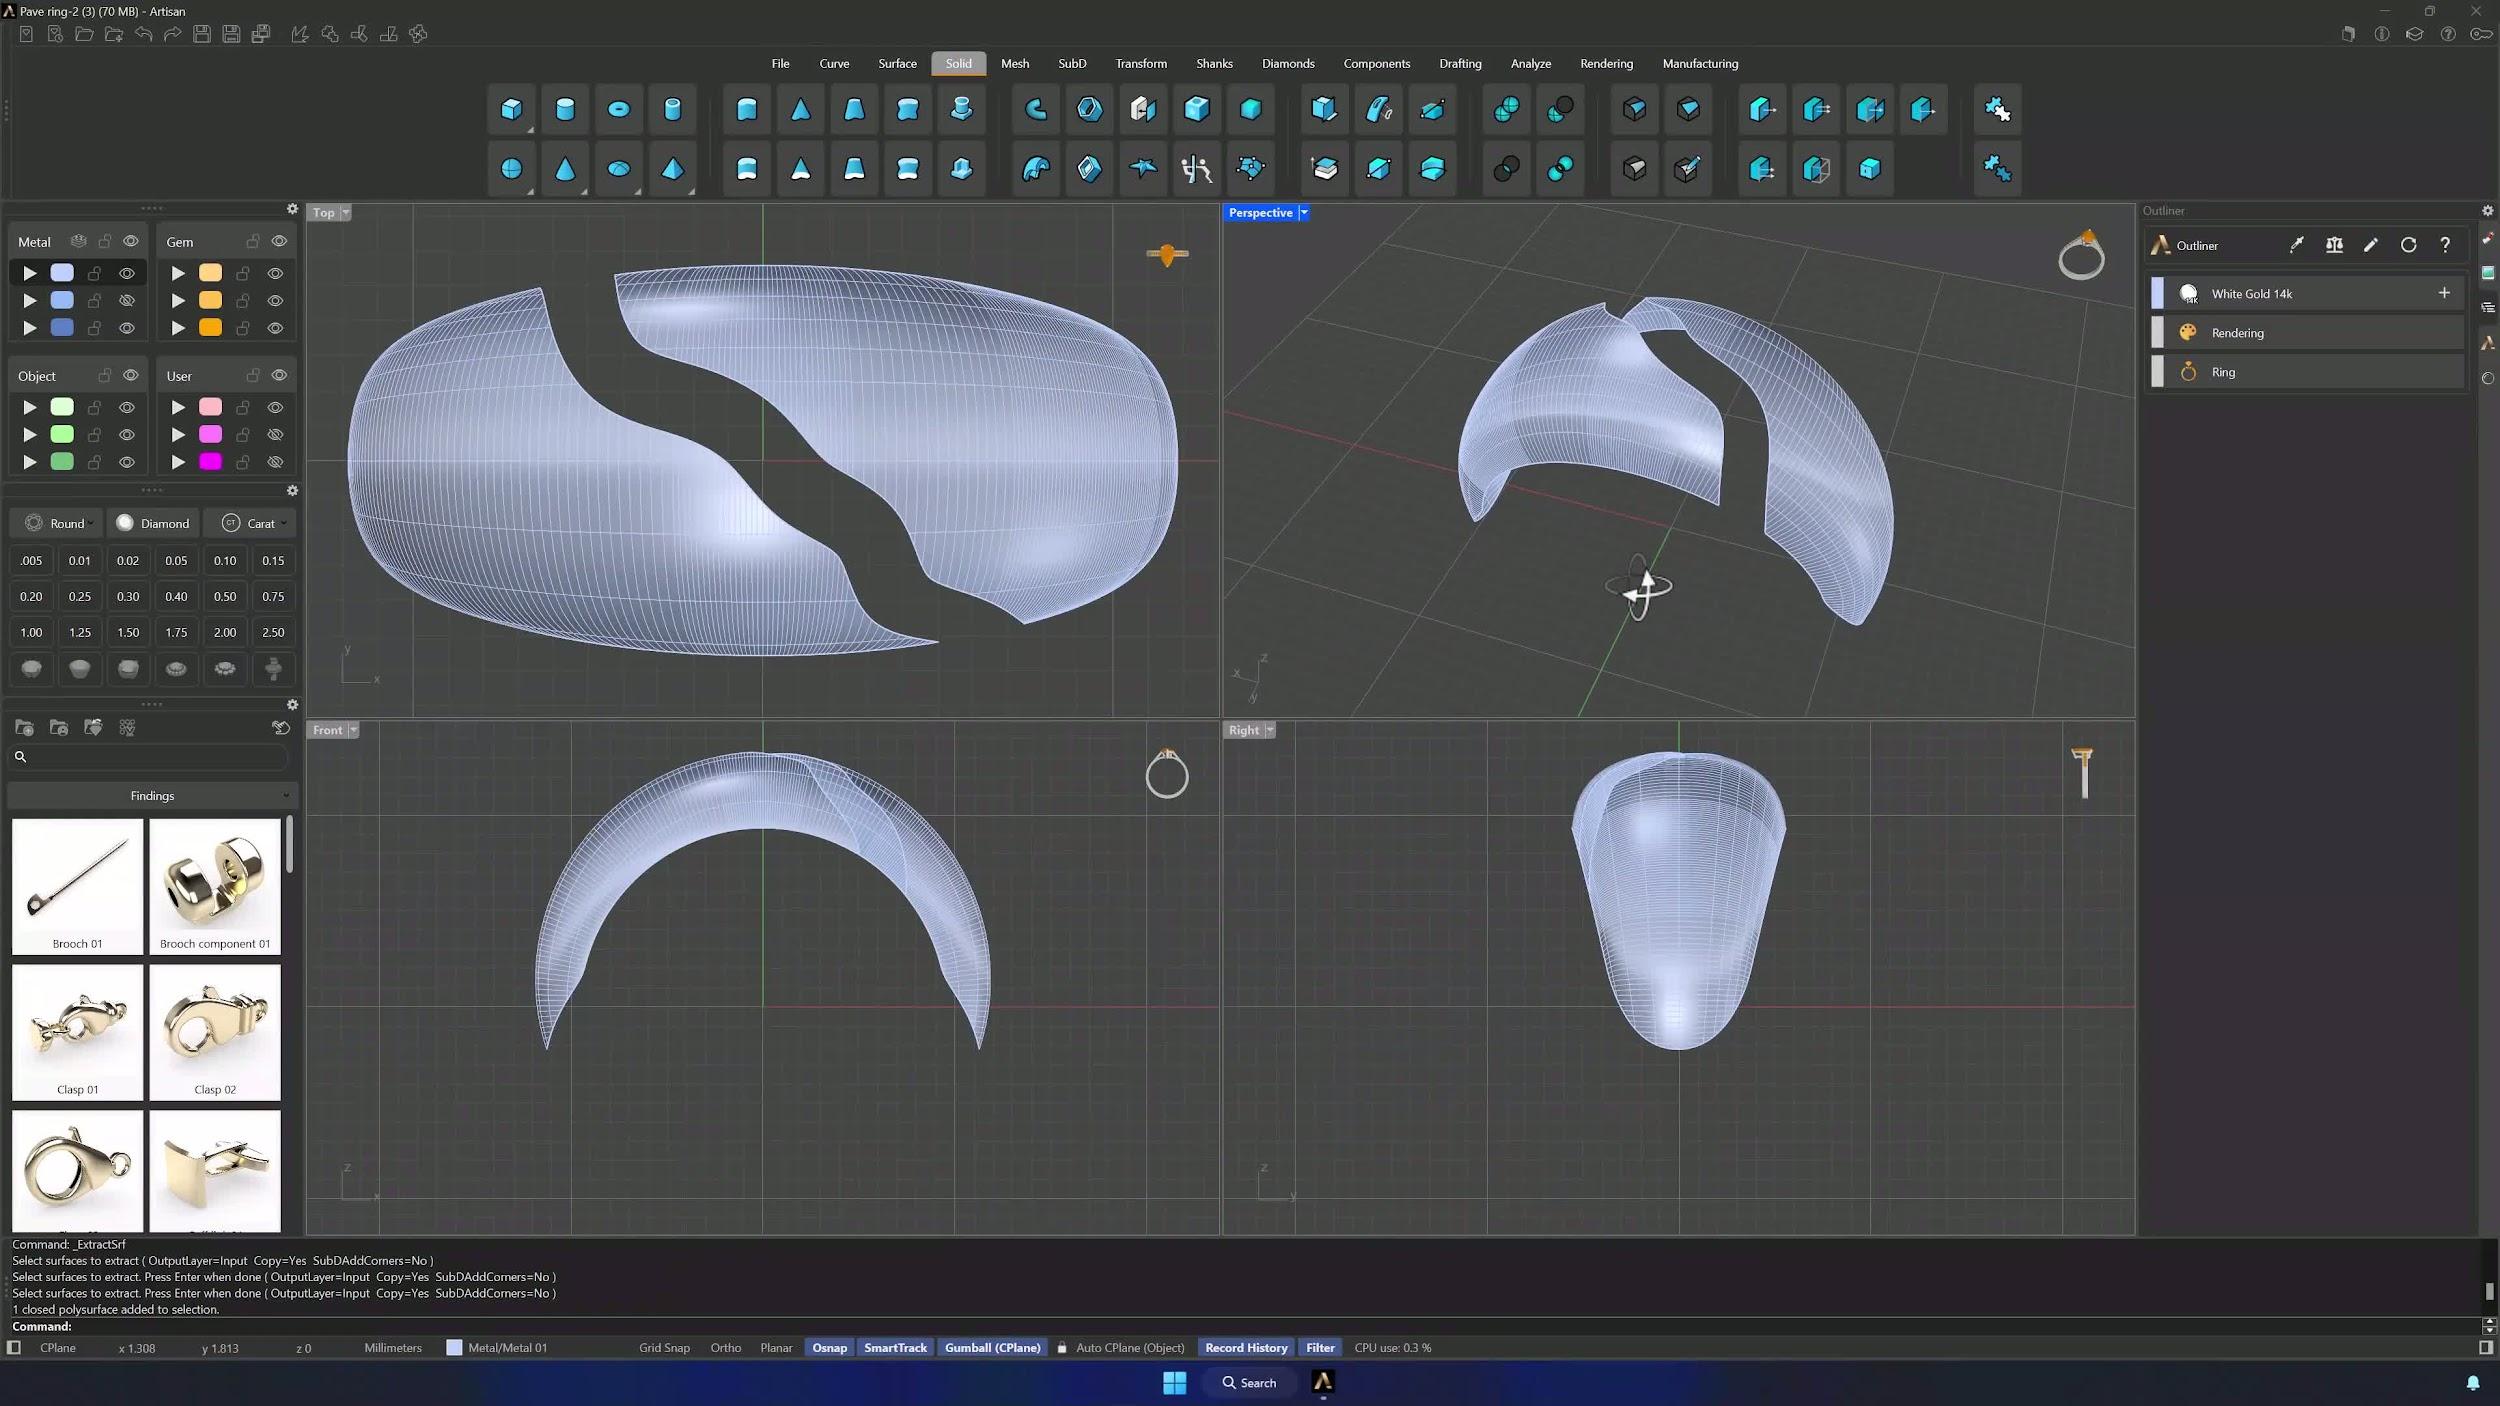
With the ring structure complete, run Extract Face from the Solid tab on the two inner surfaces. Hide the ring so you can focus on the extracted faces — these are your pavé canvases.
11. Create the first pavé layout
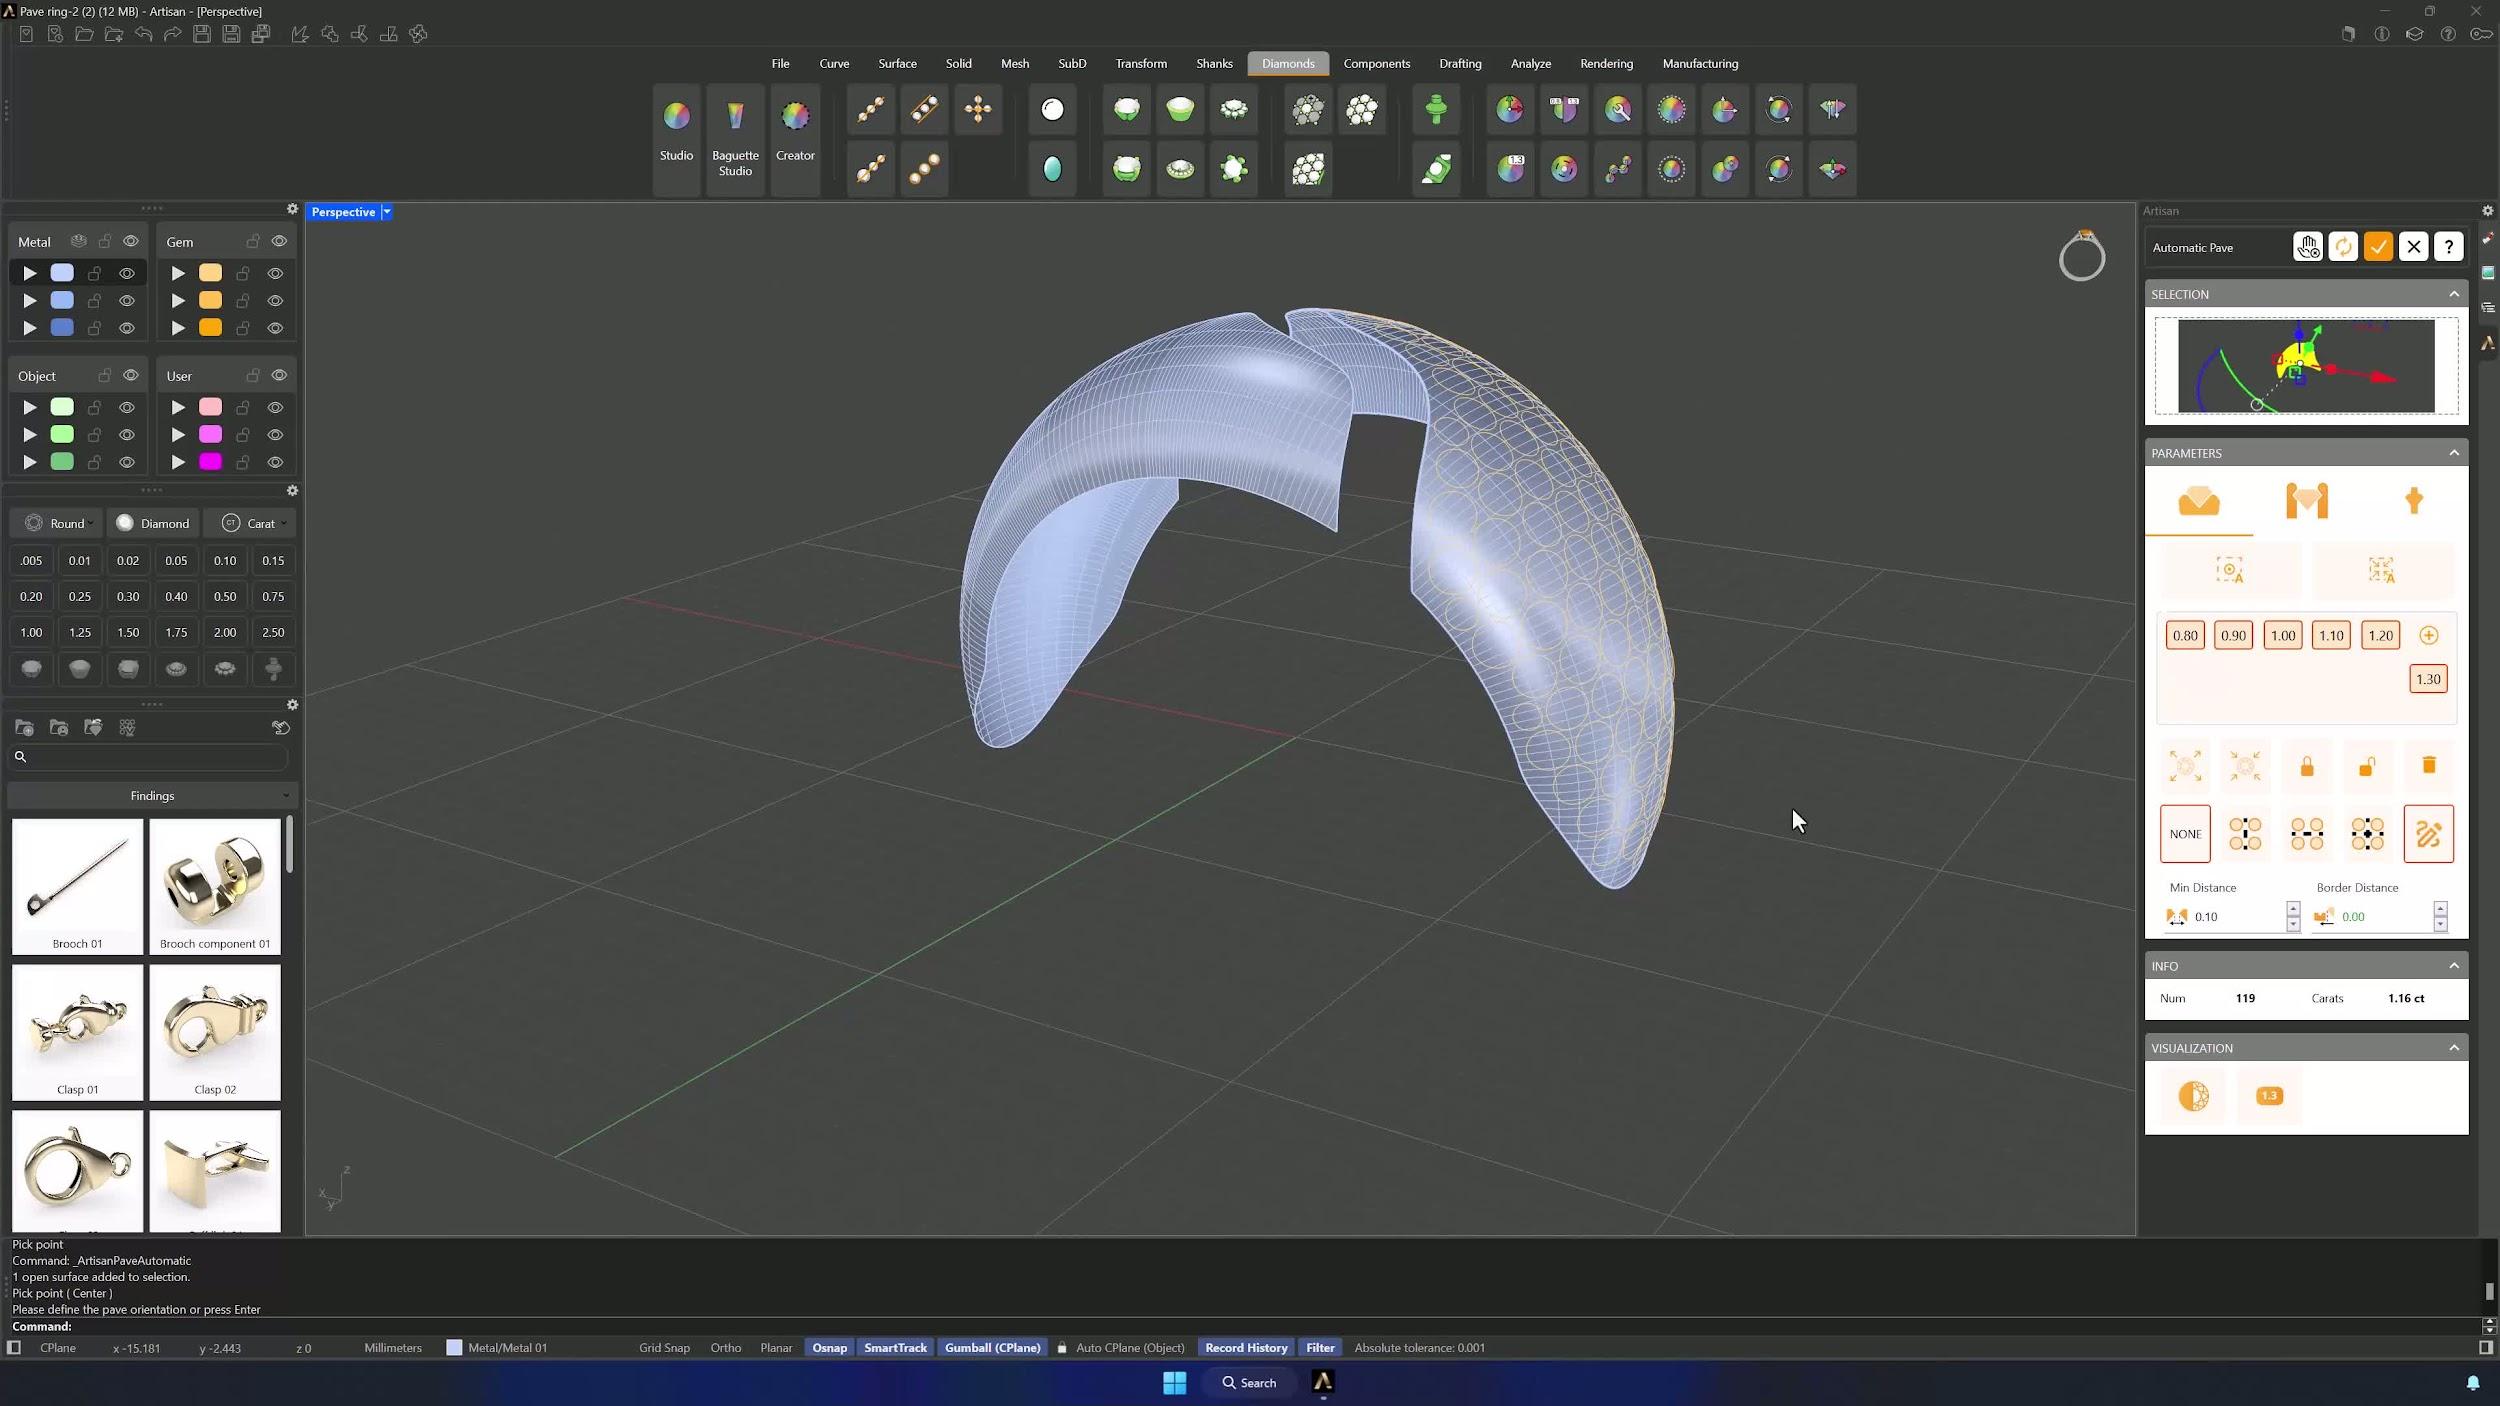
Open Automatic Pave in the Diamonds tab, add the first surface to the selector, and load gem sizes 0.8, 0.9, 1.0, 1.1, 1.2 and 1.3 mm. Choose Pave from Point, pick the starting point, aim the direction toward the center and right-click to start the calculation — the system arranges gems from largest to smallest while you monitor the count.
12. Refine gem placement and lock key stones
Fill empty areas with extra gems and press Compute until everything sits correctly — a red gem just means it needs a recalculation. Move, resize and lock the stones that are already in place, then recalculate so the layout adapts around them.
Almost there — you still have some lessons to complete. Jump to the next one →
Impersonating — progress and reviews are disabled.
Course completed
You've completed Pavé Perfection: Gemstone Detailing & Setting 🎉
Great work. Get your certificate of completion and, if you have a minute, let other jewelers know what you thought of the course.