Anchor Chain Earrings
Lesson 10 of 34
Honeycomb Pattern
Sign in to access this lesson
This lesson is part of Pavé Perfection: Gemstone Detailing & Setting, which can come bundled with a RhinoArtisan Commercial license subject to current promotions. Log in with your customer account, or get in touch and we'll set you up.
Customers only
Solo para clientes
This lesson is part of Pavé Perfection: Gemstone Detailing & Setting, which can be included with a RhinoArtisan Commercial license subject to current promotions. If you've already purchased and don't see it in your account, get in touch.
8. Create and align the honeycomb pattern
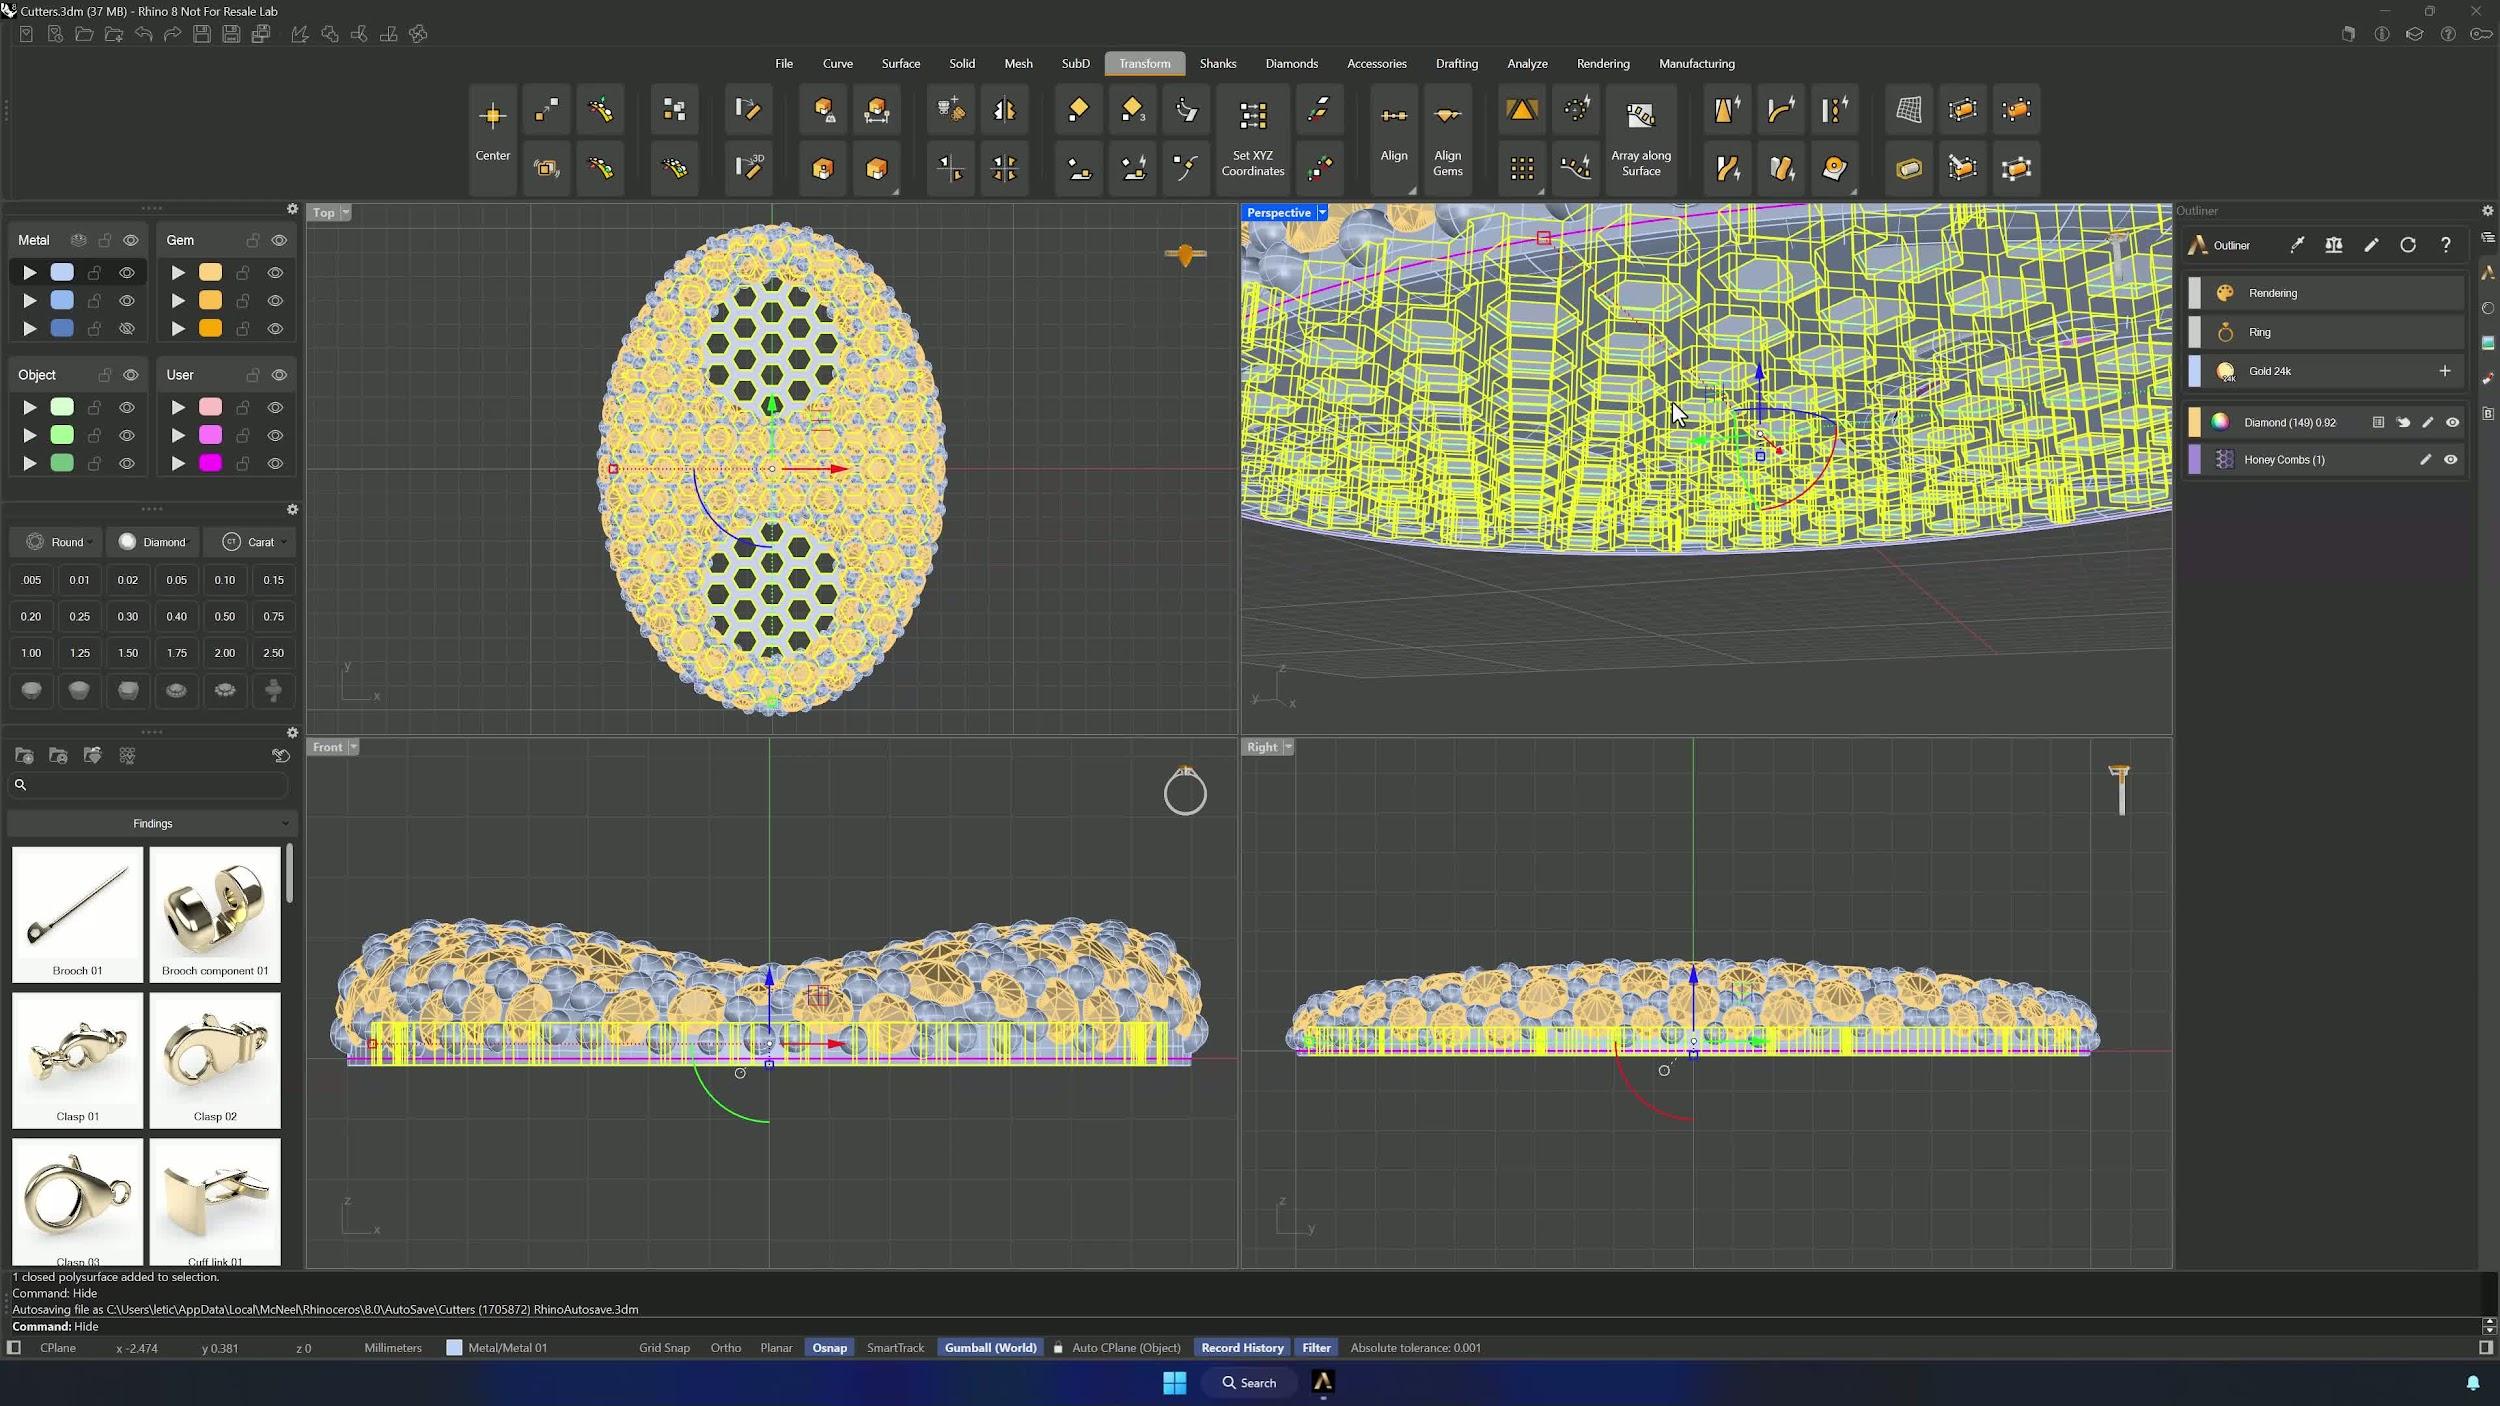
Offset the outer reference curve inward by 0.4 mm as a joining margin, then run Honeycomb from the Accessories tab with the curve in the selection set: distance 1.5 mm, thickness 0.4 mm, height 0.7 mm. Align it with Transform > Align > Bottom from the Front view — Wireframe helps for precision — clicking the bottom of the model as the reference height.
9. Reopen cutouts and finish the first element
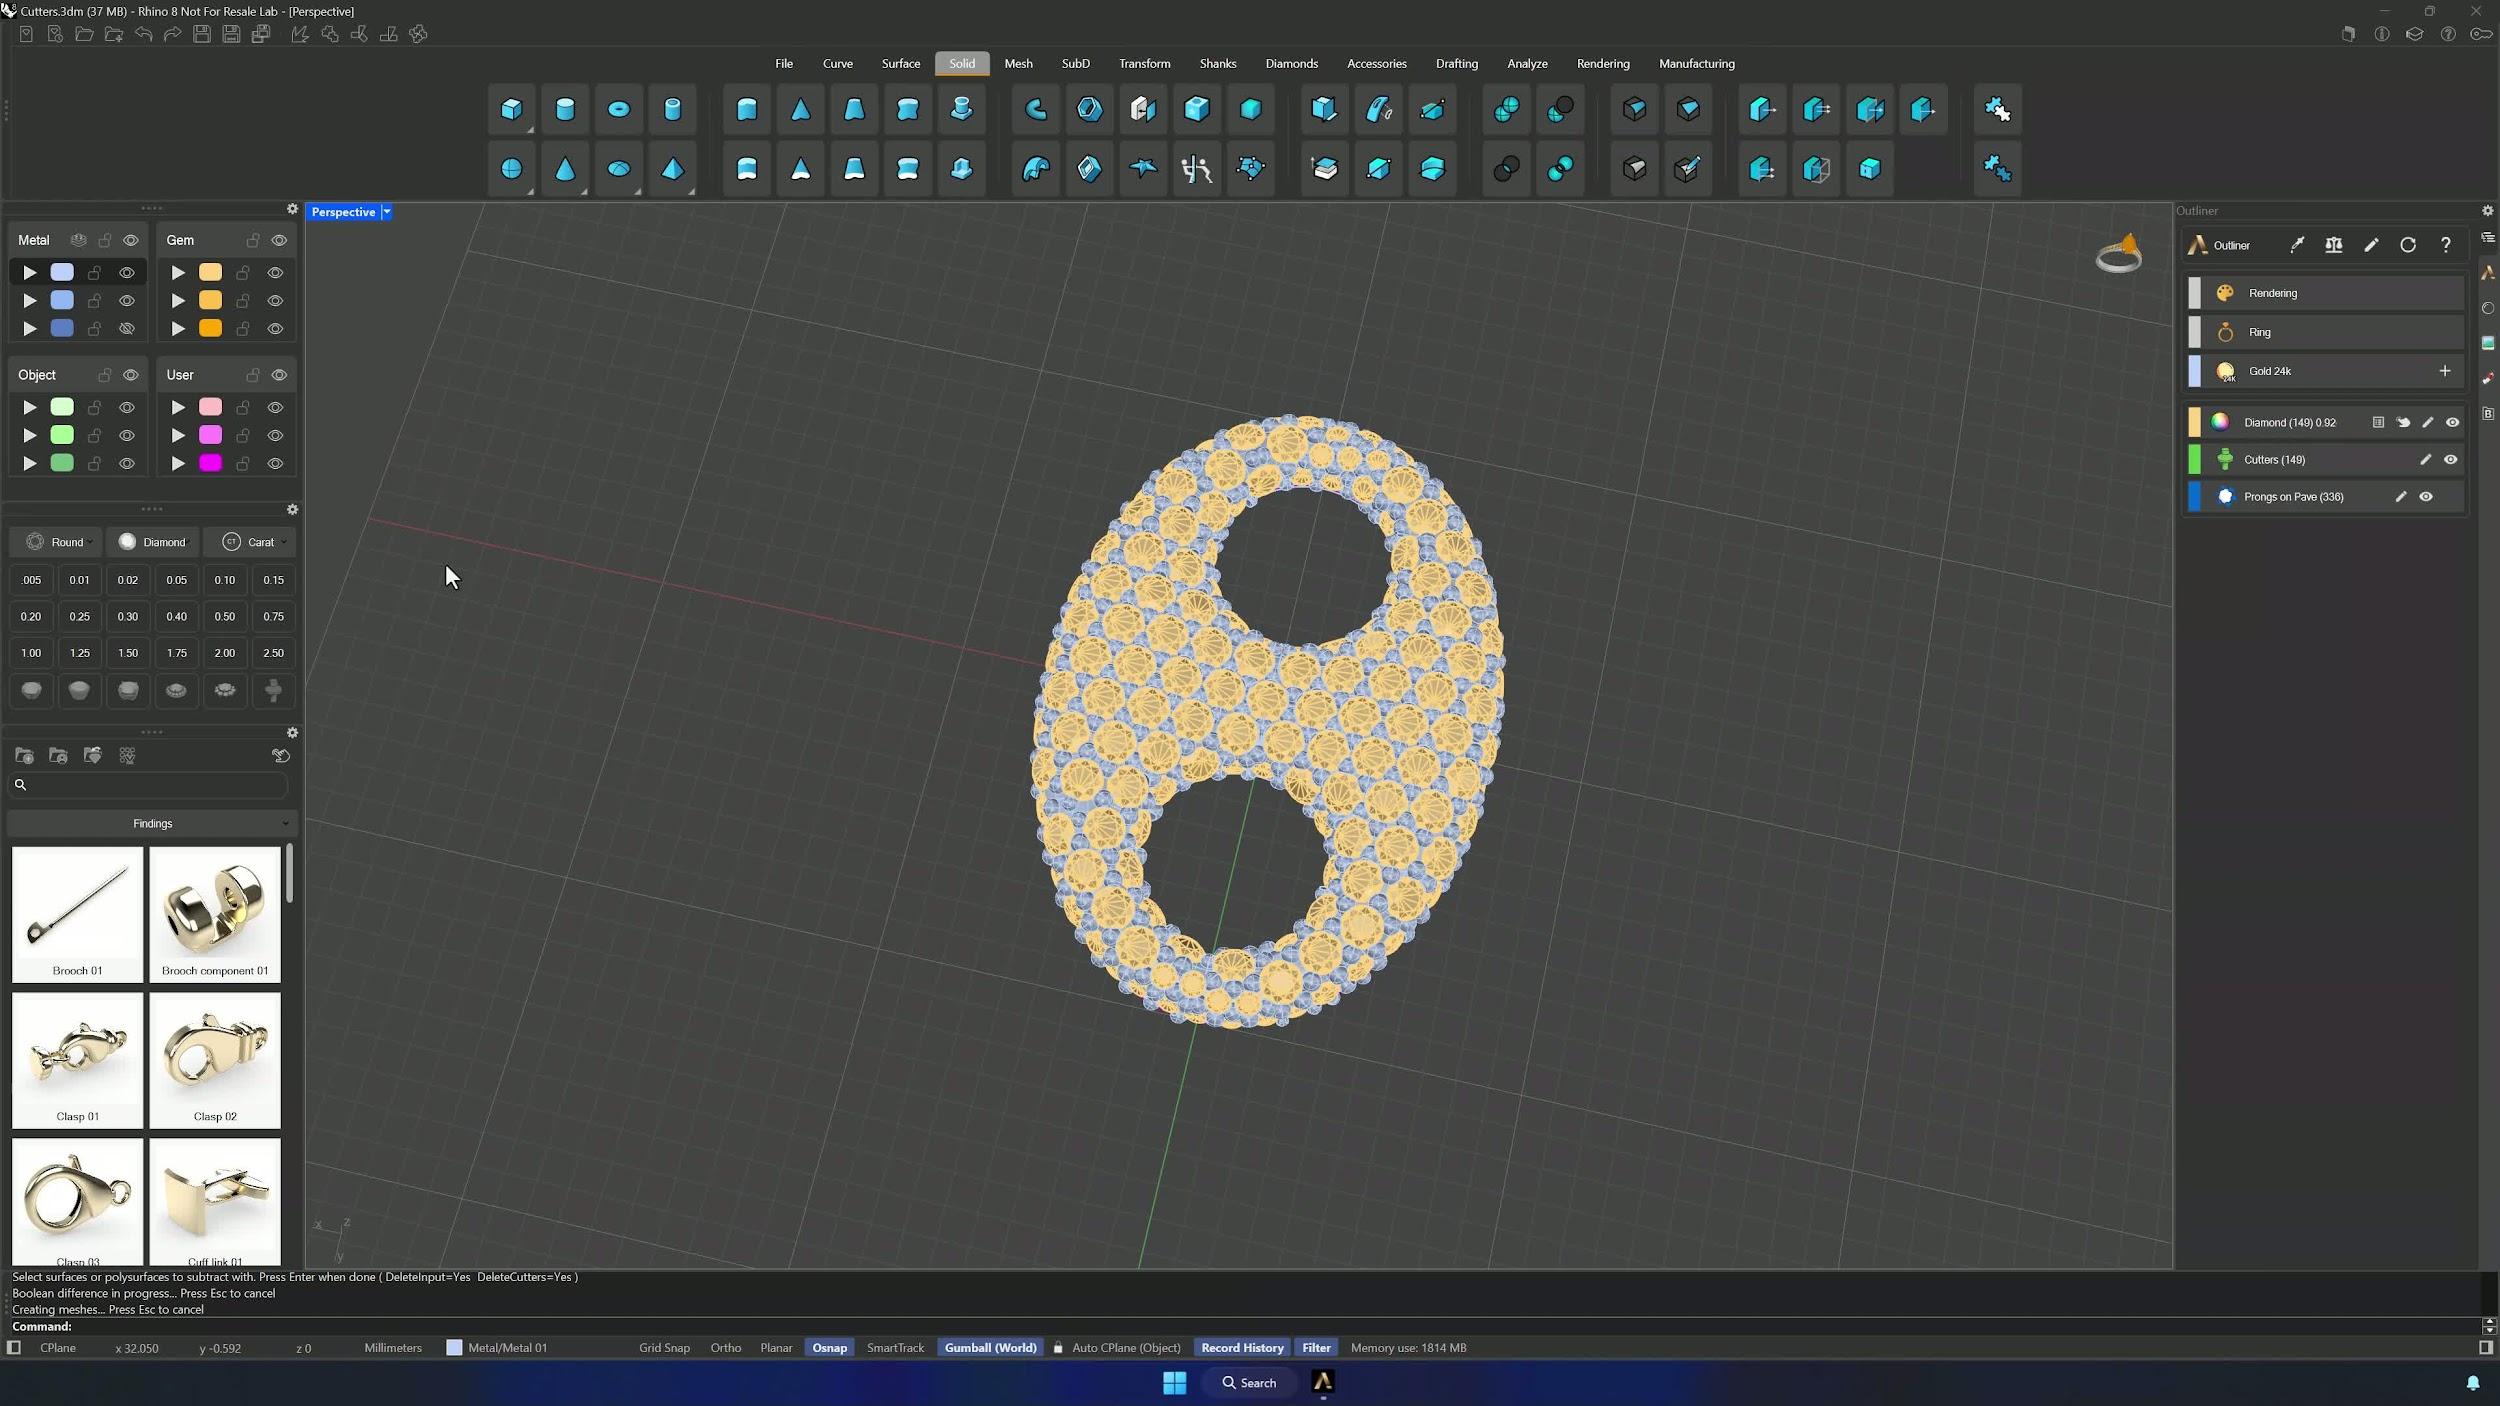
Hide what you don’t need — Invert Selection from the Quick Command menu (middle mouse button) makes this fast — so only the honeycomb and the central curves remain. Extrude the central curves through the honeycomb and Boolean Difference them away, then save the completed first element.
Almost there — you still have some lessons to complete. Jump to the next one →
Impersonating — progress and reviews are disabled.
Course completed
You've completed Pavé Perfection: Gemstone Detailing & Setting 🎉
Great work. Get your certificate of completion and, if you have a minute, let other jewelers know what you thought of the course.