Anchor Chain Earrings
Lesson 11 of 34
Second Chain, Bail & Assembly
Sign in to access this lesson
This lesson is part of Pavé Perfection: Gemstone Detailing & Setting, which can come bundled with a RhinoArtisan Commercial license subject to current promotions. Log in with your customer account, or get in touch and we'll set you up.
Customers only
Solo para clientes
This lesson is part of Pavé Perfection: Gemstone Detailing & Setting, which can be included with a RhinoArtisan Commercial license subject to current promotions. If you've already purchased and don't see it in your account, get in touch.
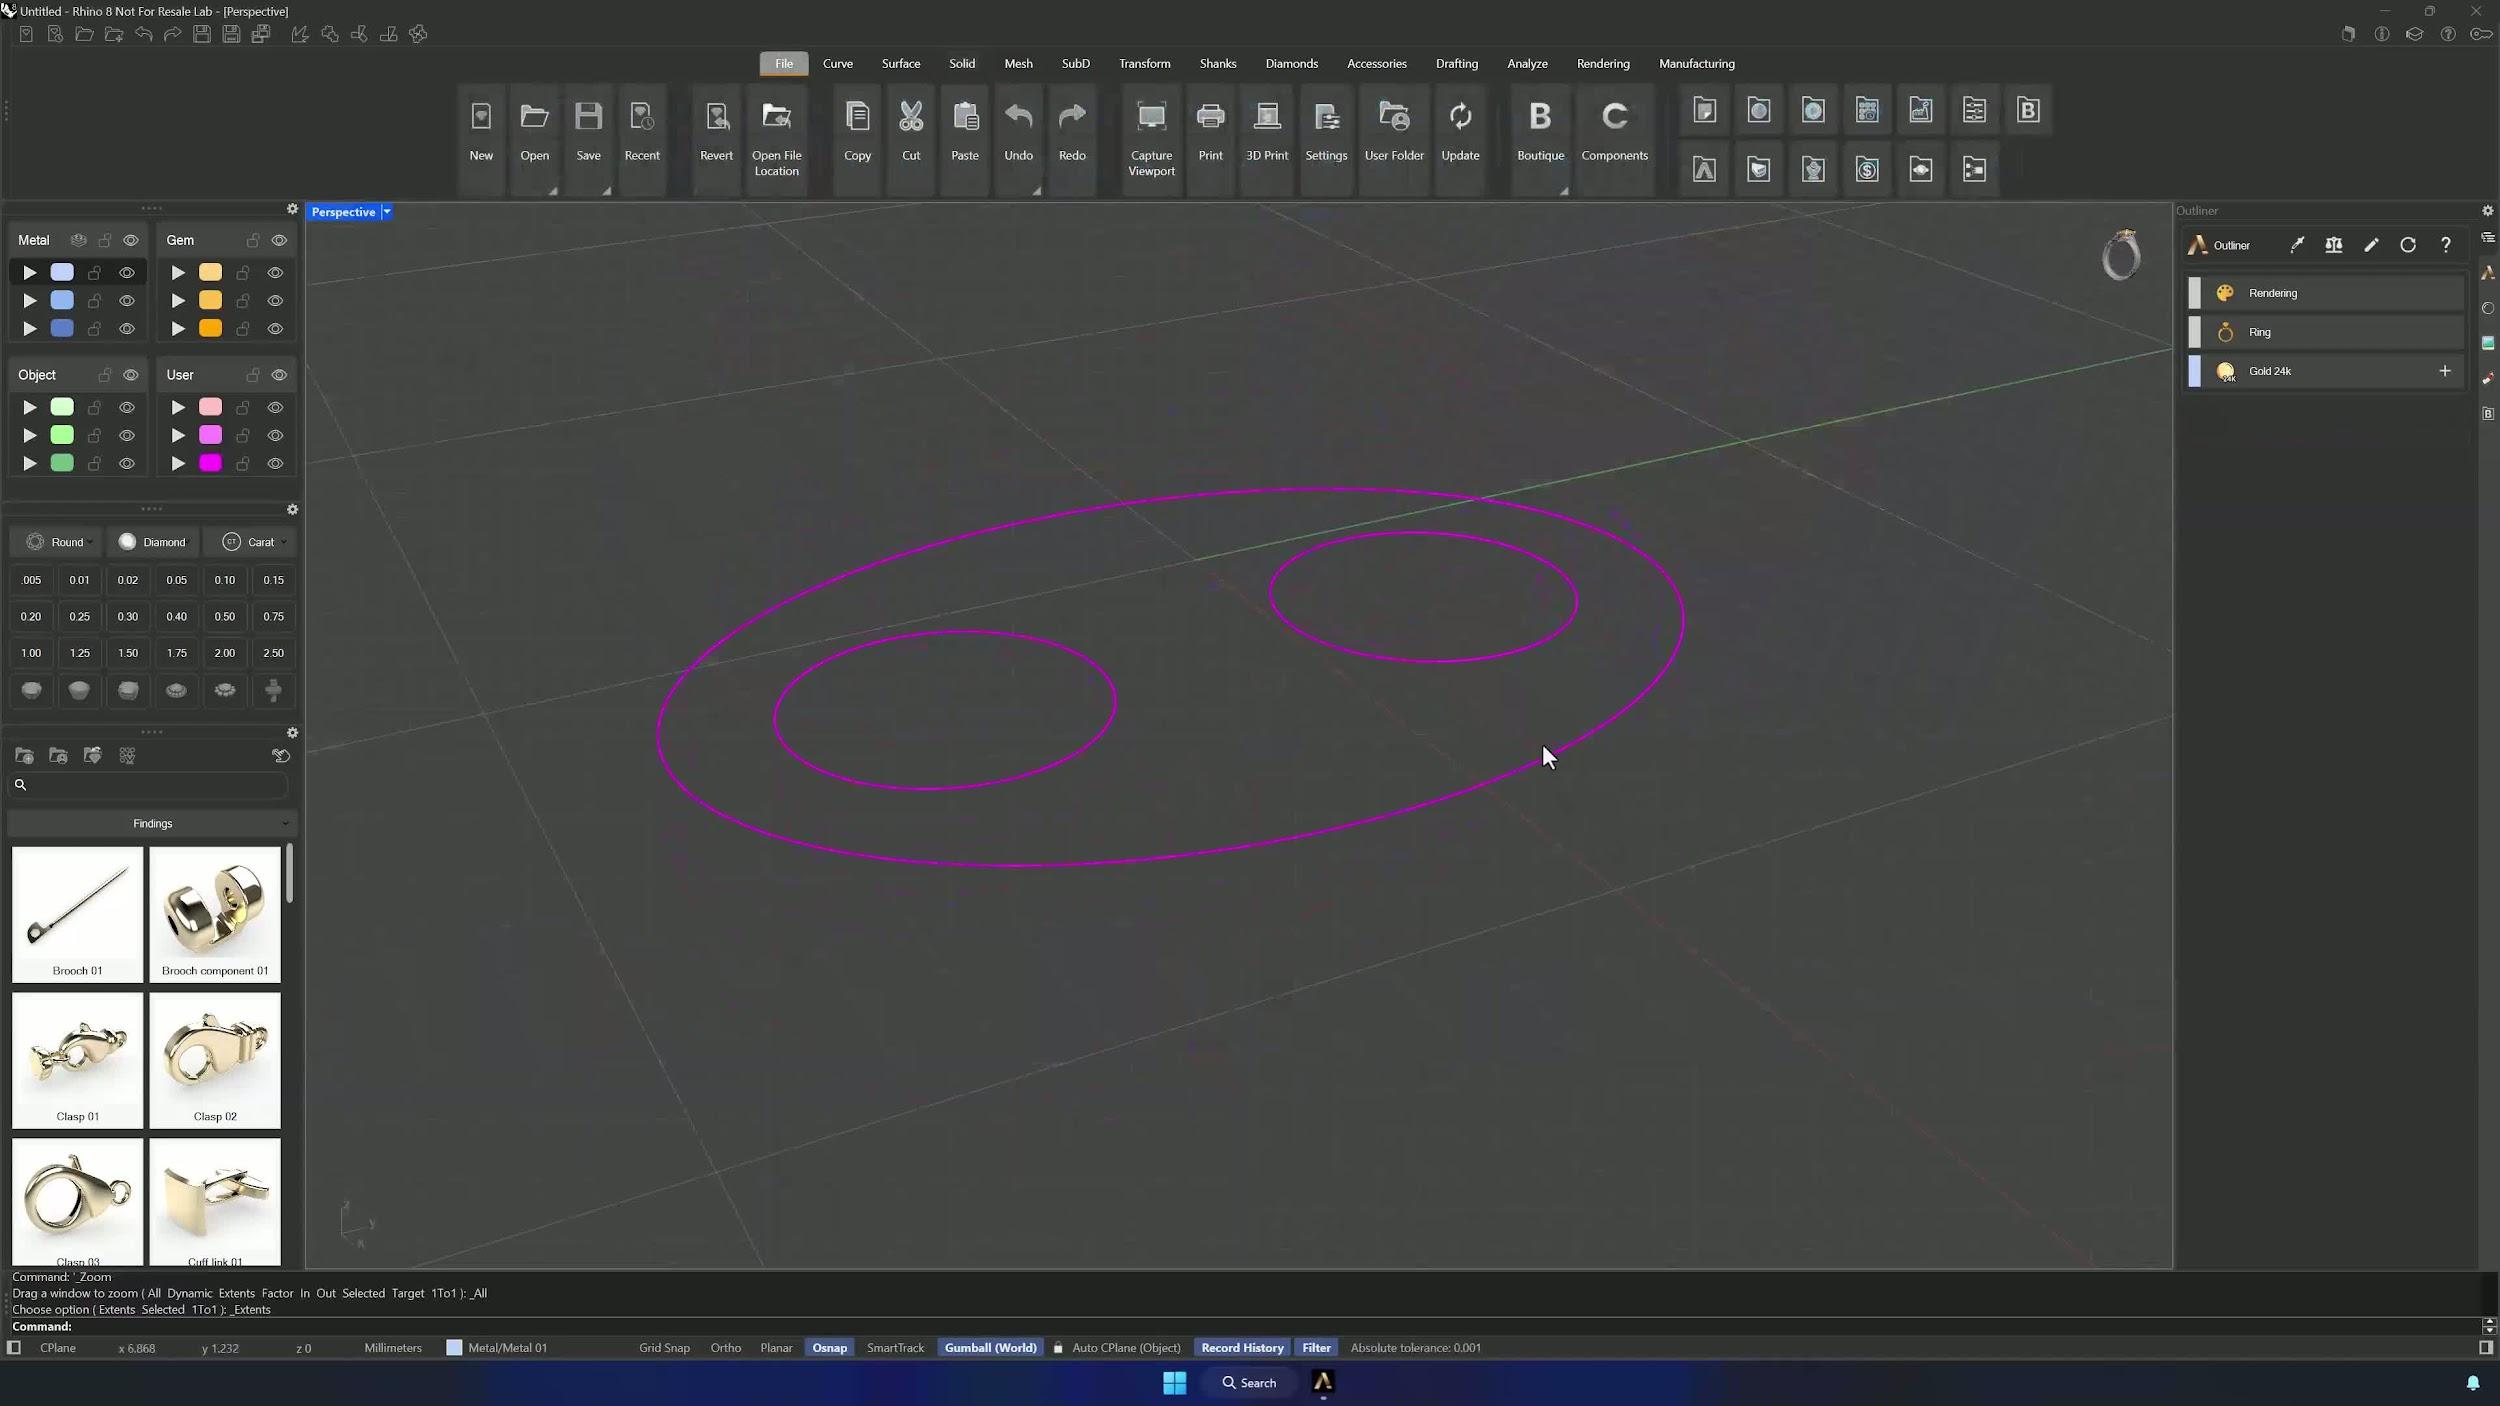
10. Repeat the process for the second, smaller anchor chain
The second link follows the same recipe at a reduced scale: swap the stone sequence to 1.1, 1.0, 0.9 and 0.8 mm, placing a 1.1 mm center stone first. Symmetry, automatic computation, manual refinement, the same prong parameters, and the 4th cutter preset — until the smaller piece matches its scale.
11. Create the bail and connect both anchor chains
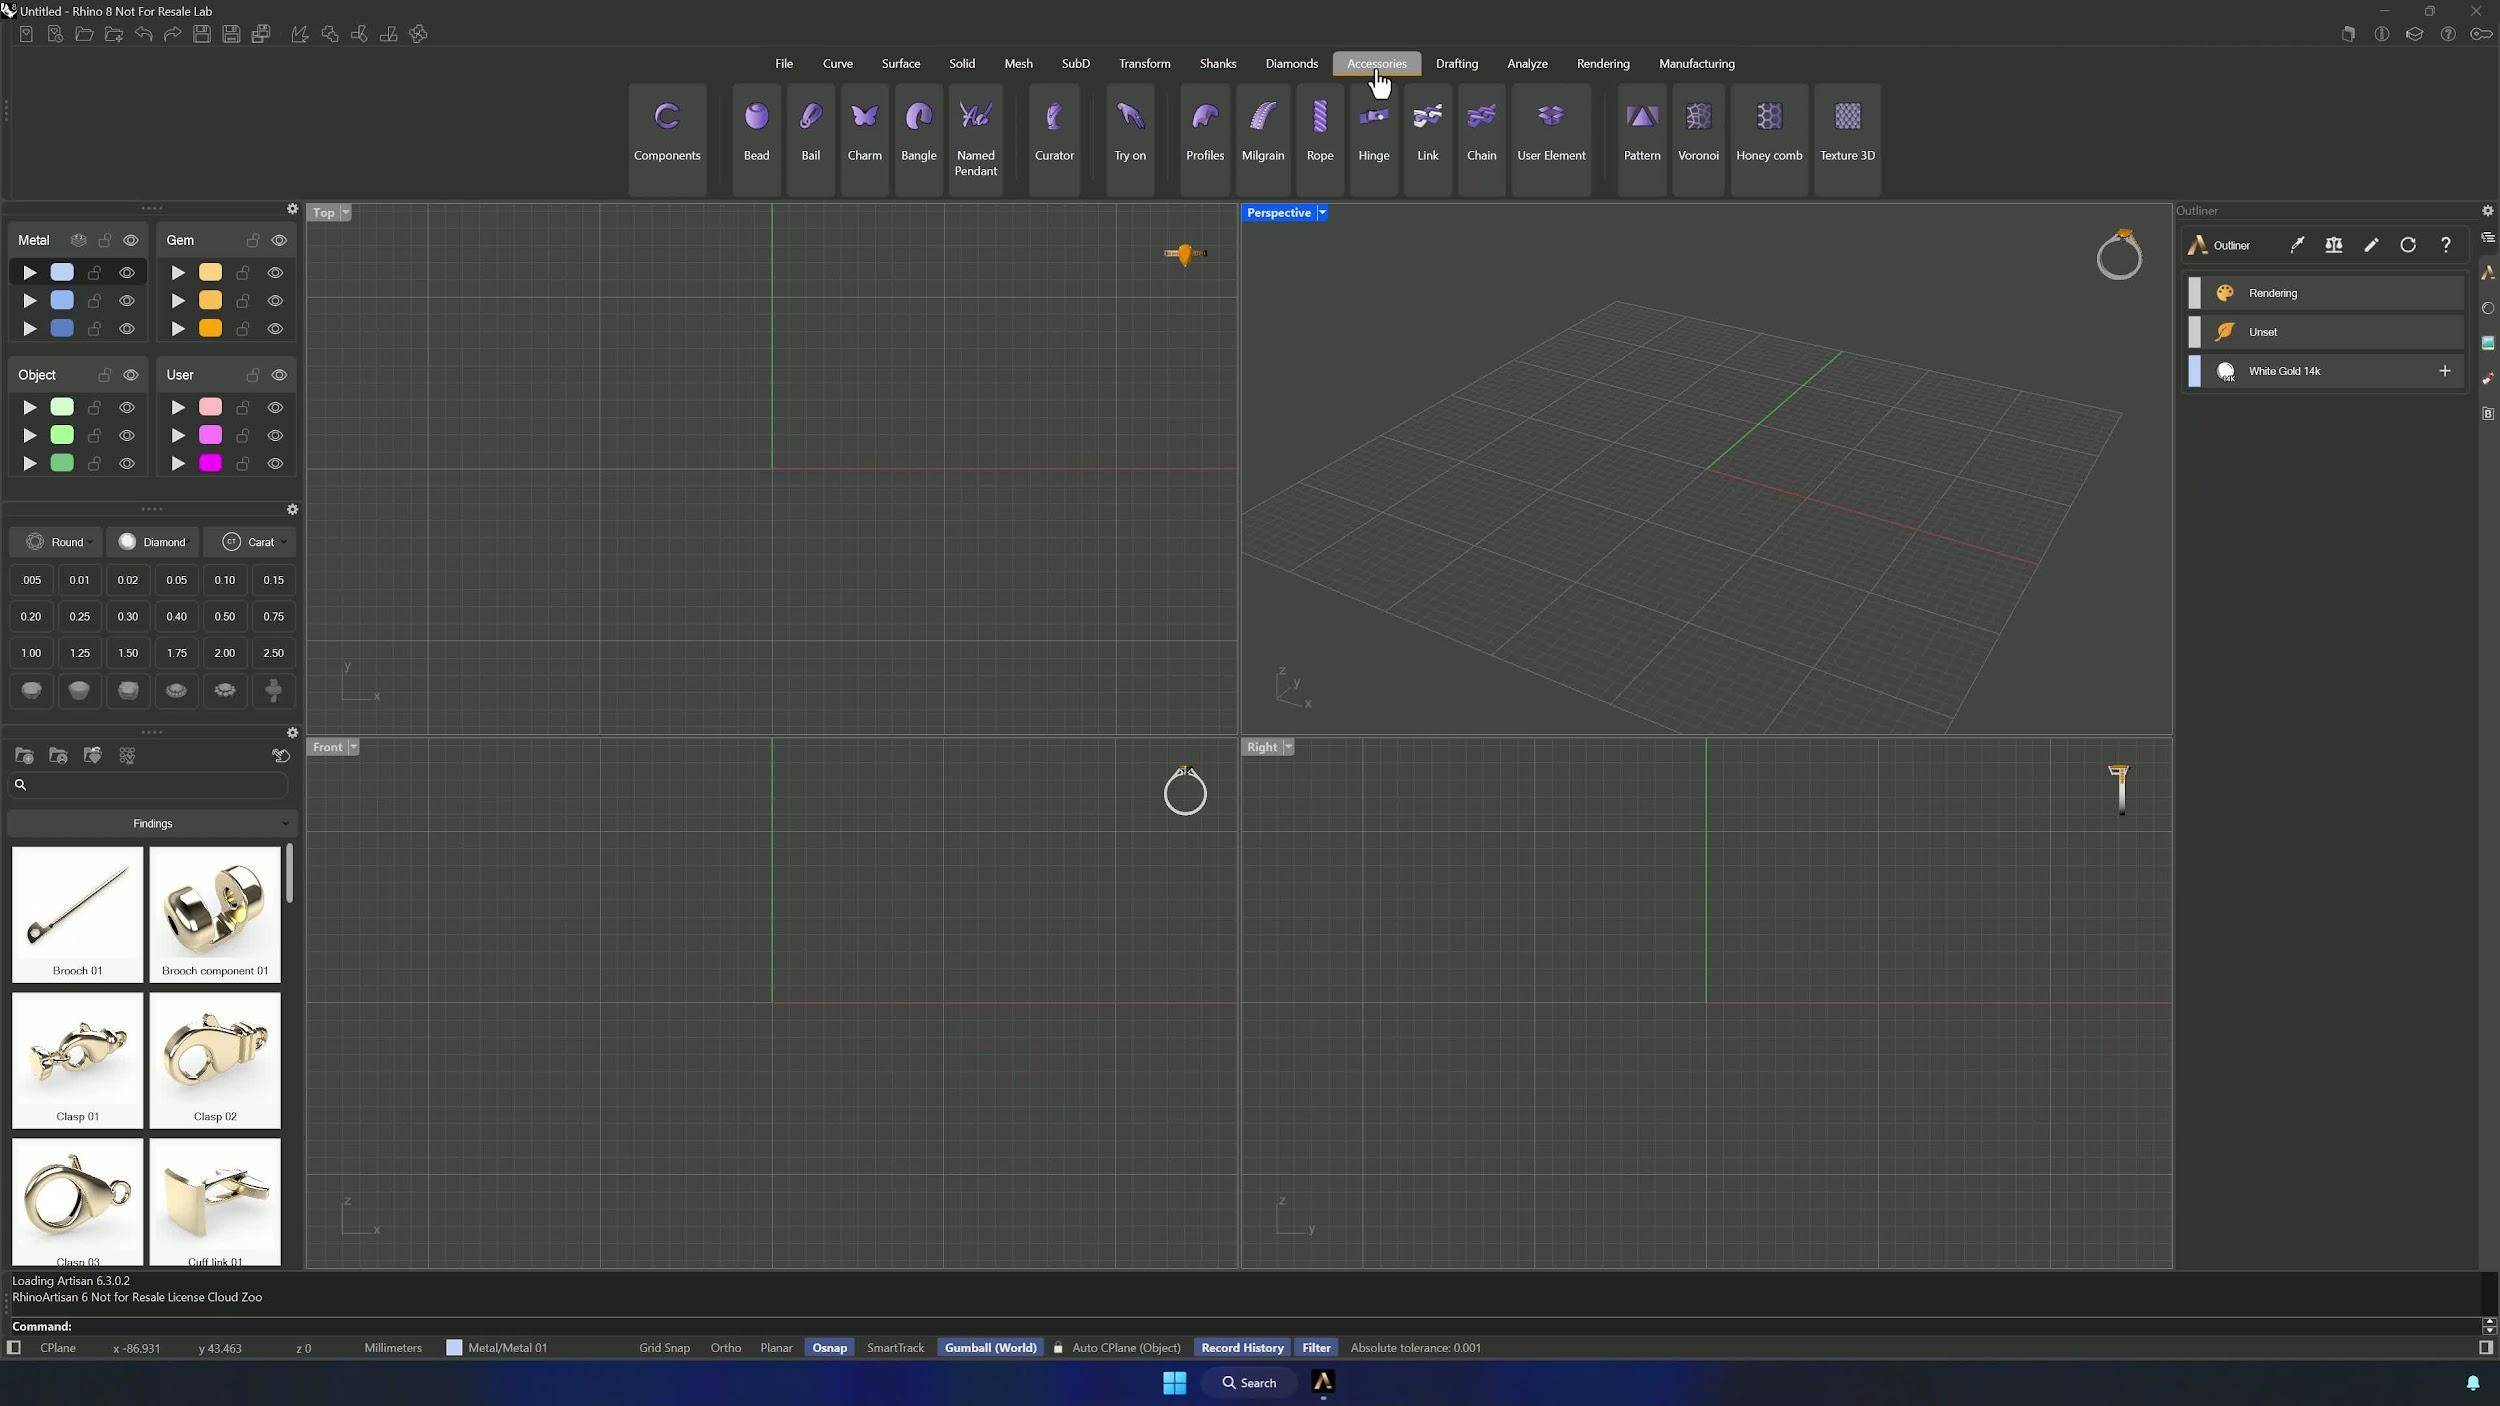
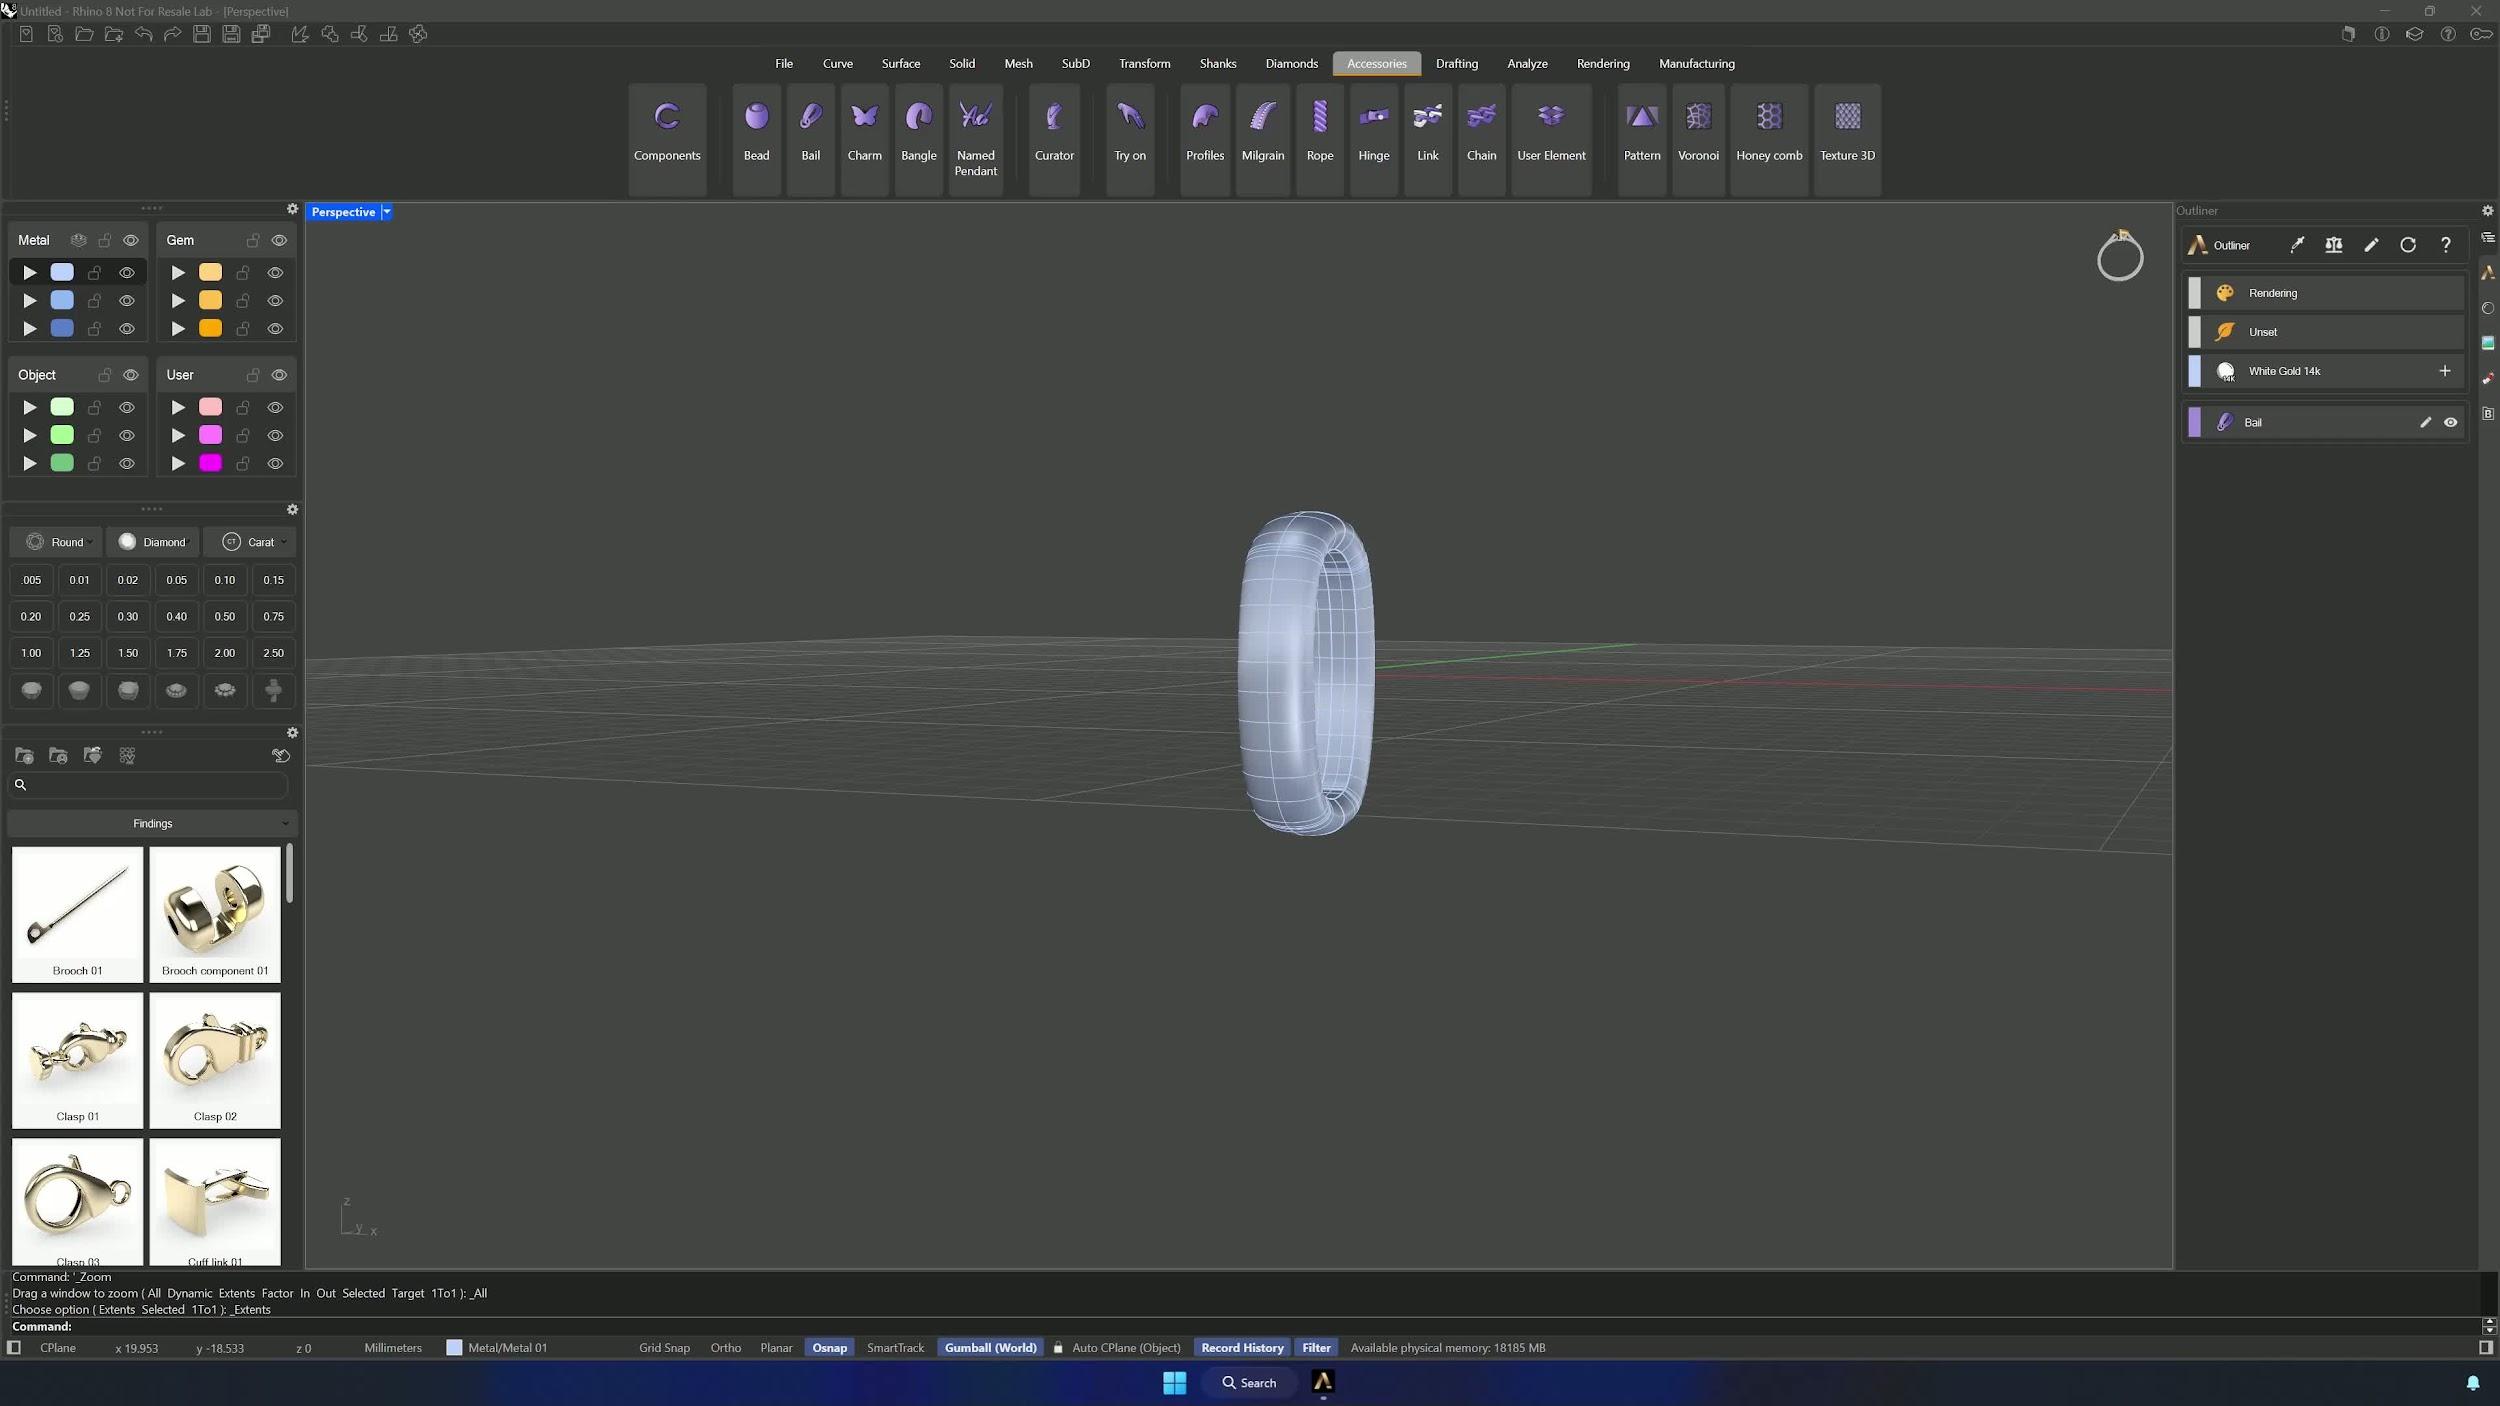
Join the two chains with the Bail command from the Accessories tab. Disable the O-ring option and set Asset 012 as both profiles, with height 1.9 mm, air gap 0.9 mm, top diameter 2.6 mm, bottom diameter 3.0 mm and internal distance 6 mm. Match both sides, rotate the element 90° on the X-axis and center it with Artisan Center.
12. Import, position, and finalize the paired earrings
Import the first anchor chain 3DM and position it inside the bail without touching it — layers and locking keep the selection manageable. Place the smaller chain at the top of the bail, then add a small Omega clasp and a 0.9 mm post from the Curator panel. Finally, select the whole model and use Pair in the Rendering tab to produce the finished earring set.
Tips for a clean result
- Activate symmetry from the correct view — a wrong orientation mirrors your edits in the wrong direction.
- With Soft Transform, check the influence sphere covers only the intended area before scaling.
- Recompute the pavé layout after adding or moving stones so the placement stays correct.
- Keep prongs at or above the minimum diameter to avoid weak, unmanufacturable settings.
- Use separate layers for base geometry, curves, stones and construction objects, and lock finished elements before editing nearby geometry.
- Save after each major section: base shape, symmetry, pavé, prongs, cutters, honeycomb, alignment, assembly, pair.
Almost there — you still have some lessons to complete. Jump to the next one →
Impersonating — progress and reviews are disabled.
Course completed
You've completed Pavé Perfection: Gemstone Detailing & Setting 🎉
Great work. Get your certificate of completion and, if you have a minute, let other jewelers know what you thought of the course.