Fashion Ring
Lesson 3 of 58
Gem Studio: Create and pose
Sign in to access this lesson
This lesson is part of Iconic Fashion Pieces, which can come bundled with a RhinoArtisan Commercial license subject to current promotions. Log in with your customer account, or get in touch and we'll set you up.
Customers only
Solo para clientes
This lesson is part of Iconic Fashion Pieces, which can be included with a RhinoArtisan Commercial license subject to current promotions. If you've already purchased and don't see it in your account, get in touch.
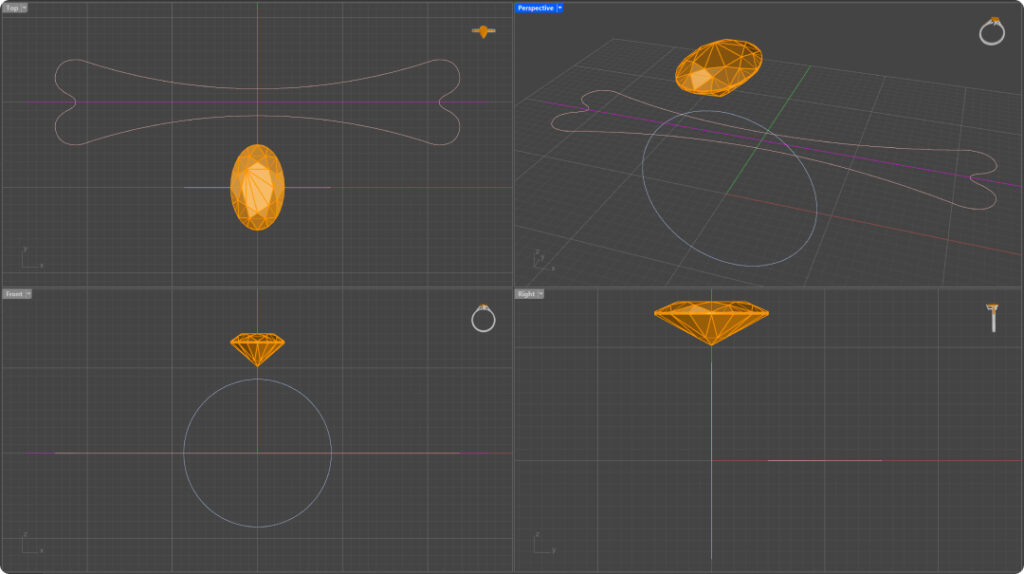
Objective: Add and position the gemstone for the ring.
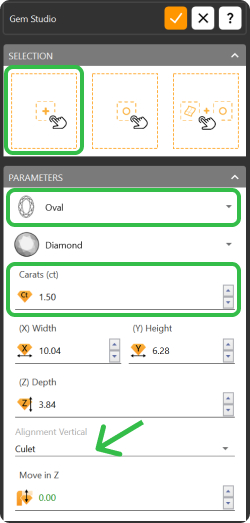
Step 1: In the “Diamonds” tab, use the “Gem Studio” command.

Step 2: Create a 1.50-carat (1) oval stone. For vertical alignment, set the option to “Culet” (2) and click “Add.”
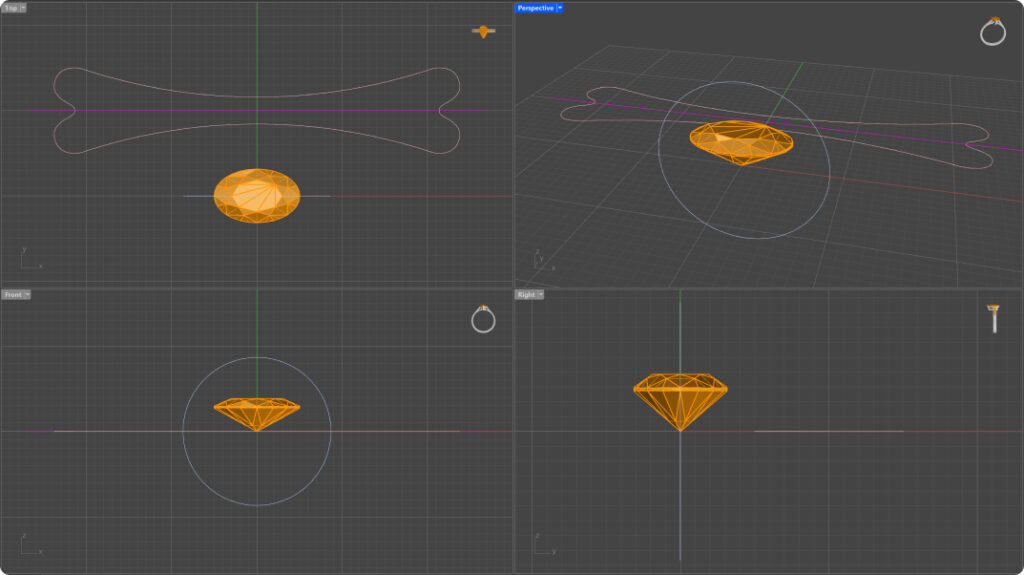
Step 4: Switch to the perspective view by double-clicking on “Perspective.” Use “Pan, Zoom, and Rotate” followed by “Zoom Extents All” for better visualization.
Step 6: In the “Transform” tab, use the “Move” command to position the gem. Move it to the top of the curve created earlier.

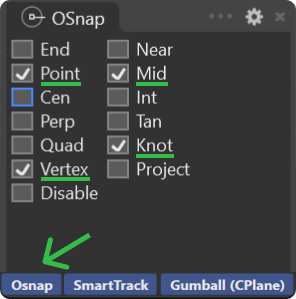
Activate Osnap and select Point, Vertex, Mid and Knot
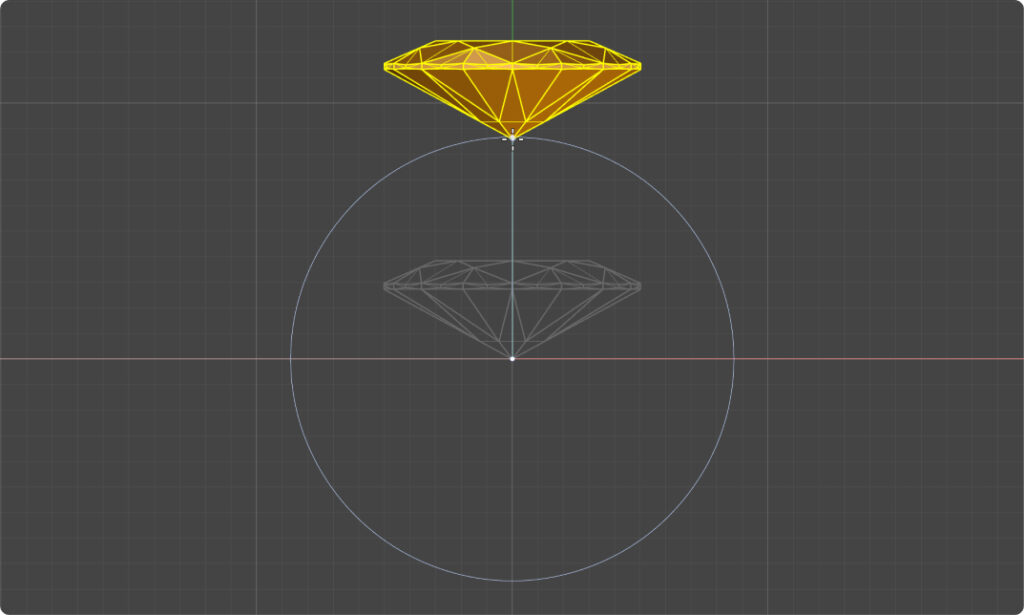
Step 7: Use the Gumball to move the gem 1.5 millimeters upward and rotate it 90 degrees.
Video Lesson
Next Step: Create and adjust the bezel setting to fit the gemstone.