Bezel Set - Earrings
Lesson 38 of 58
Reference Curves
Sign in to access this lesson
This lesson is part of Iconic Fashion Pieces, which can come bundled with a RhinoArtisan Commercial license subject to current promotions. Log in with your customer account, or get in touch and we'll set you up.
Customers only
Solo para clientes
This lesson is part of Iconic Fashion Pieces, which can be included with a RhinoArtisan Commercial license subject to current promotions. If you've already purchased and don't see it in your account, get in touch.
Objective: Create reference curves for the earring design with specific measurements.
Step 1: Select the layer where you want to create the reference curves.
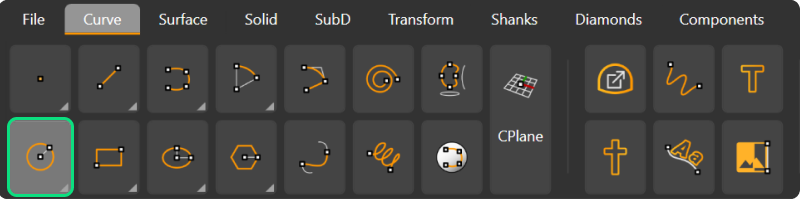
Step 2: Go to the Curve tab and use the Circle command.
Step 3: In the Top viewport, create four circles of different sizes**.** With Grid Snap activated, select any point and type 2 millimeters for the first circle.
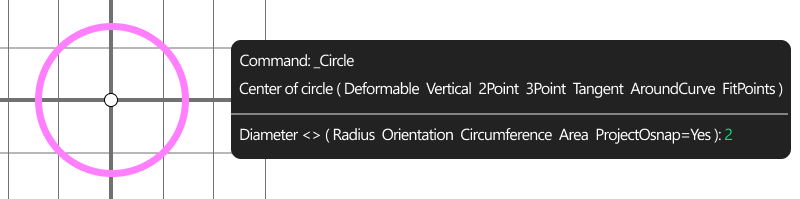
- Repeat the command by right-clicking, select another point, and type 3.5 millimeters for the second circle.
Step 4: Continue to create another circle of 4 millimeters and a final one of 5 millimeters.

Step 5: To make the circles easier to visualize, add dots. Go to the Drafting tab.

Step 6: Select Annotate Dot, type the diameter of each circle, and place the dots accordingly.

Step 4: Offset each of these circles using the Offset command, setting the offset to 0.6 millimeters.

Step 4: Organize the circles by grouping each pair for better management. Use the Group command for this.

Video Lesson
Next Step: Insert the reference image and adjust the size of the circles.