Bezel Set - Ring
Lesson 46 of 58
Reference Curve
Sign in to access this lesson
This lesson is part of Iconic Fashion Pieces, which can come bundled with a RhinoArtisan Commercial license subject to current promotions. Log in with your customer account, or get in touch and we'll set you up.
Customers only
Solo para clientes
This lesson is part of Iconic Fashion Pieces, which can be included with a RhinoArtisan Commercial license subject to current promotions. If you've already purchased and don't see it in your account, get in touch.
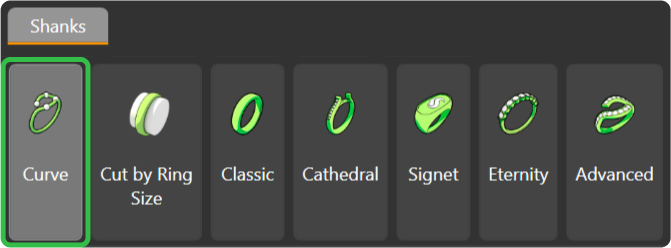
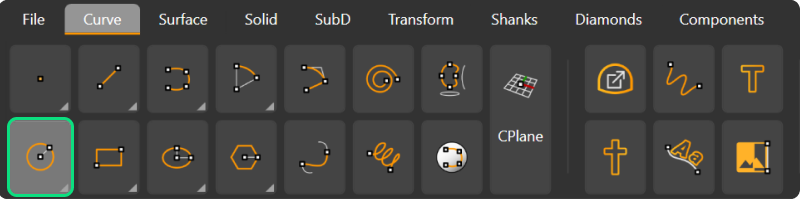
Step 1: To begin with our final model in the collection, go to the Shanks tab and click on the Curve command.
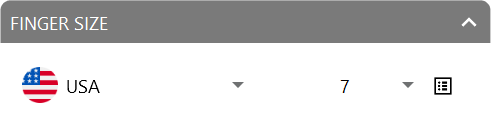
Step 2: Create a reference curve by selecting United States and size 7.
Step 3: Then, go to the Diamonds tab and use the Gem Studio command. Change the diameter to 6 millimeters and add the gem.

Step 4: Type move in the command bar and select the bottom point of the gem. Move it to the top of the curve.
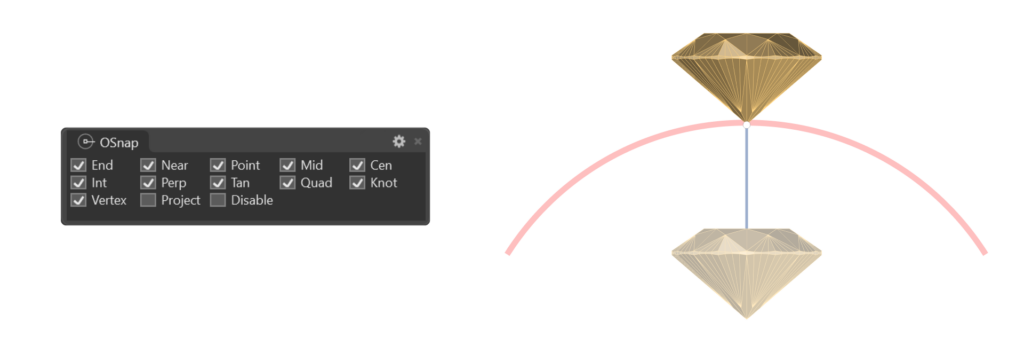
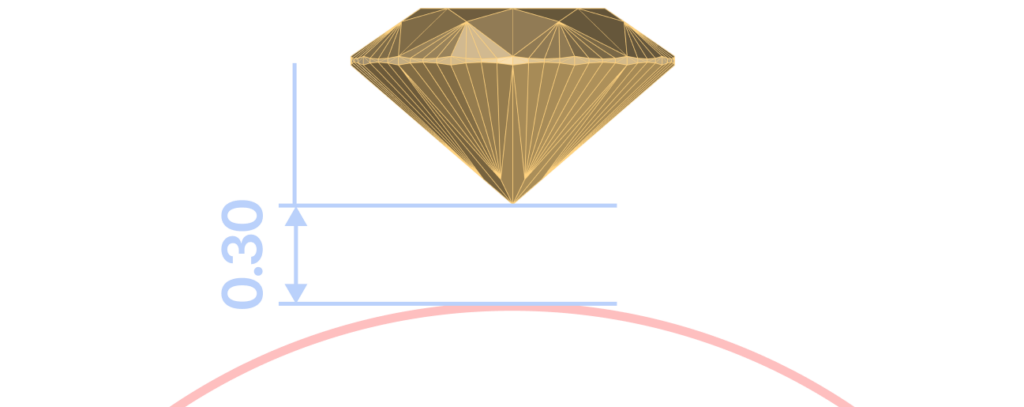
Step 5: Using the Gumball, move the gem 0.3 millimeters along the Y-axis.
Step 6: Now, create a new curve in the Curve tab. Use the Circle command.
Step 7: Select the center point by typing 0 and pressing Enter. Then, use the gem’s fillet as a reference to create the curve, which will help position the elements of our ring accurately.

Video Lesson
Next Step: Measure the length of the curve to create the reference line.