Diamonds and Gemstones
Dynamic Prongs
 Dynamic Prongs
With this command, you can place prongs freely with your mouse or automatically, with precision and flexibility. It’s beneficial when setting stones on organic or other complex designs.
.png)
Running this command opens its parameters in the Commands toolbar.
Selection
Pick the object the prongs should sit on — its mesh is what prong placement snaps and orients to. RhinoArtisan separately scans the whole document for round gemstones, which it uses to snap new prongs into place and as the input for Automatic placement.
Management
The Management panel offers four modes:
.png) Add Prongs: This mode allows you to manually place prongs with your mouse, using a specified diameter. While RhinoArtisan provides guidance, you have full control over the exact placement of each prong.
Add Prongs: This mode allows you to manually place prongs with your mouse, using a specified diameter. While RhinoArtisan provides guidance, you have full control over the exact placement of each prong..png) Remove Prongs: In this mode, you can easily remove any prongs you don’t want by simply selecting them, or delete all of them at once with the DeleteAll option.
Remove Prongs: In this mode, you can easily remove any prongs you don’t want by simply selecting them, or delete all of them at once with the DeleteAll option..png) Automatic: Yes, you read that right! In Automatic mode, RhinoArtisan will place all the prongs for you, such as those in a pavé setting, using the current prong diameter and Height settings from the Parameters panel. It searches for the natural resting point between every group of three neighboring round gems and skips any position too close to a prong that already exists.
Automatic: Yes, you read that right! In Automatic mode, RhinoArtisan will place all the prongs for you, such as those in a pavé setting, using the current prong diameter and Height settings from the Parameters panel. It searches for the natural resting point between every group of three neighboring round gems and skips any position too close to a prong that already exists..png) Prong Editor: toggles the interactive prong editor. With it on, hovering highlights the prong under the mouse; a click selects it, Shift+click adds more prongs to the selection, Ctrl+click removes one, and dragging from an empty spot draws a selection window. Drag any selected prong — or several at once — directly over the geometry to reposition them (each prong keeps its own size and parameters), and press Delete to remove the whole selection.
Prong Editor: toggles the interactive prong editor. With it on, hovering highlights the prong under the mouse; a click selects it, Shift+click adds more prongs to the selection, Ctrl+click removes one, and dragging from an empty spot draws a selection window. Drag any selected prong — or several at once — directly over the geometry to reposition them (each prong keeps its own size and parameters), and press Delete to remove the whole selection.
Parameters
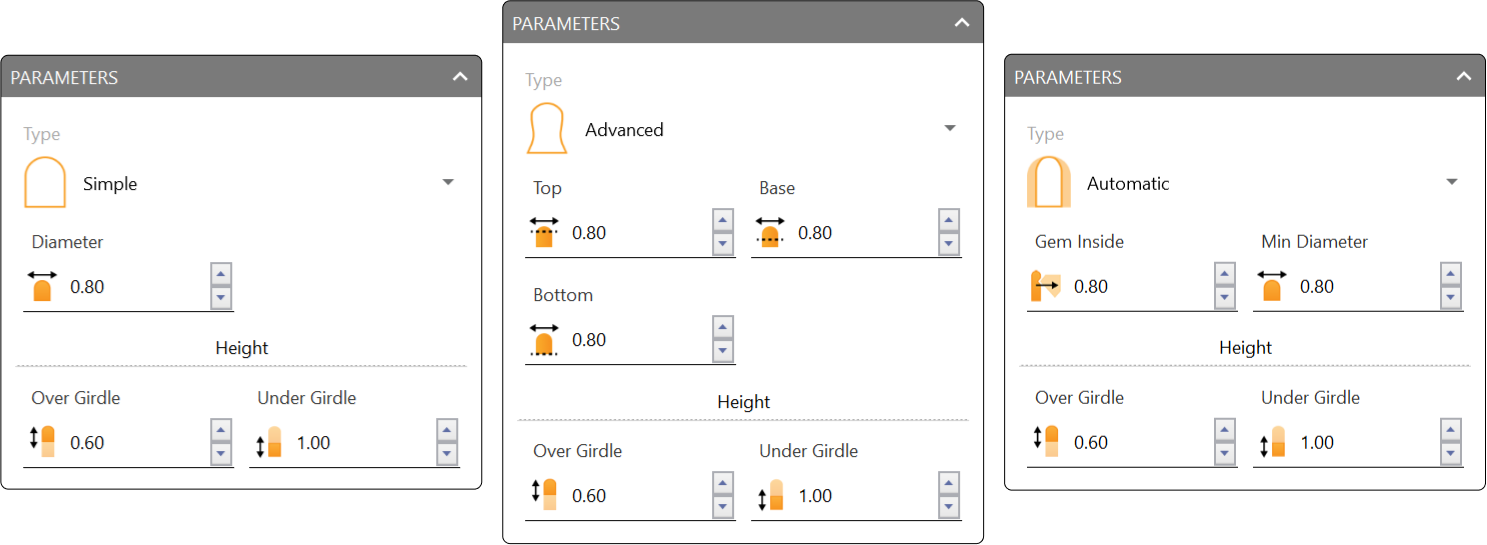
In the Parameters panel, you can choose between two prong types:
- Simple: This option places a straight prong with a consistent diameter.
- Advanced: This allows you to define the prong’s diameter in three different sections (Top, Base, Bottom), making it especially useful for tiny prongs that need to be thicker at the base to prevent breakage.
Below the Type selector, the Height section sets how the prong relates to the gem and to manufacturing:
- Over Girdle: How far the prong extends above the gem’s girdle.
- Under Girdle: How far the prong extends below the girdle, into the setting.
- Extension for Manufacturing: Extra length added to the prong base for casting/manufacturing tolerance.
With the Prong Editor on and prongs selected, all these fields show the values of the selected prong and edit only the selection — perfect for resizing a few prongs without touching the rest. With nothing selected, they set the values used for the next prongs, as usual.
Advanced
On the Advanced menu, you can see various optional features:
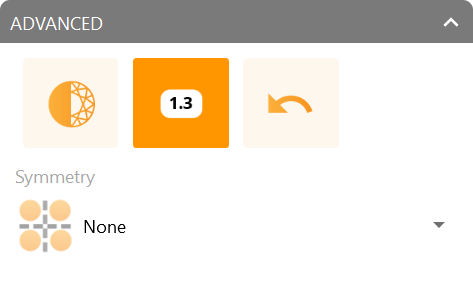
- Swap Display Mode: Disabled by default. If enabled prongs will be represented as 2D circles at their base.
- Show Gem Sizes: Enabled by default. Shows a bubble with the diameter in millimeters on all prongs.
- Undo: If clicked, the previous action will be undone.
- Below these three buttons, the Symmetry dropdown (set to None by default) lets you place multiple prongs at once, mirrored across the X axis, the Y axis, or both (X and Y).
When you confirm your changes, the Prongs will be grouped and listed on the Outliner toolbar.