User Interface
Commands
When you activate a RhinoArtisan command, the Artisan Panel will automatically open, displaying the command panel for the selected tool. Here, you’ll find all the options you need for making selections (such as curves, surfaces, or objects) and for setting the parameters of the element you’re working on. For commands that require a curve, such as construction sections for building an element, you can either select a different curve from the assets collection or edit the currently selected one.
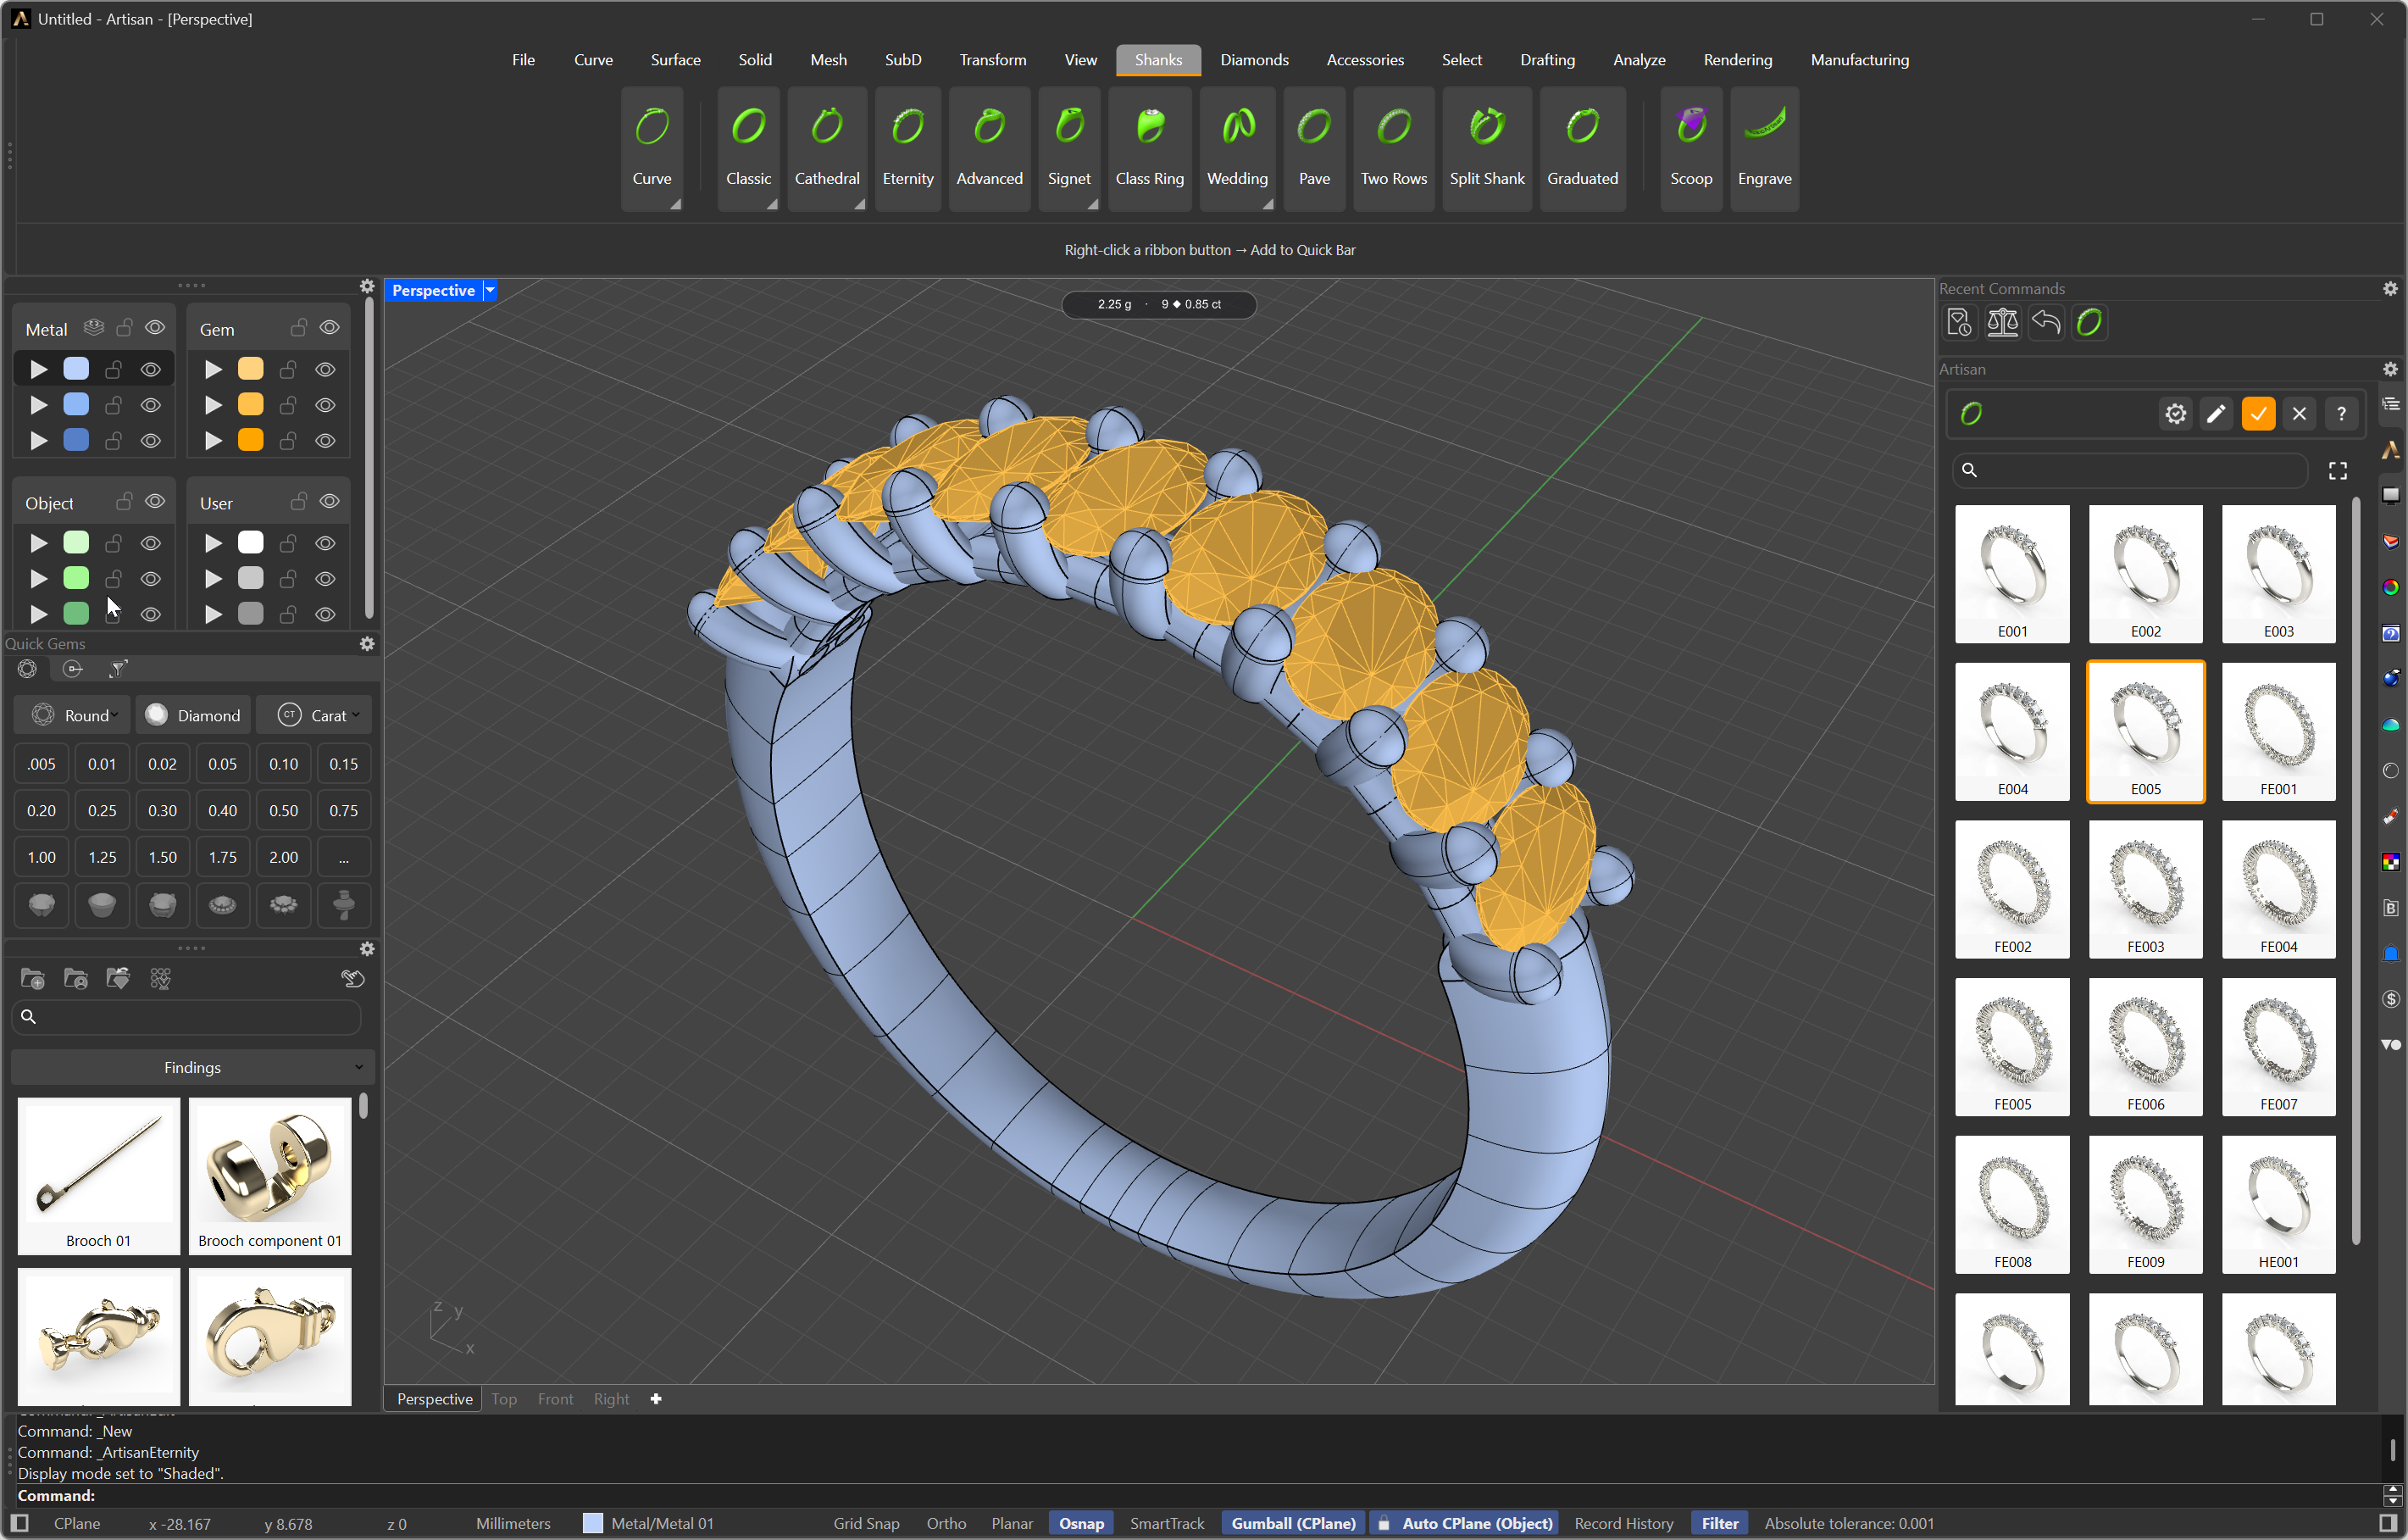
The Artisan panel while running a command — with its element gallery
Upon activating a command—whether you’re creating a Shank, a Gemset, or a Component—the Artisan panel will present a comprehensive gallery of that specific type of element. Simultaneously, the default version of the element will appear in the viewport.
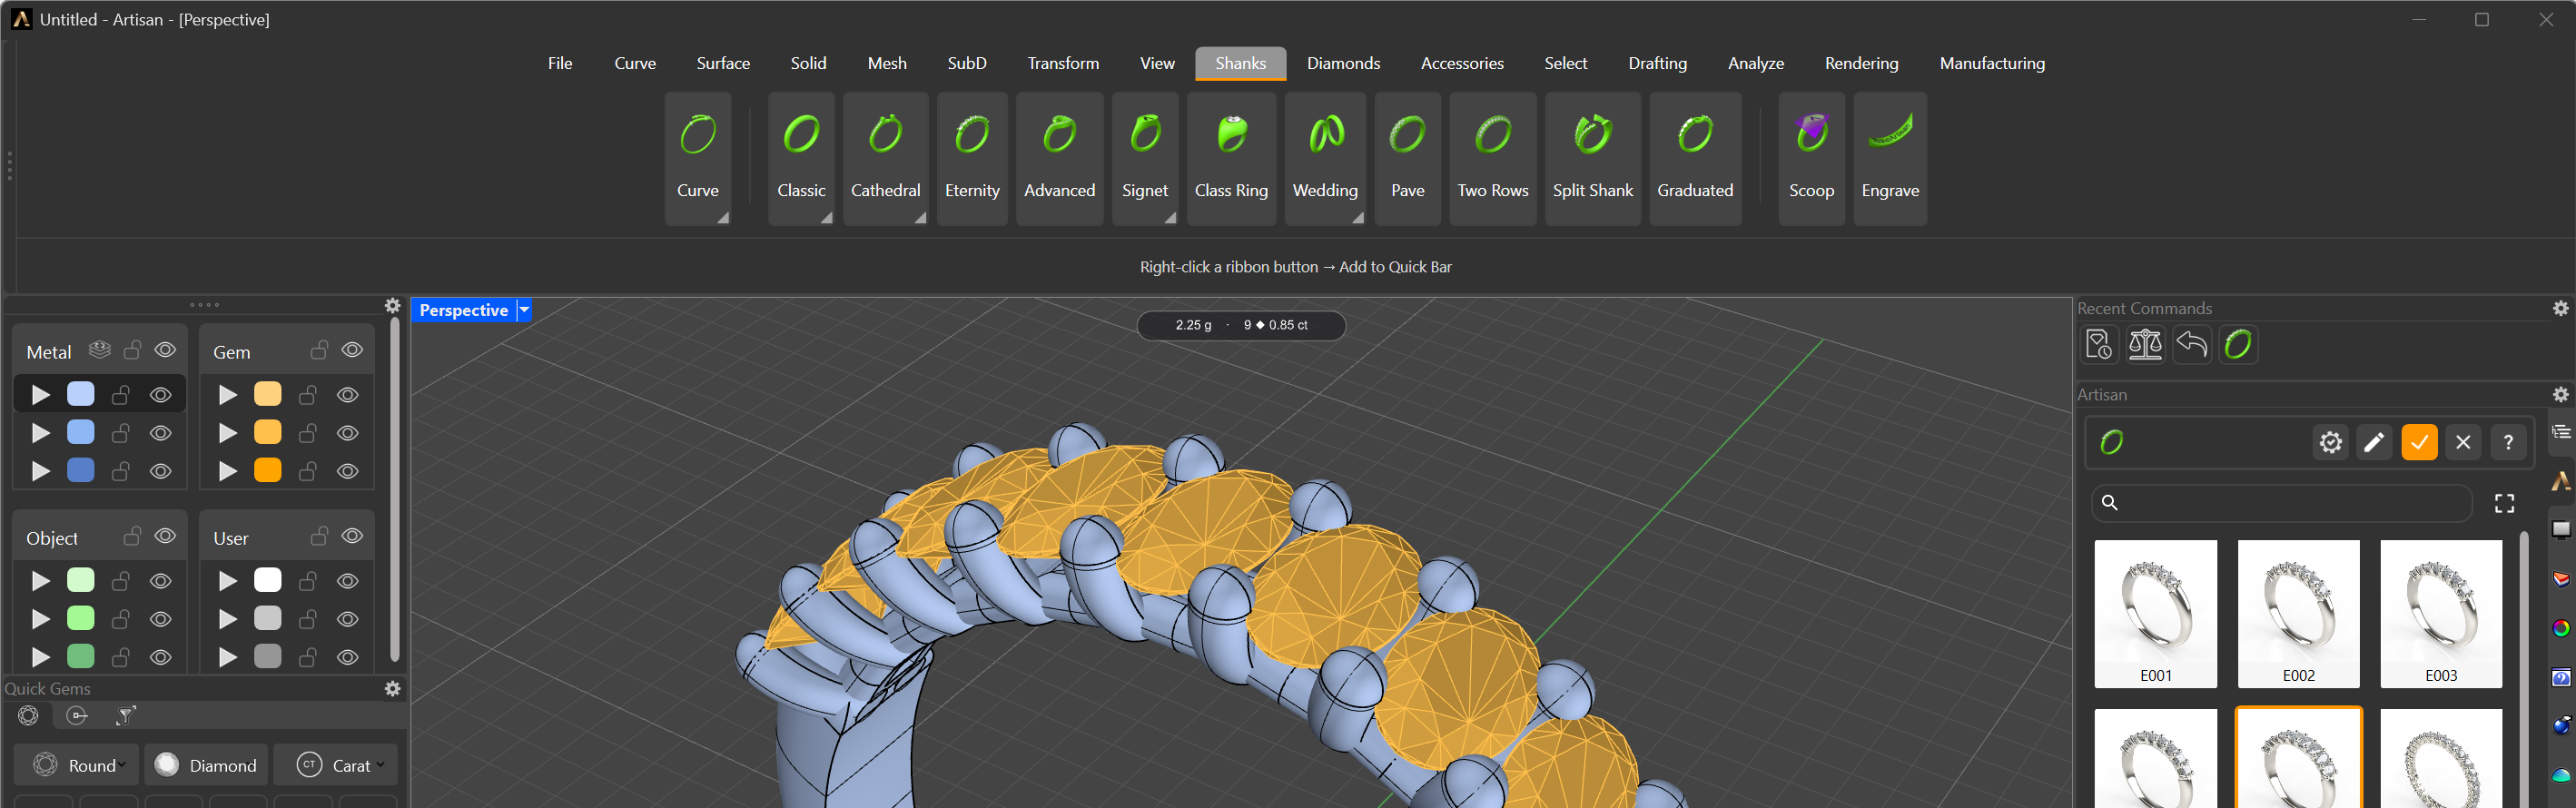
The gallery opens and the default element appears in the viewport
That gallery is the element library, and it’s one of the biggest time-savers in RhinoArtisan. Instead of modelling every shank, basket or component from zero, you start from a finished element and you’re seconds away from a result. And it’s not a catalogue of fixed pieces: every element in the library is editable — pick the one closest to your idea and adjust it until it’s yours. Add your own creations to it, and share them with your design team, so the whole studio designs from the same set of styles.
At this stage, you have three options:
- Accept the Default Element: If the default element meets your needs, simply click the checkmark icon above the gallery to confirm your choice.
- Edit the Default Element: If you wish to customize the default element, click the
.png) pen-shaped icon to modify it and create a new design.
pen-shaped icon to modify it and create a new design. - Select from the Collection: To choose a different element from the collection, double-click on the image of your preferred option to proceed with it.
After you complete the editing and click the checkmark icon .png) , the newly created element will be added to the Outliner panel, where it will be listed alongside the other elements you’ve created.
, the newly created element will be added to the Outliner panel, where it will be listed alongside the other elements you’ve created.
You can easily save your new element to the gallery by editing the element and clicking the save icon. Simply give it a name, and it will be added to the gallery, ready for future use.
Additionally, if you right-click on any image in the galleries, a management menu will appear, allowing you to set your preferred elements as favorites, rename, duplicate, export, or delete any elements you no longer need.
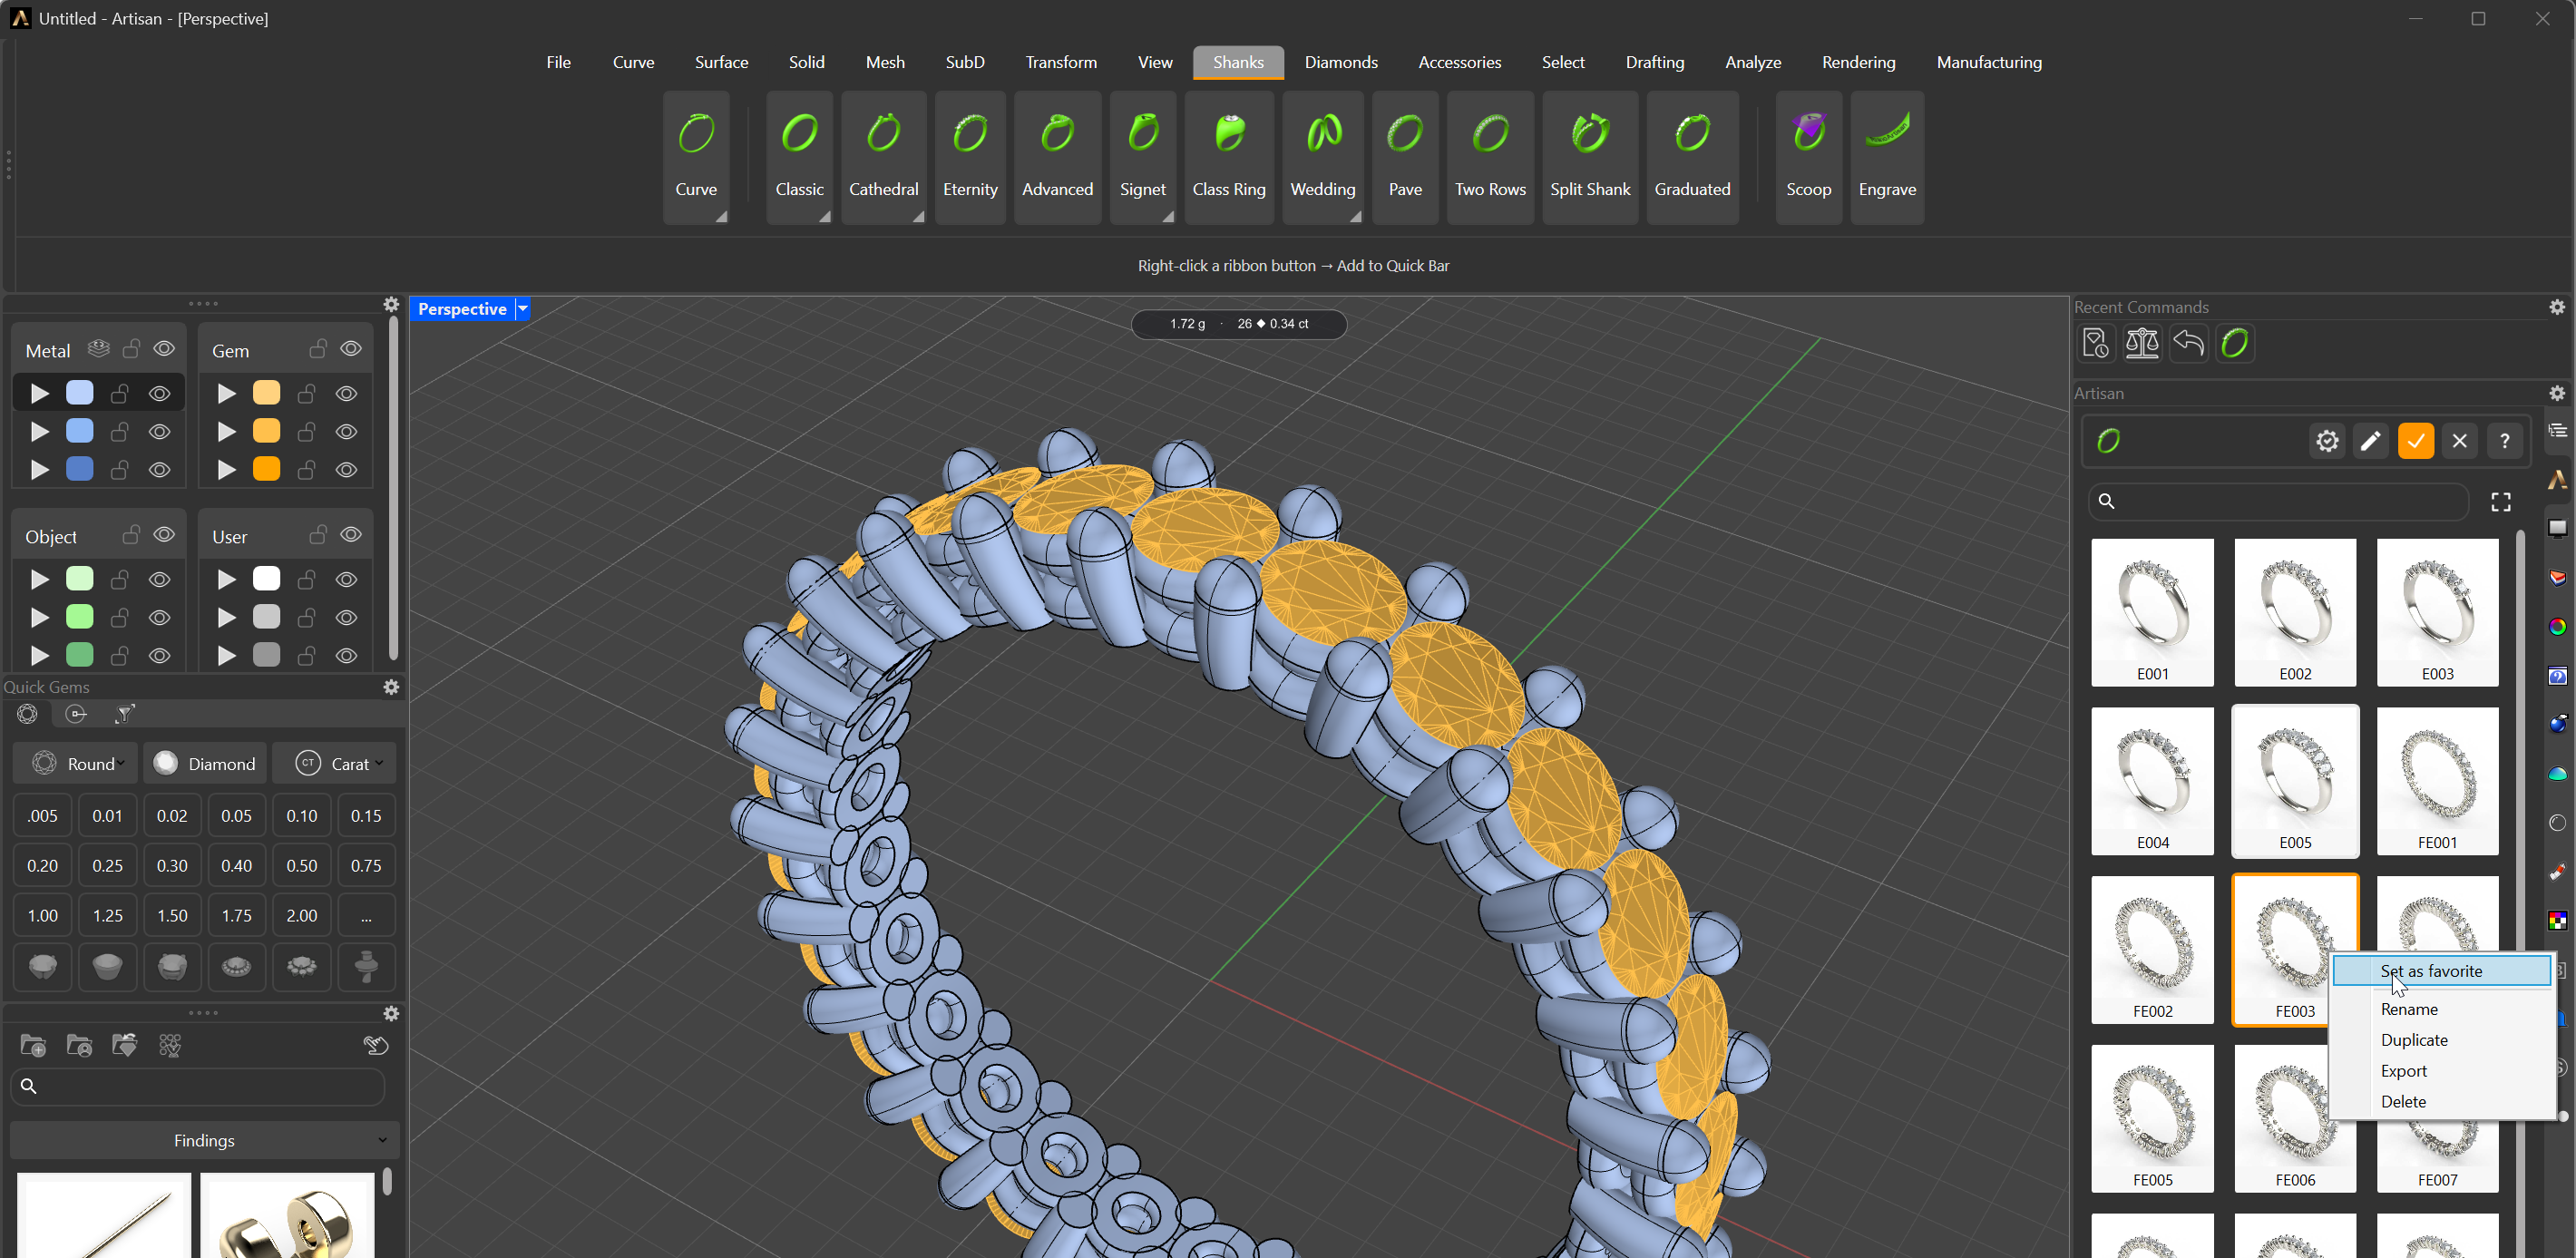
Right-click any element in the gallery to manage it
Edit every parameter
And when the gallery isn’t enough: click the pencil icon and you can edit every last parameter imaginable of the element — prong distances, diameters, heights over girdle, manufacturing expansions… This is for users with concrete, precise requirements: whatever dimension your workshop or your client demands, it’s there to be set.
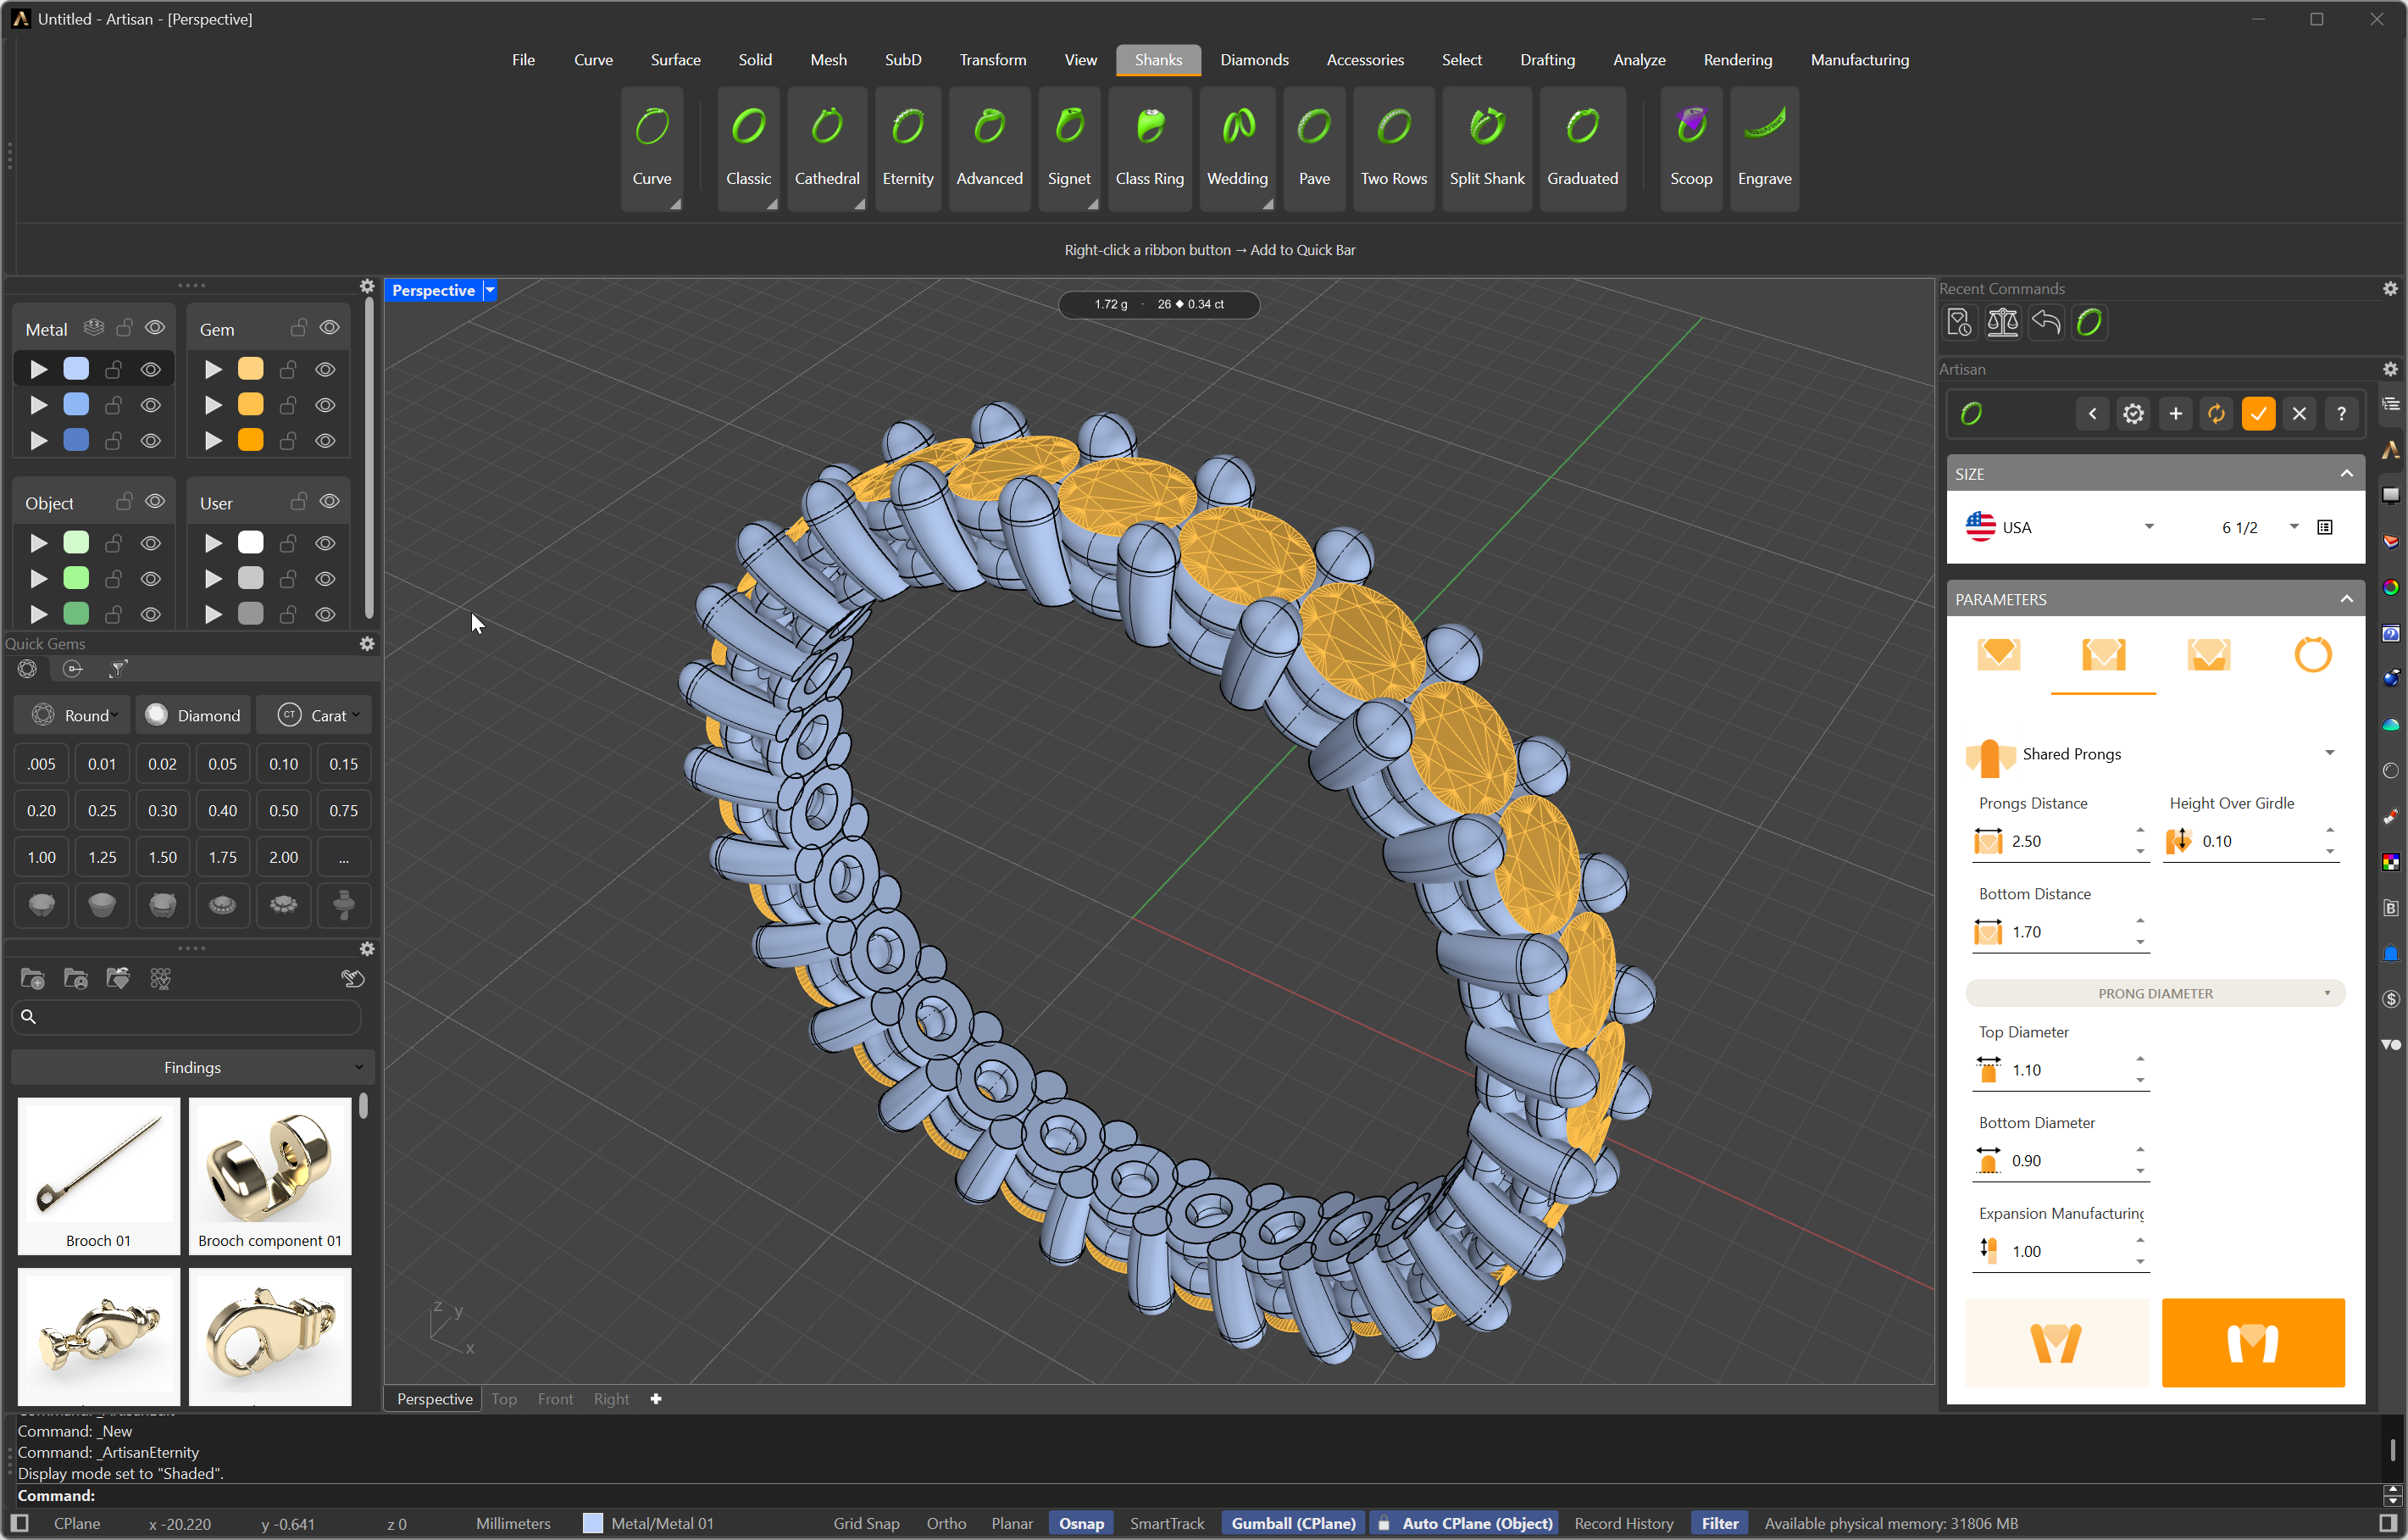
Edit mode — every parameter of the element, at your fingertips
And there’s one more step: you can make your values the ones every command starts with.