Organic Modeling & Sculpting
Generative AI Studio
 Generative AI
Generative AI puts today’s best image, video and 3D models to work on your jewelry designs, without leaving RhinoArtisan. Capture your viewport, describe what you want, and turn a working model into a studio-grade render, a product clip for social media, or an organic mesh you can keep editing in Rhino.
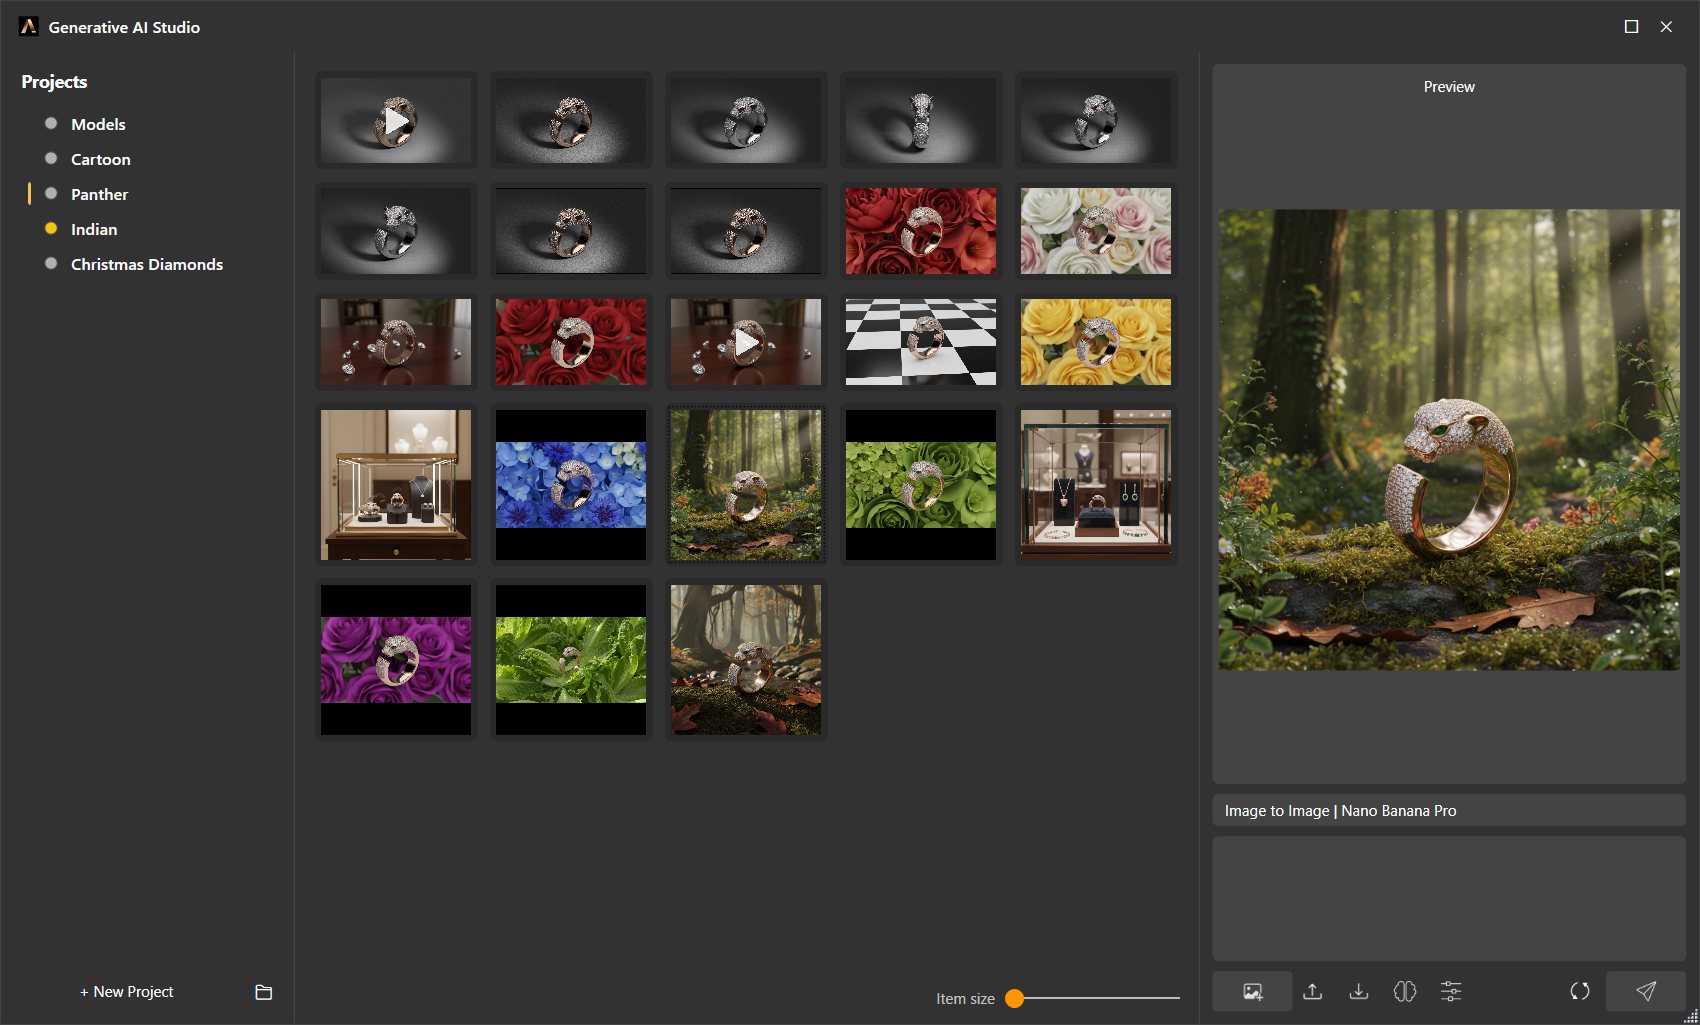
The Generative AI Studio: your projects, every generation, and the prompt bar — one window from idea to image
How it works
- One window. Everything happens in the Generative AI Studio: projects, inputs, prompts, results and previews.
- One key. You bring your own fal.ai API key. Generation is pay-per-use, billed by fal.ai — RhinoArtisan adds no fees and no subscription for this feature. See Costs and spending.
- Local by design. Your projects and every generated image, video and 3D model are stored on your machine, in a
Falaifolder inside the RhinoArtisan User Folder.
What you can create
Seven capabilities, each backed by a curated set of leading models:
- Image to Image — transform a viewport capture or photo with a prompt: renders, material variations, try-ons, edits.
- Text to Image — generate concepts and renders from nothing but a description.
- Image to Video — animate a still into a smooth, short clip for social media and e-commerce.
- Text to Video — generate a short video straight from a written scene.
- Image to 3D — reconstruct an editable organic mesh from a single photo.
- Text to 3D — describe an object and get a textured 3D mesh back.
- Video to Video — make render footage photoreal, or upscale a generated clip up to 4K.
See the full catalog in Modes & Models, and real examples in What You Can Create.
Quick Start
- Get a fal.ai API key and paste it into RhinoArtisan — the whole process takes a couple of minutes and is covered step by step in Accounts and API keys.
- Open the Studio: click Generative AI in the AI group of the File tab, or run the
ArtisanGenerativeAIcommand. - Create a project in the Projects column to keep related generations together.
- Click Capture Snapshot to send a clean capture of your active viewport to the project, or Import Files to start from a photo or sketch.
- Click the mode chip next to the prompt box and pick a capability and a model.
- Type your prompt and press Send. The result appears in the project grid, ready to preview, chain into the next generation, download — or import into Rhino if it’s a 3D model.